施工中
作者: Jet L
-
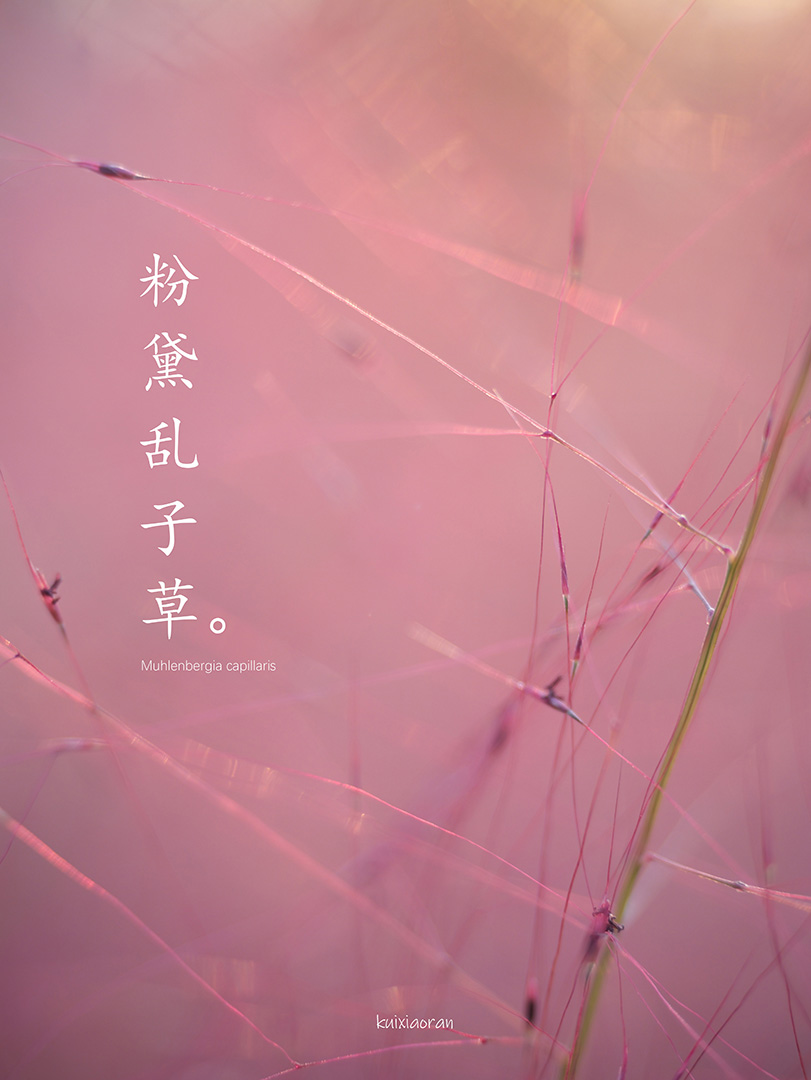
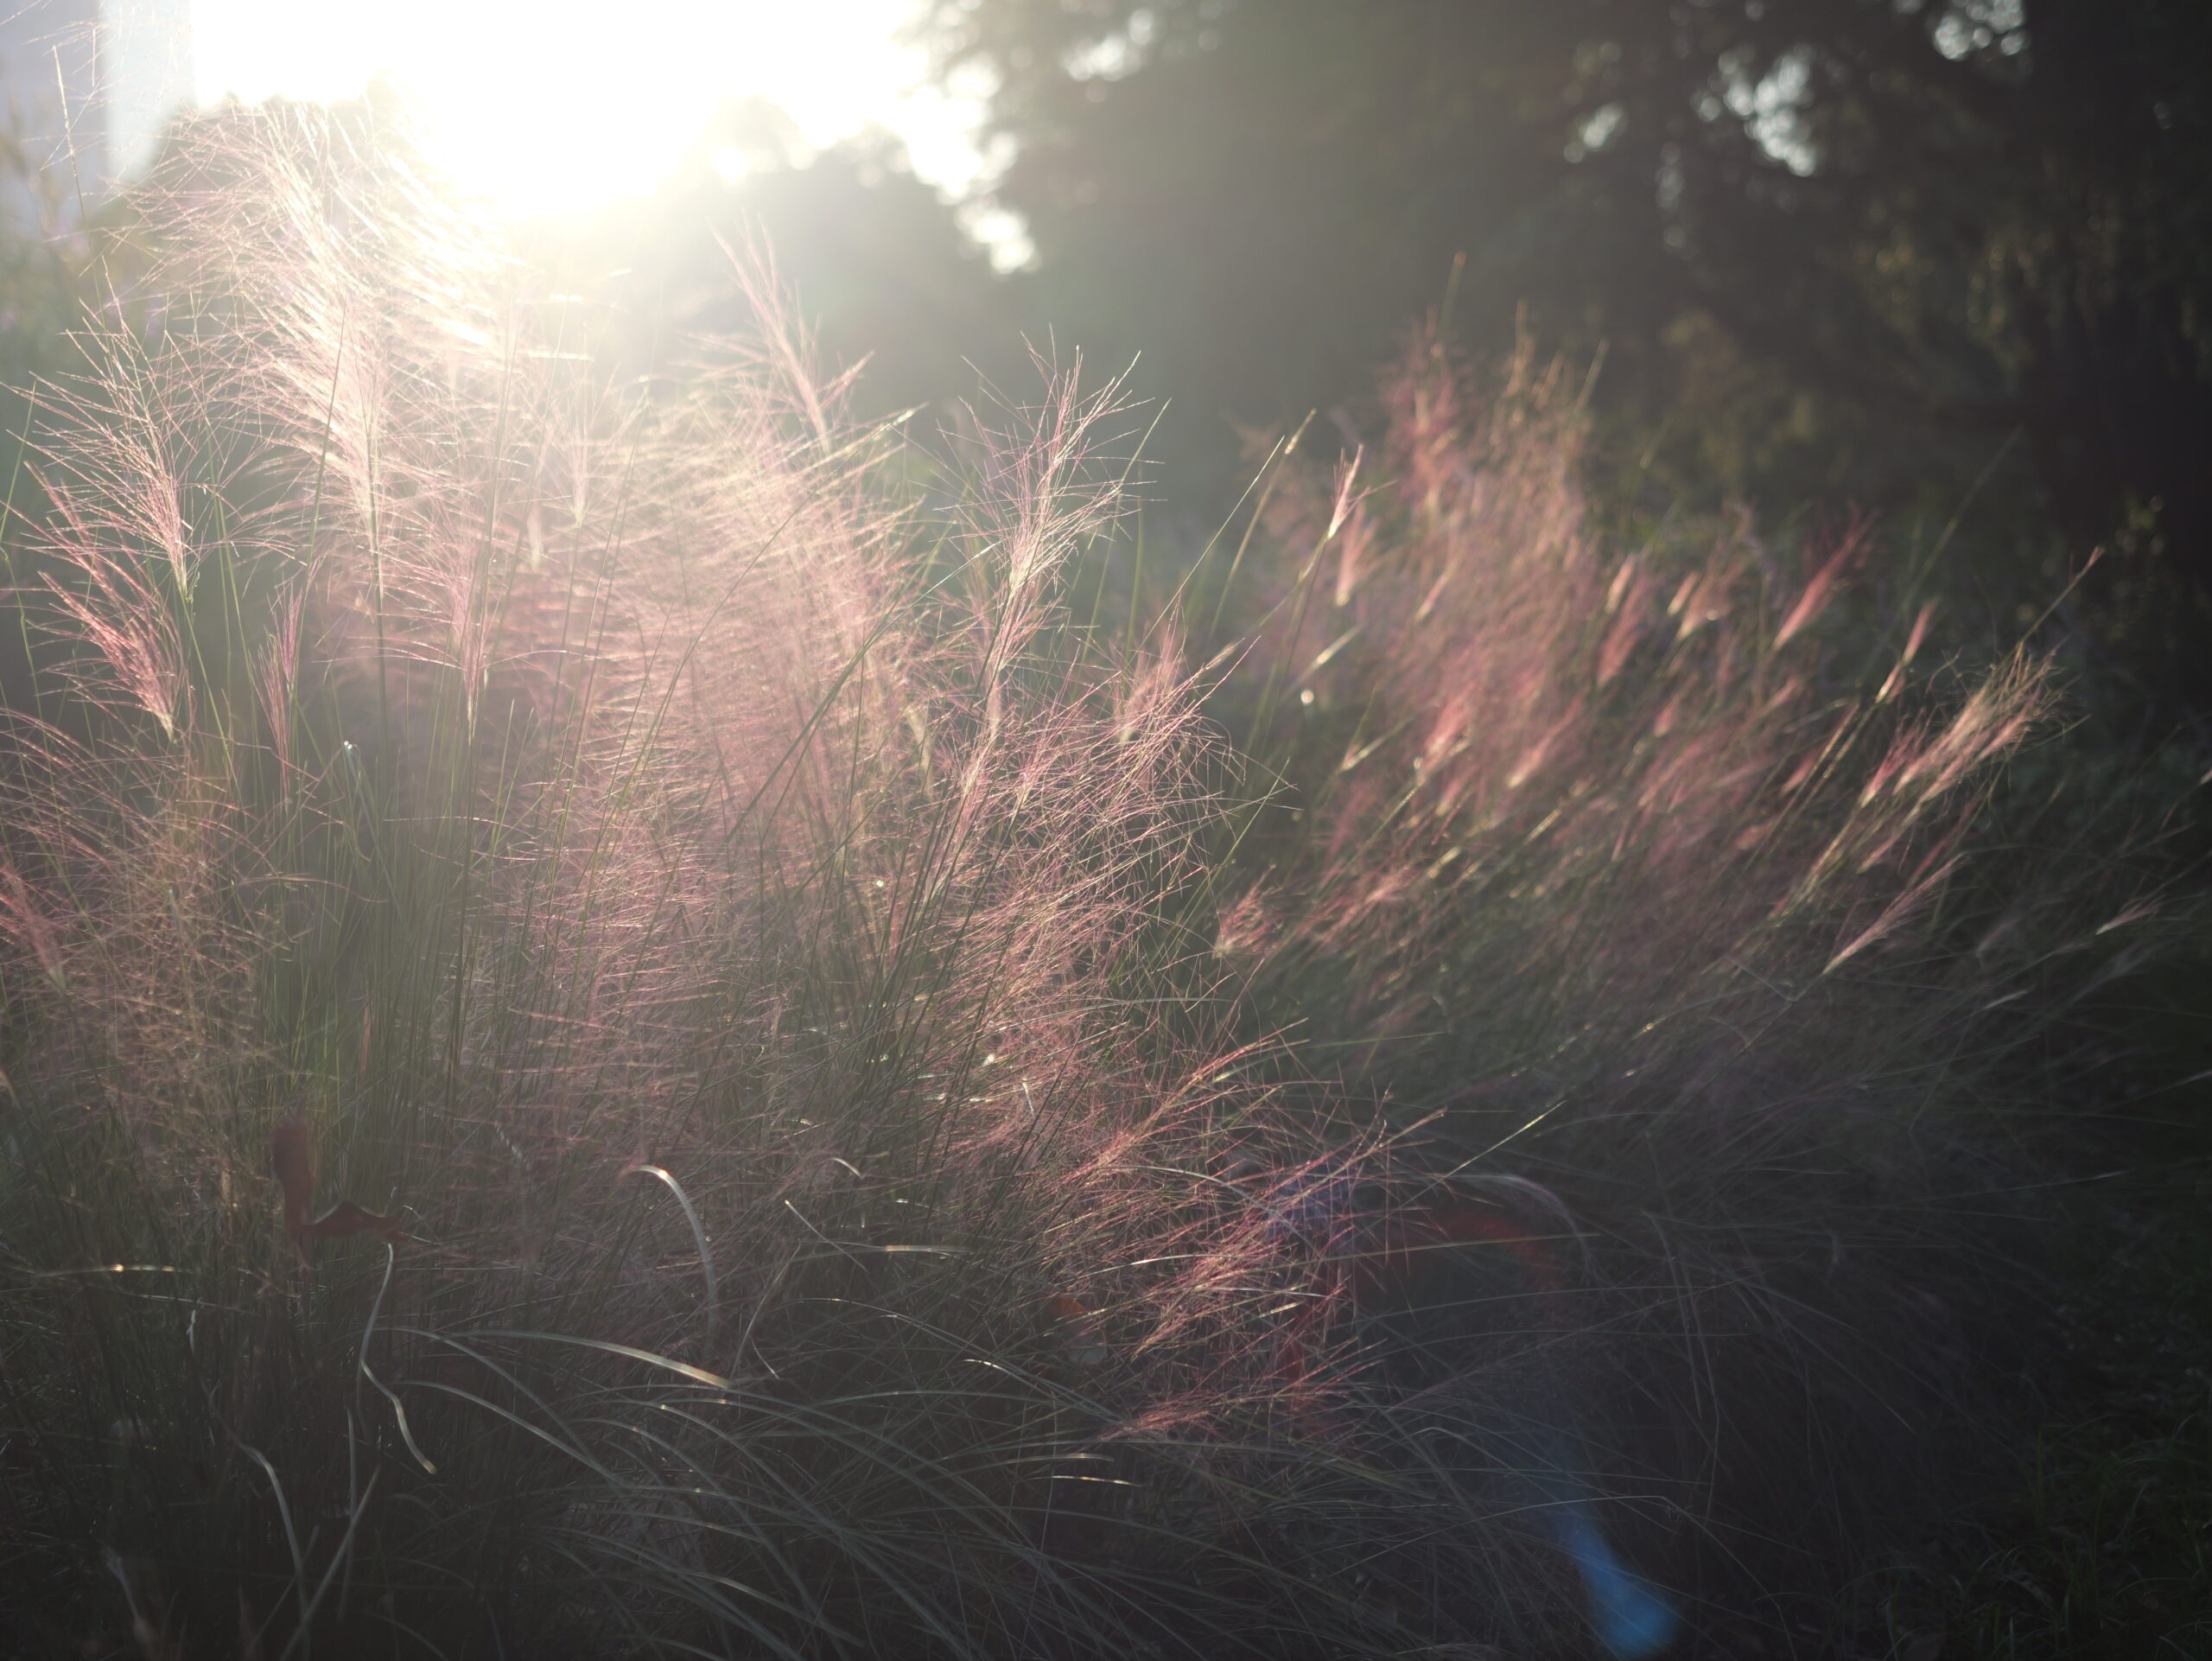
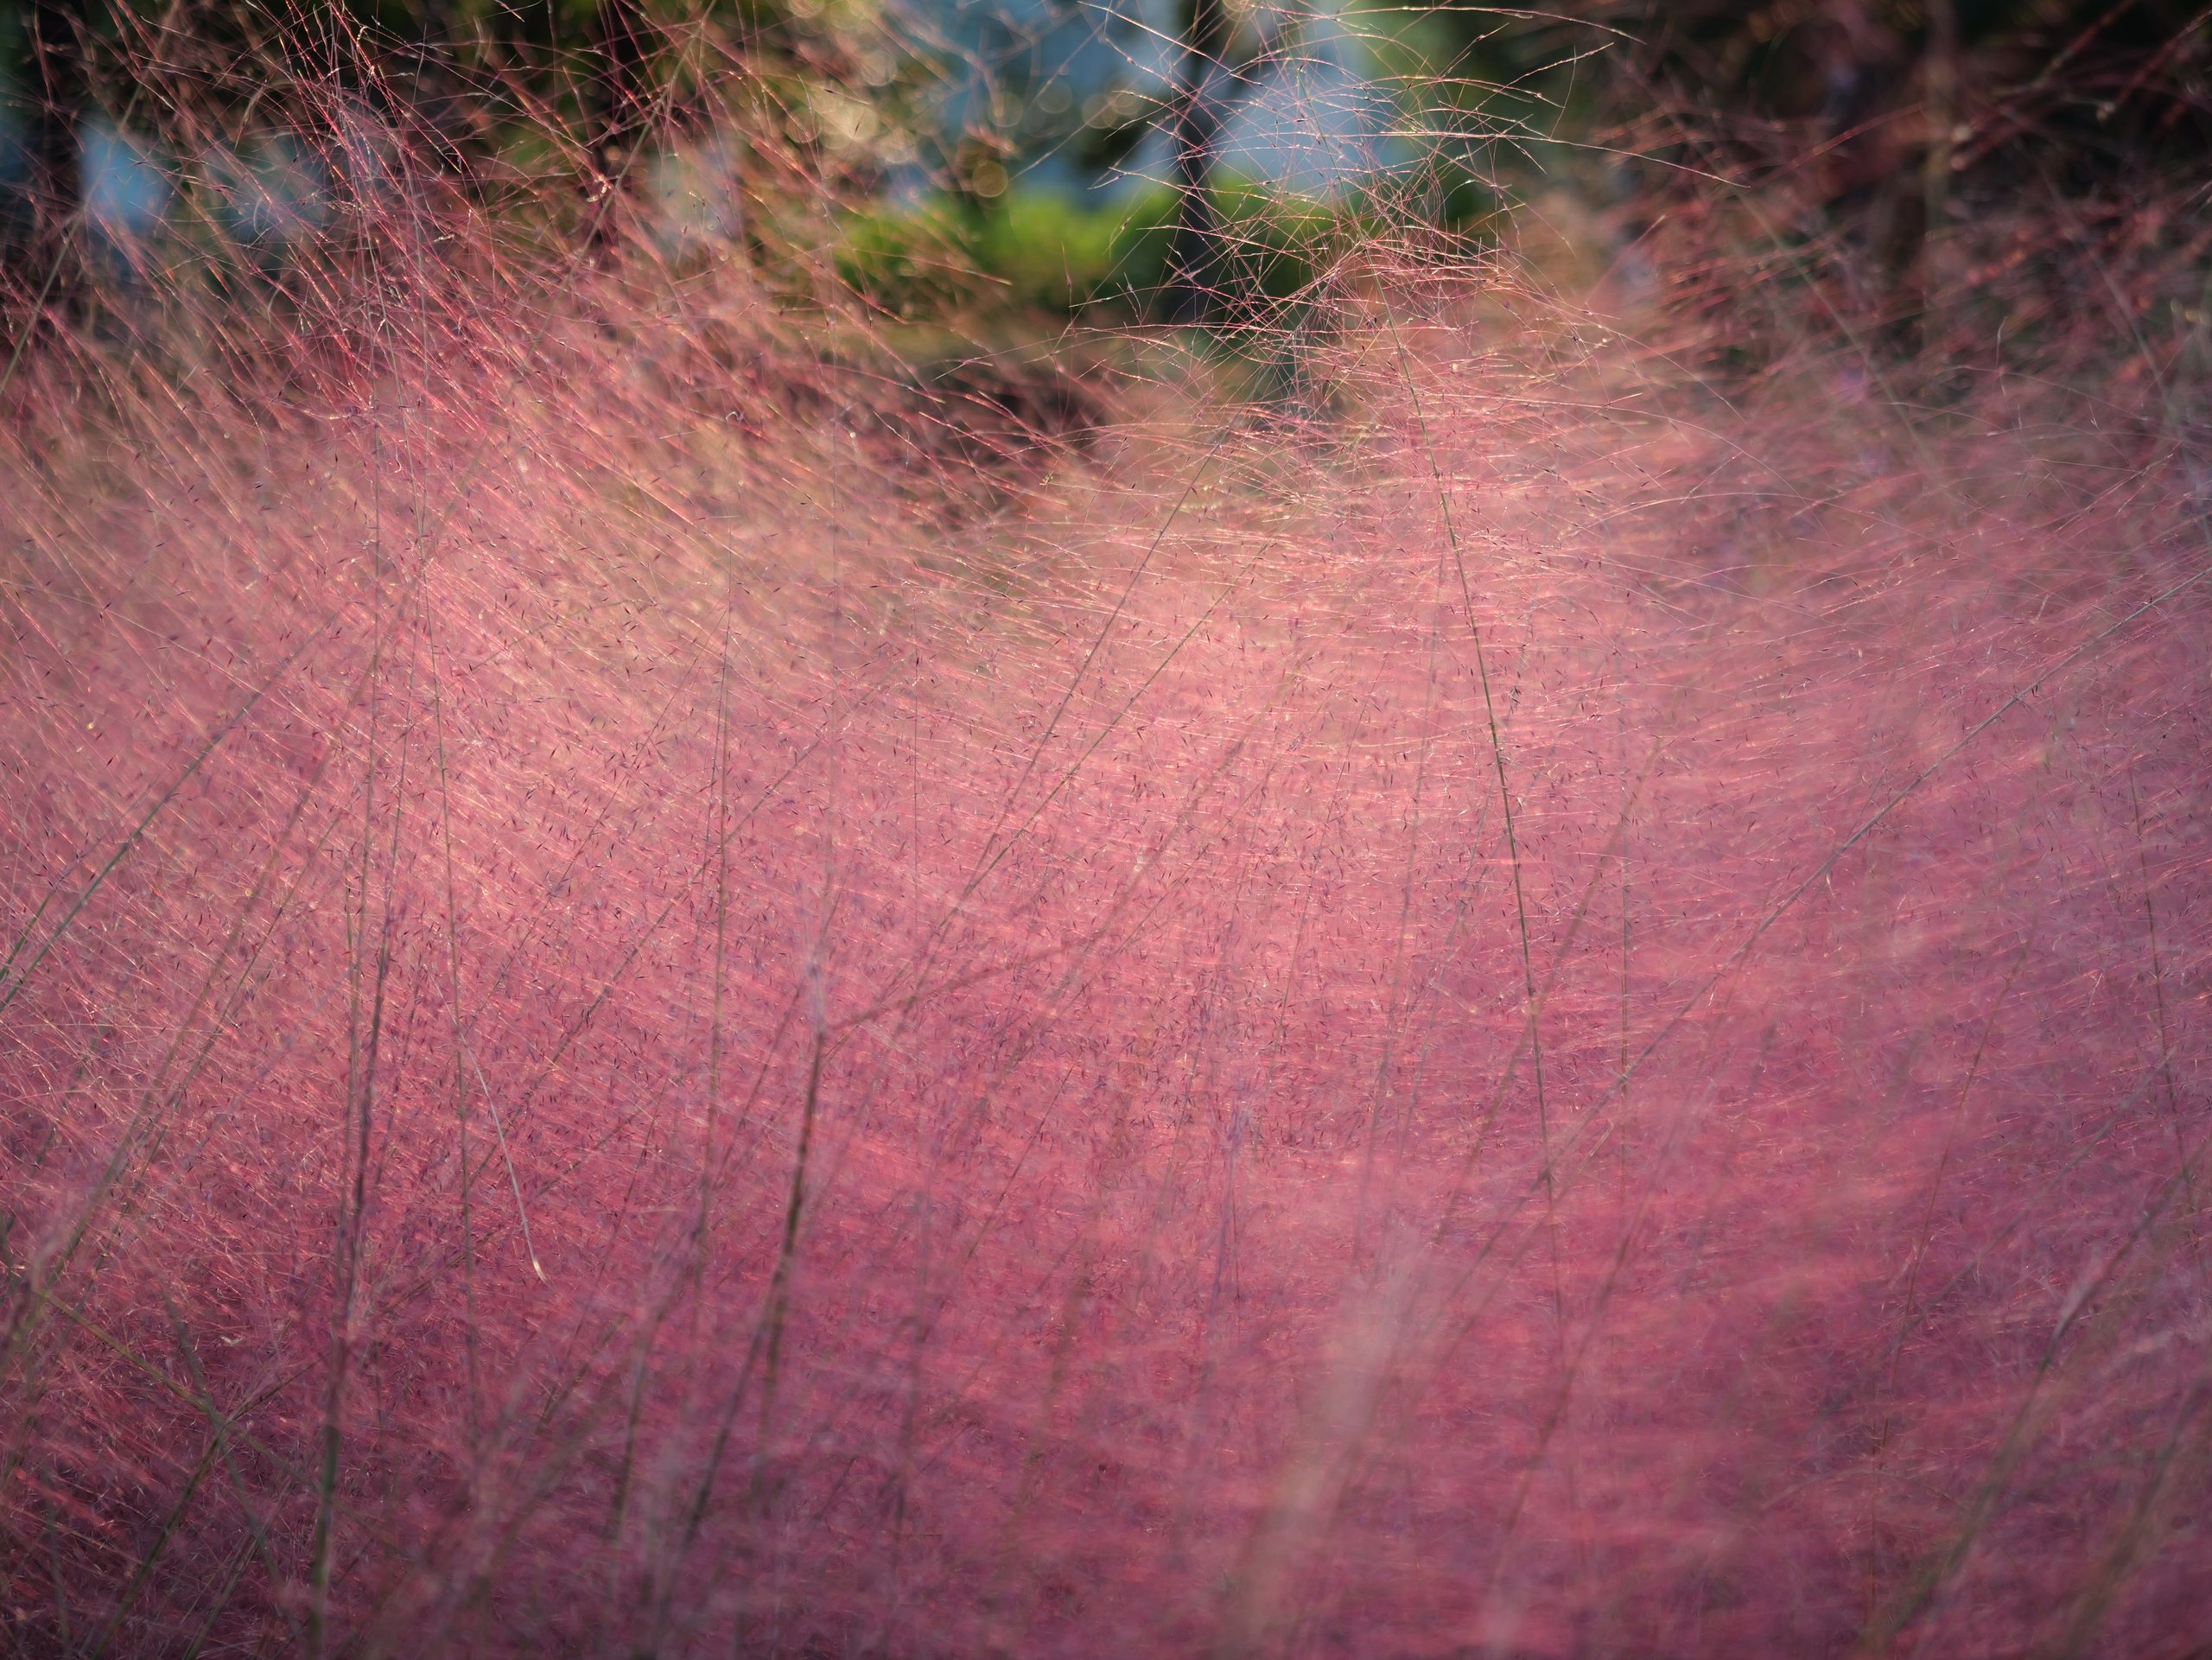
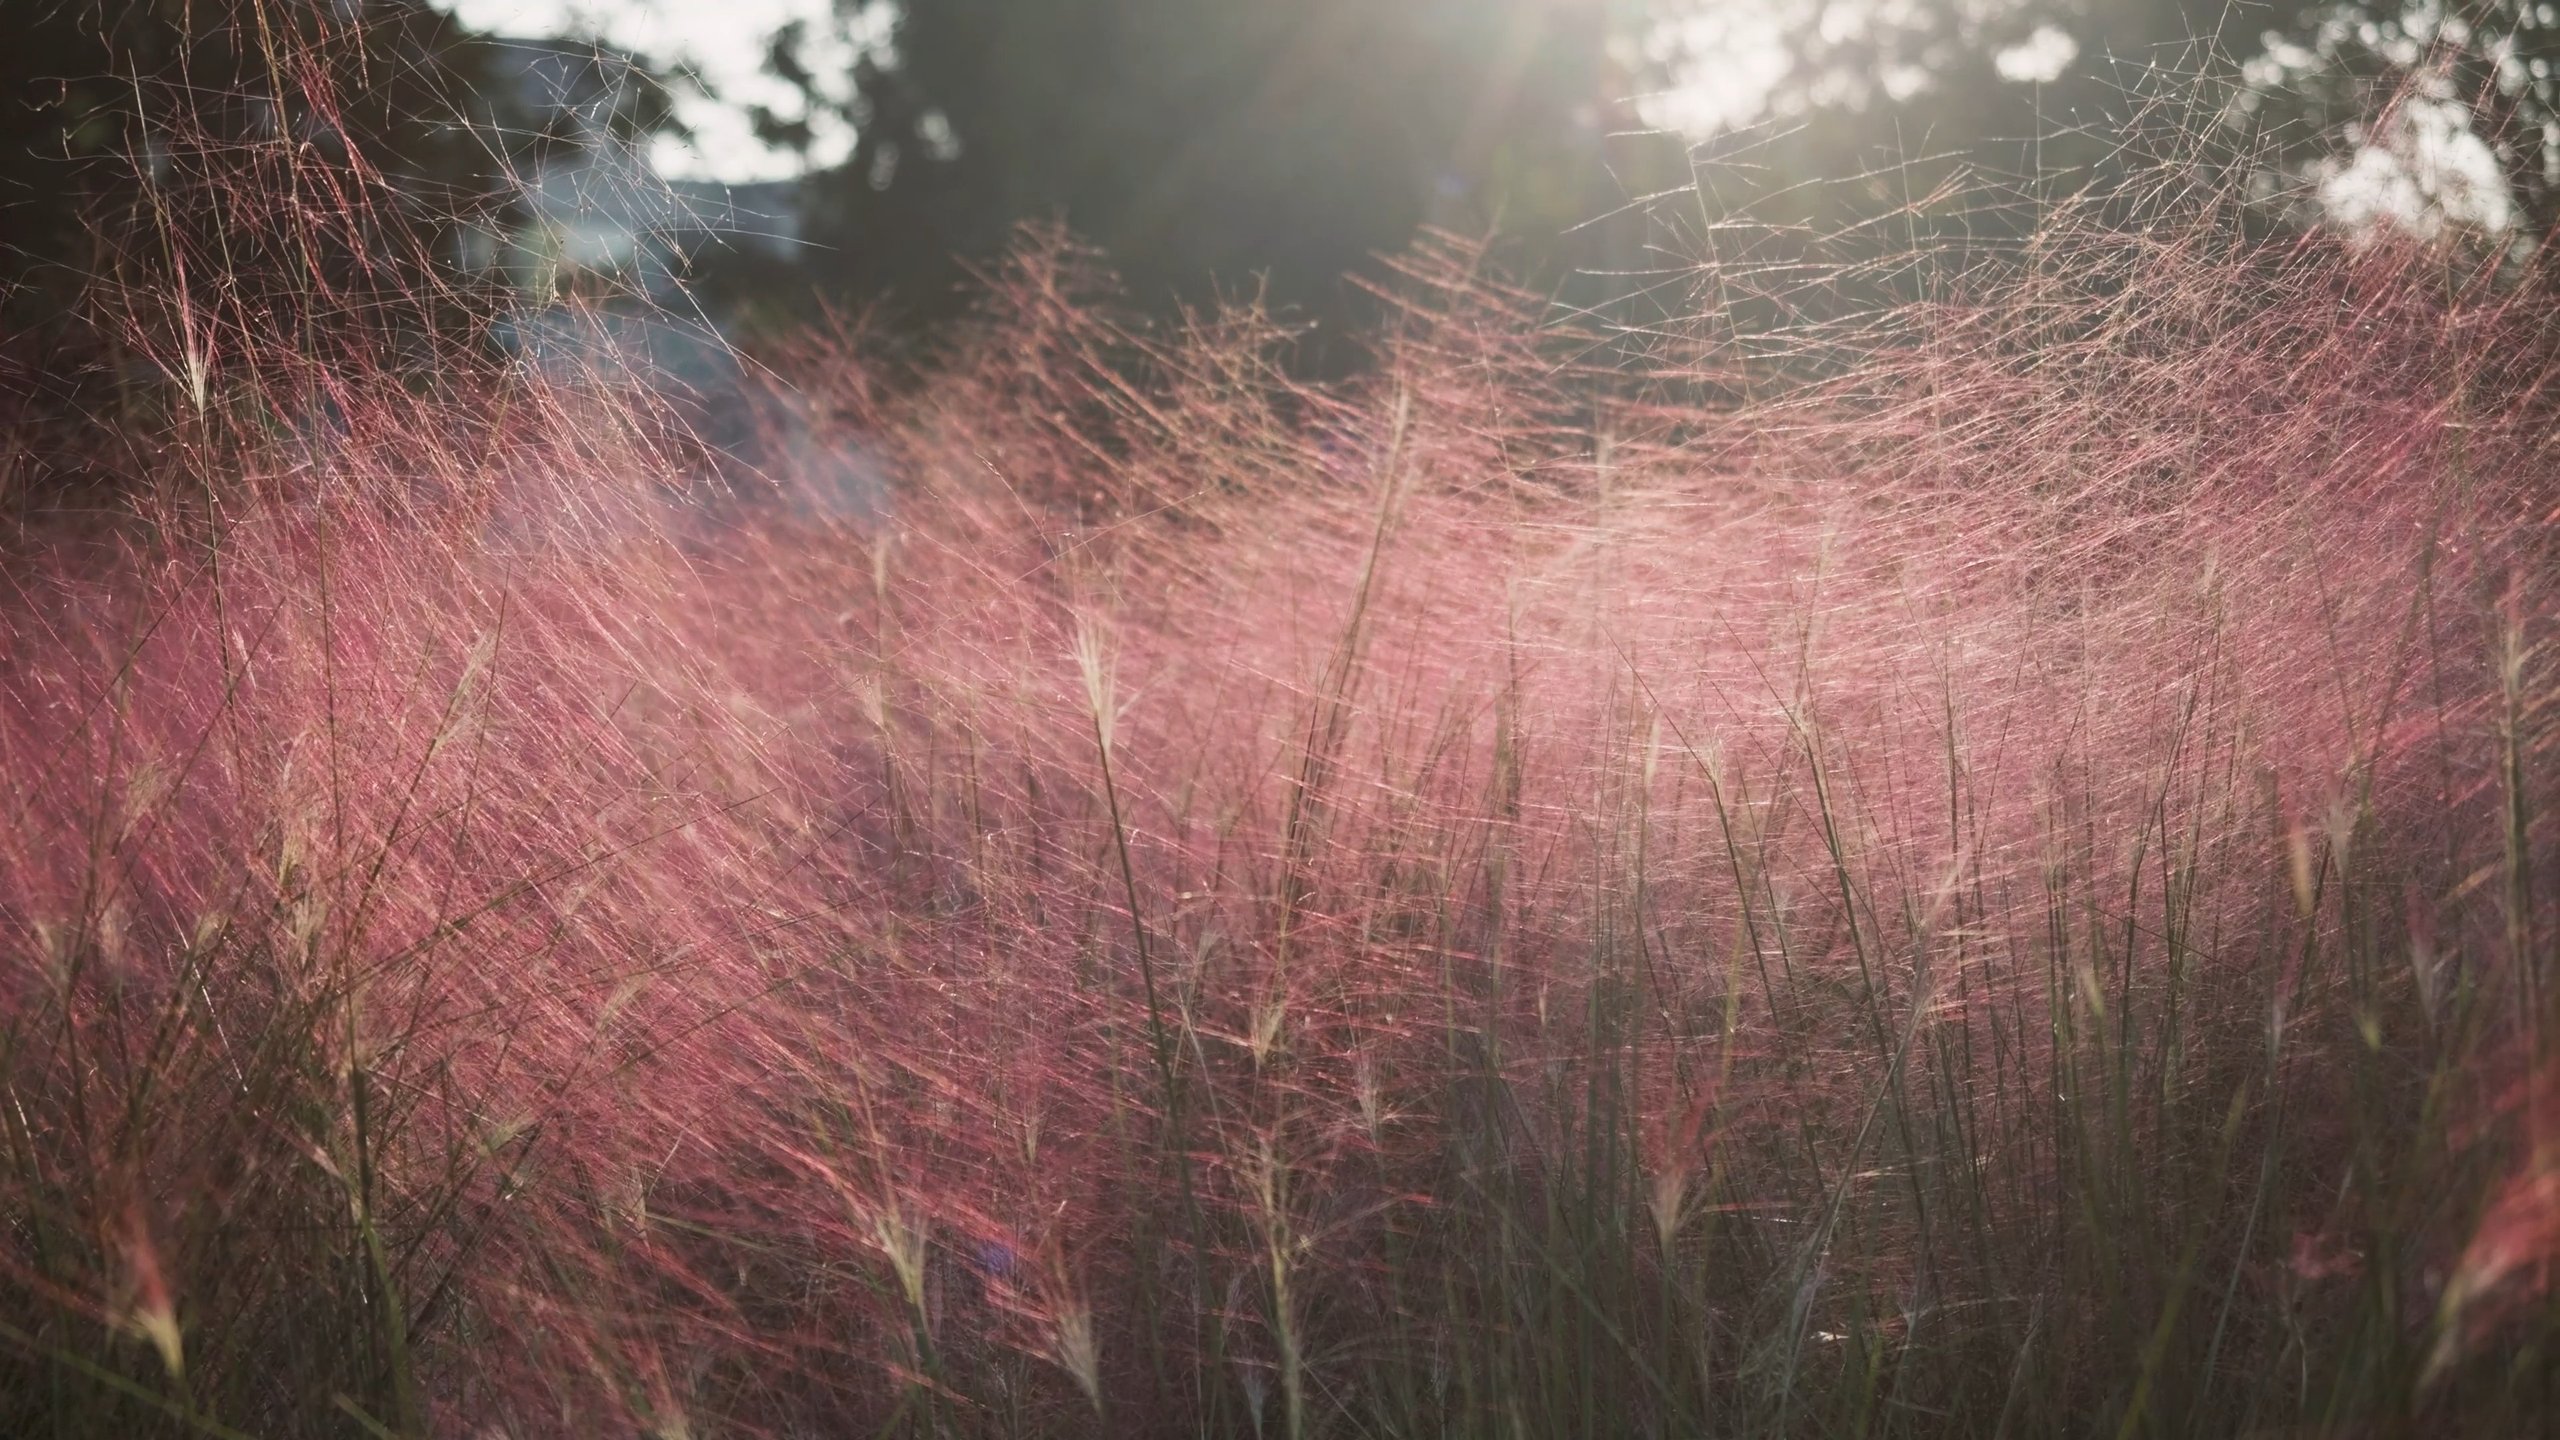
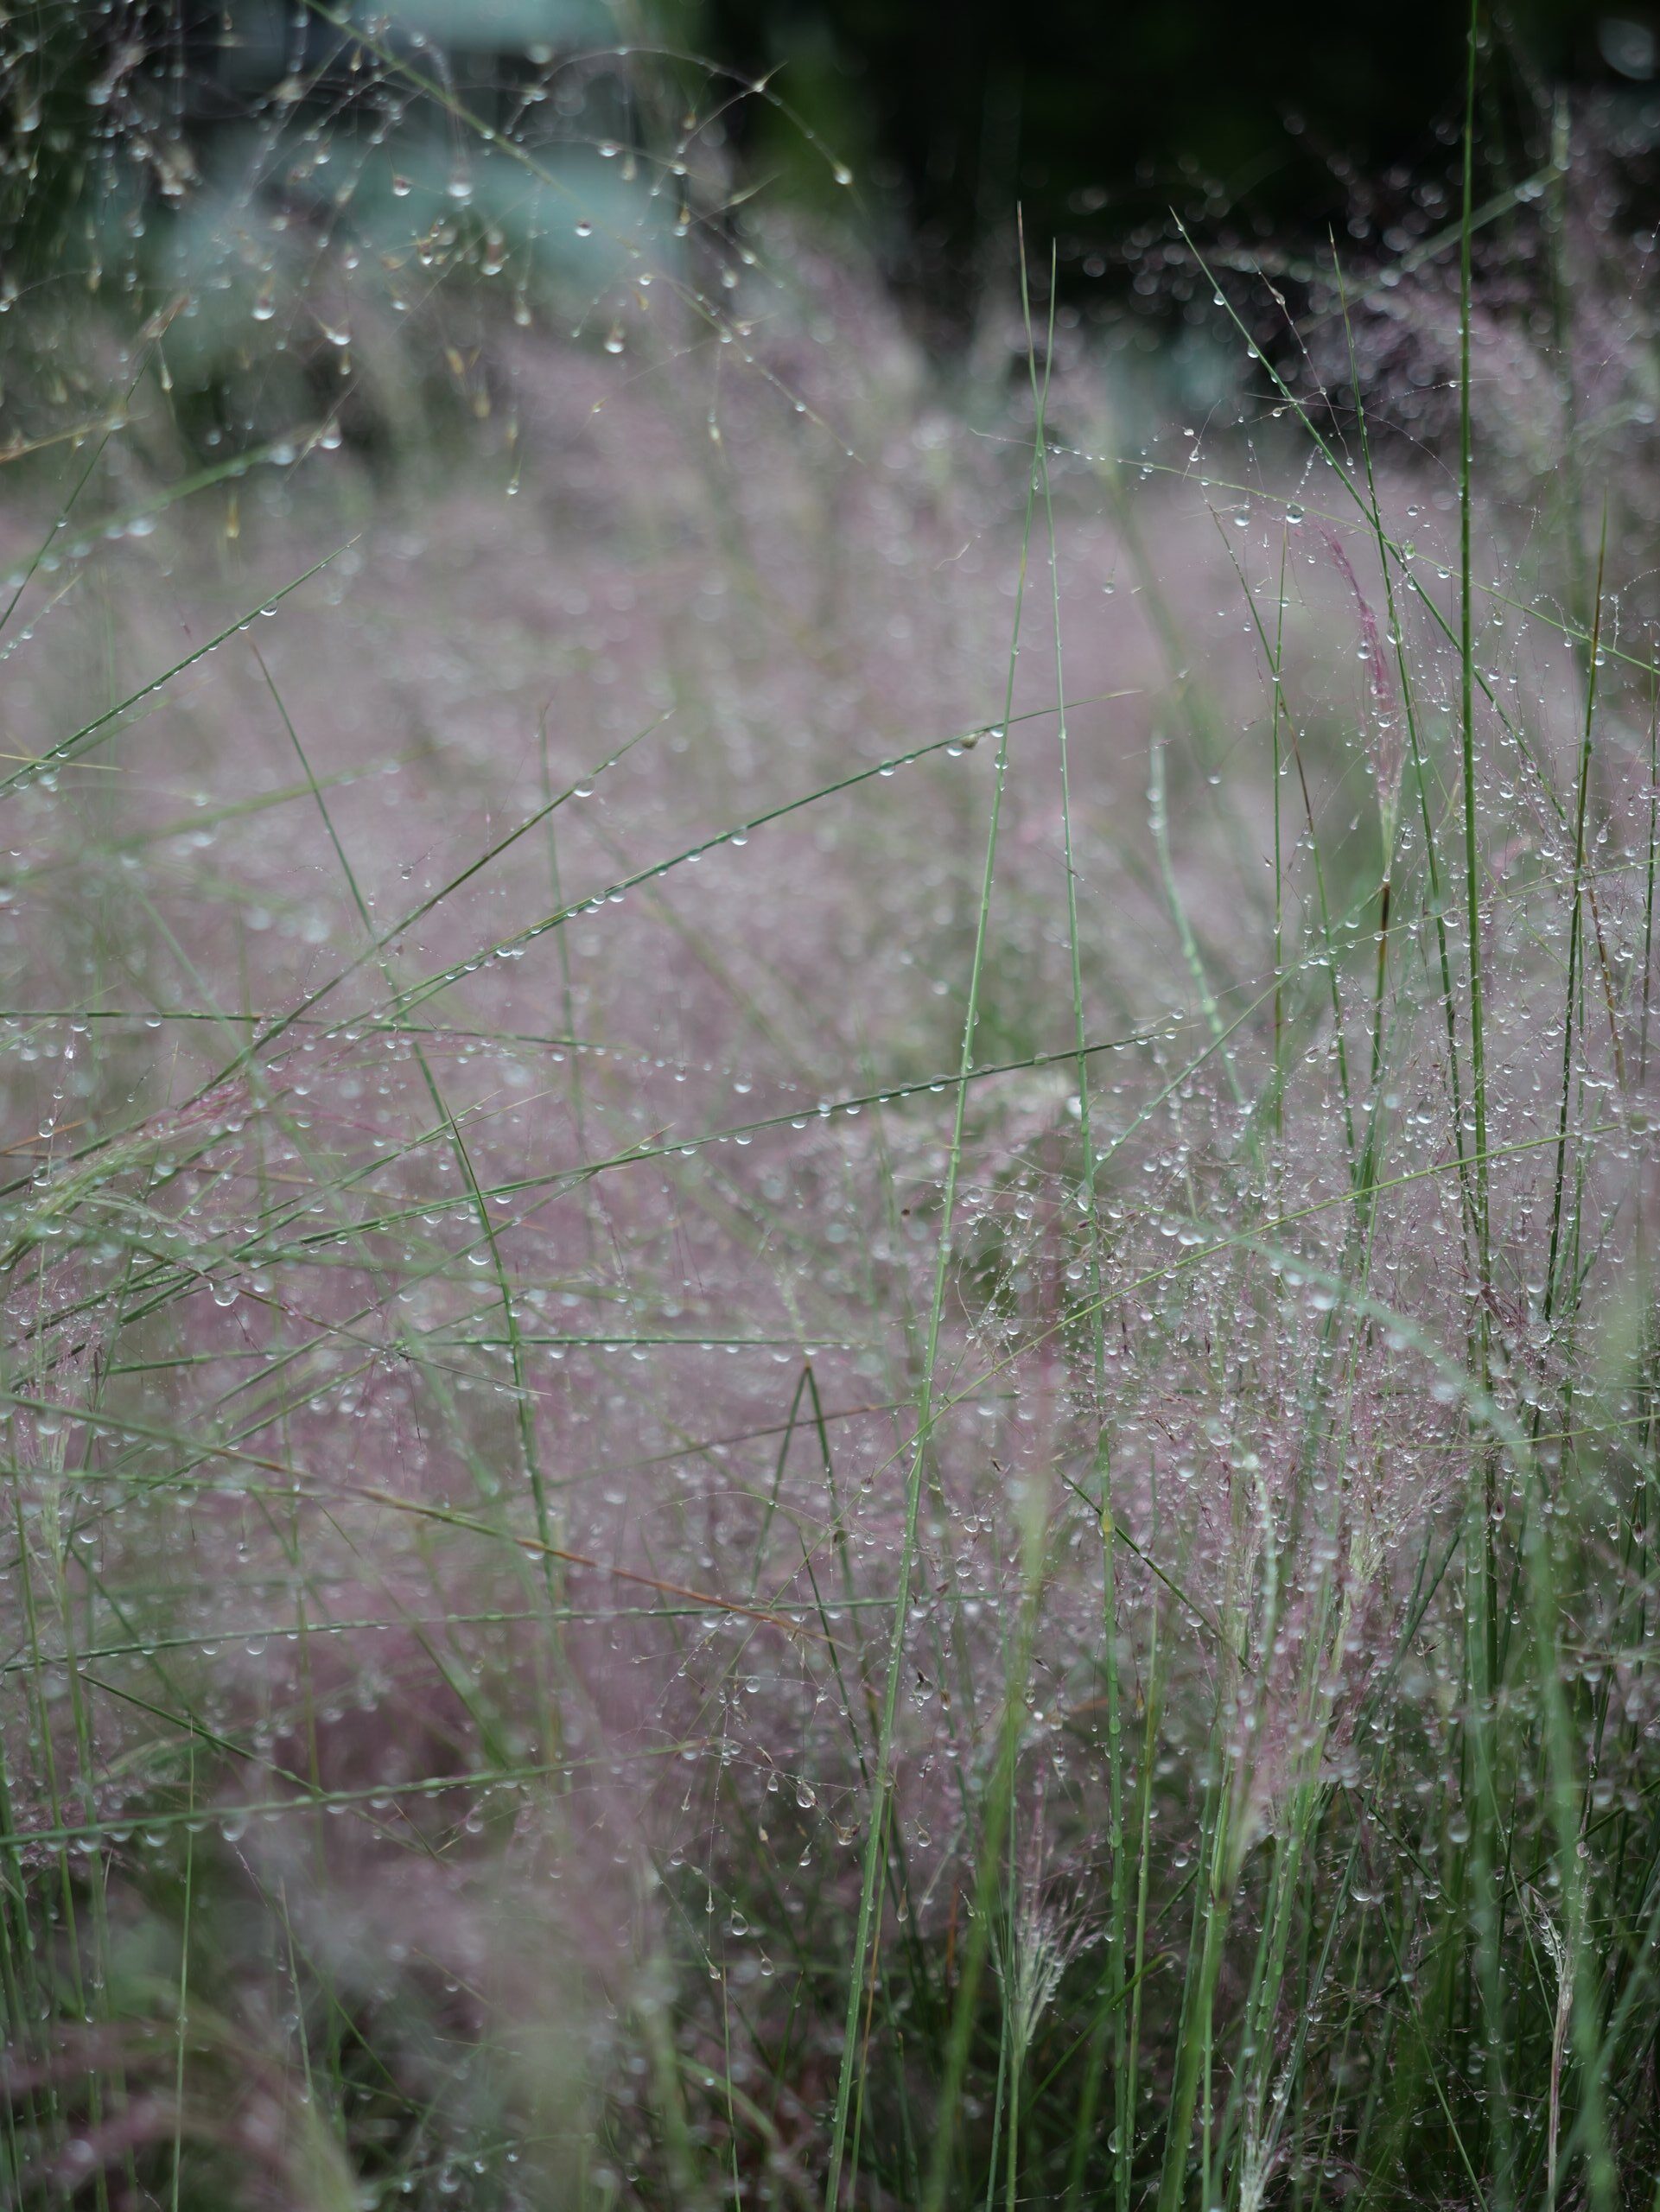
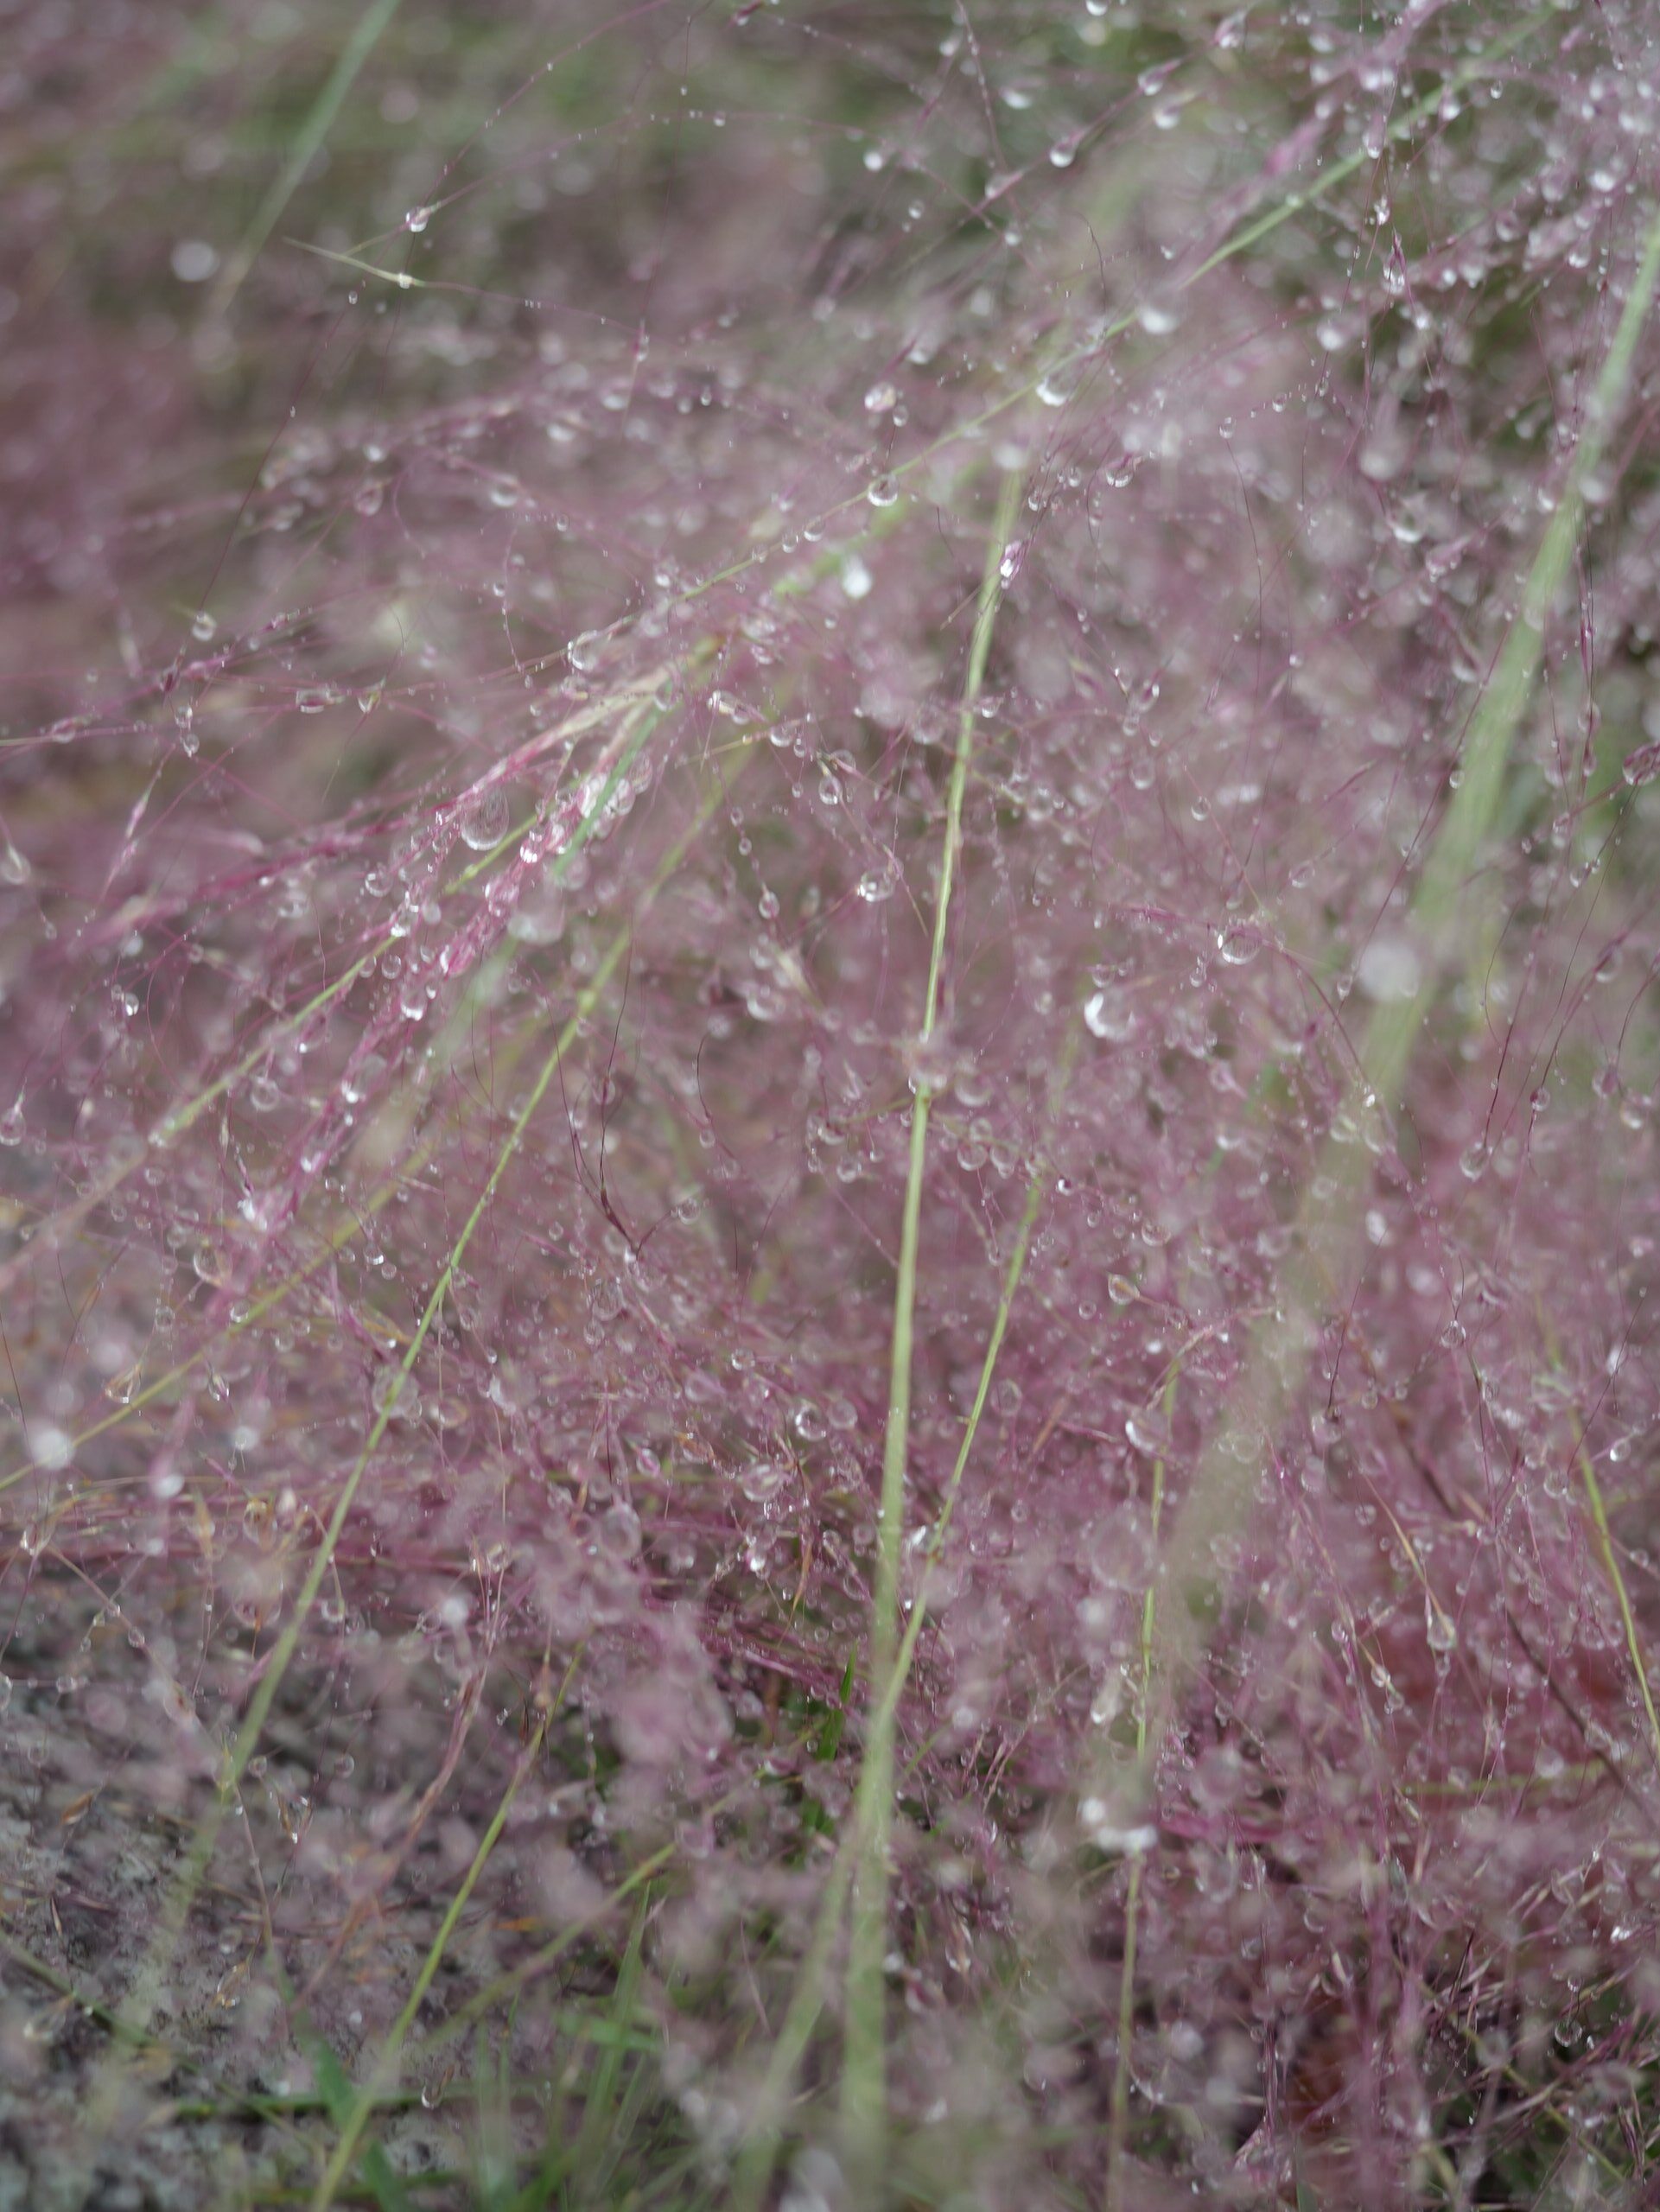
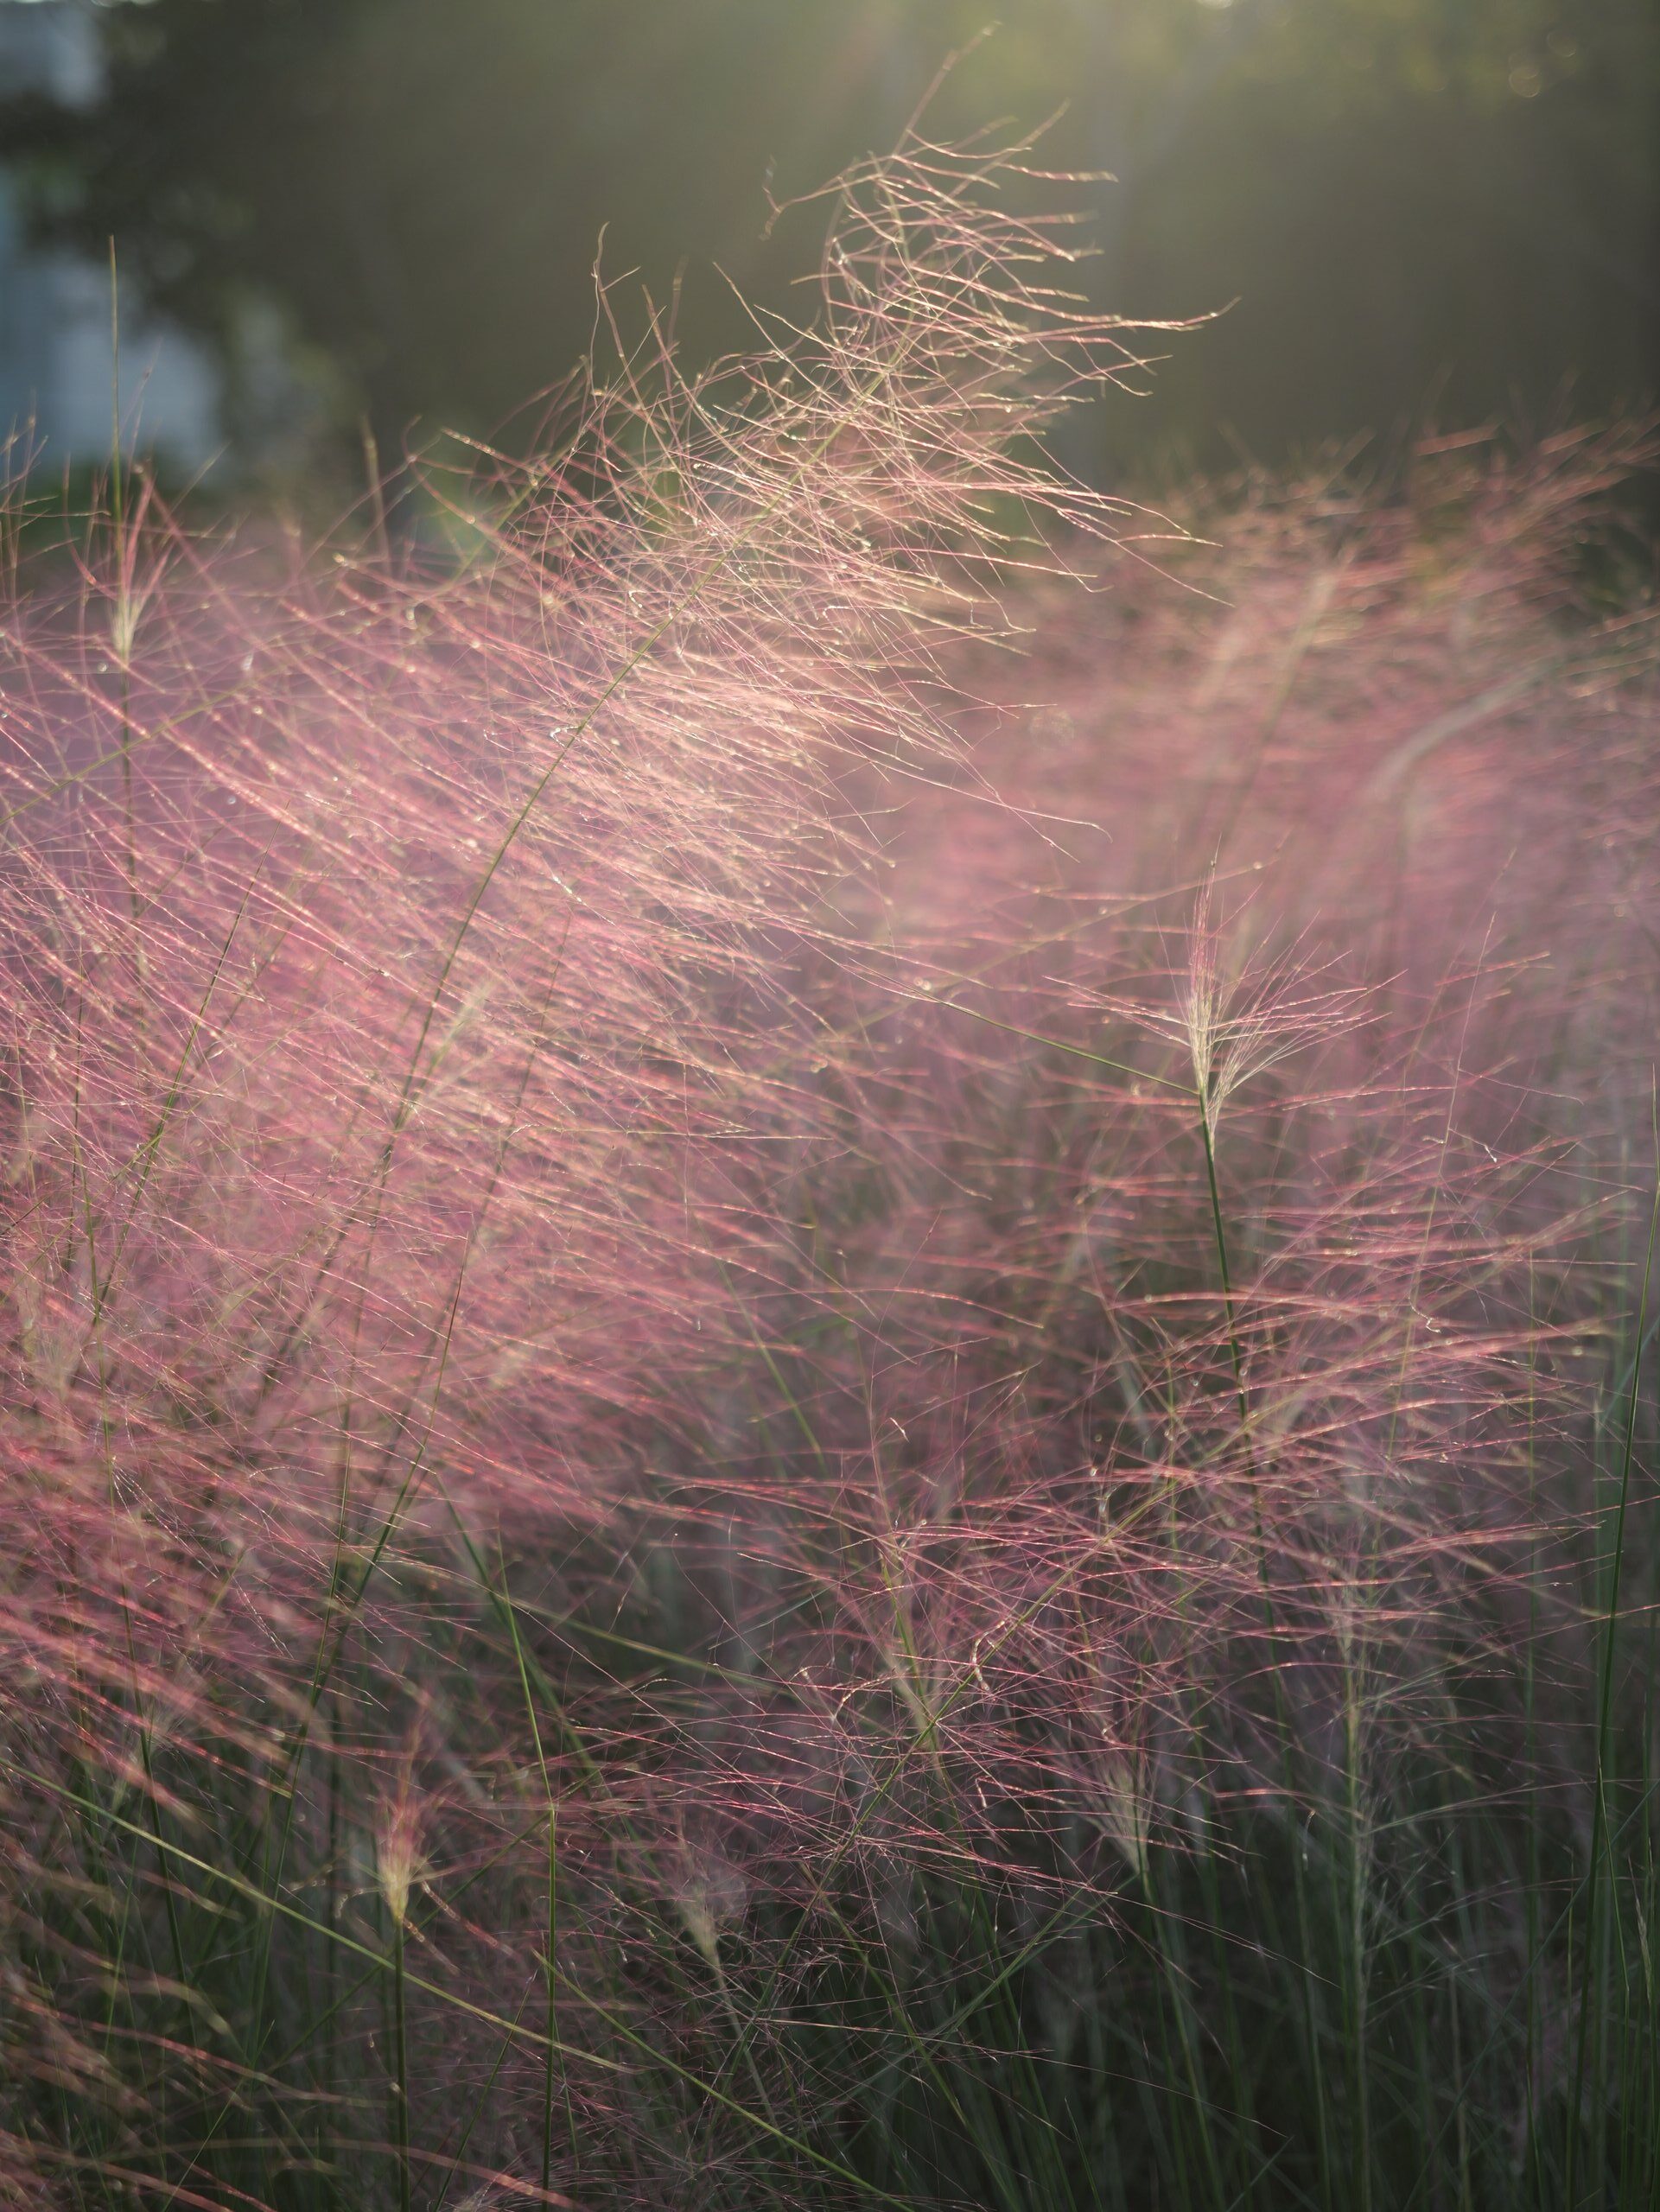
【摄影特辑】粉黛乱子草

What is Muhlenbergia capillaris?
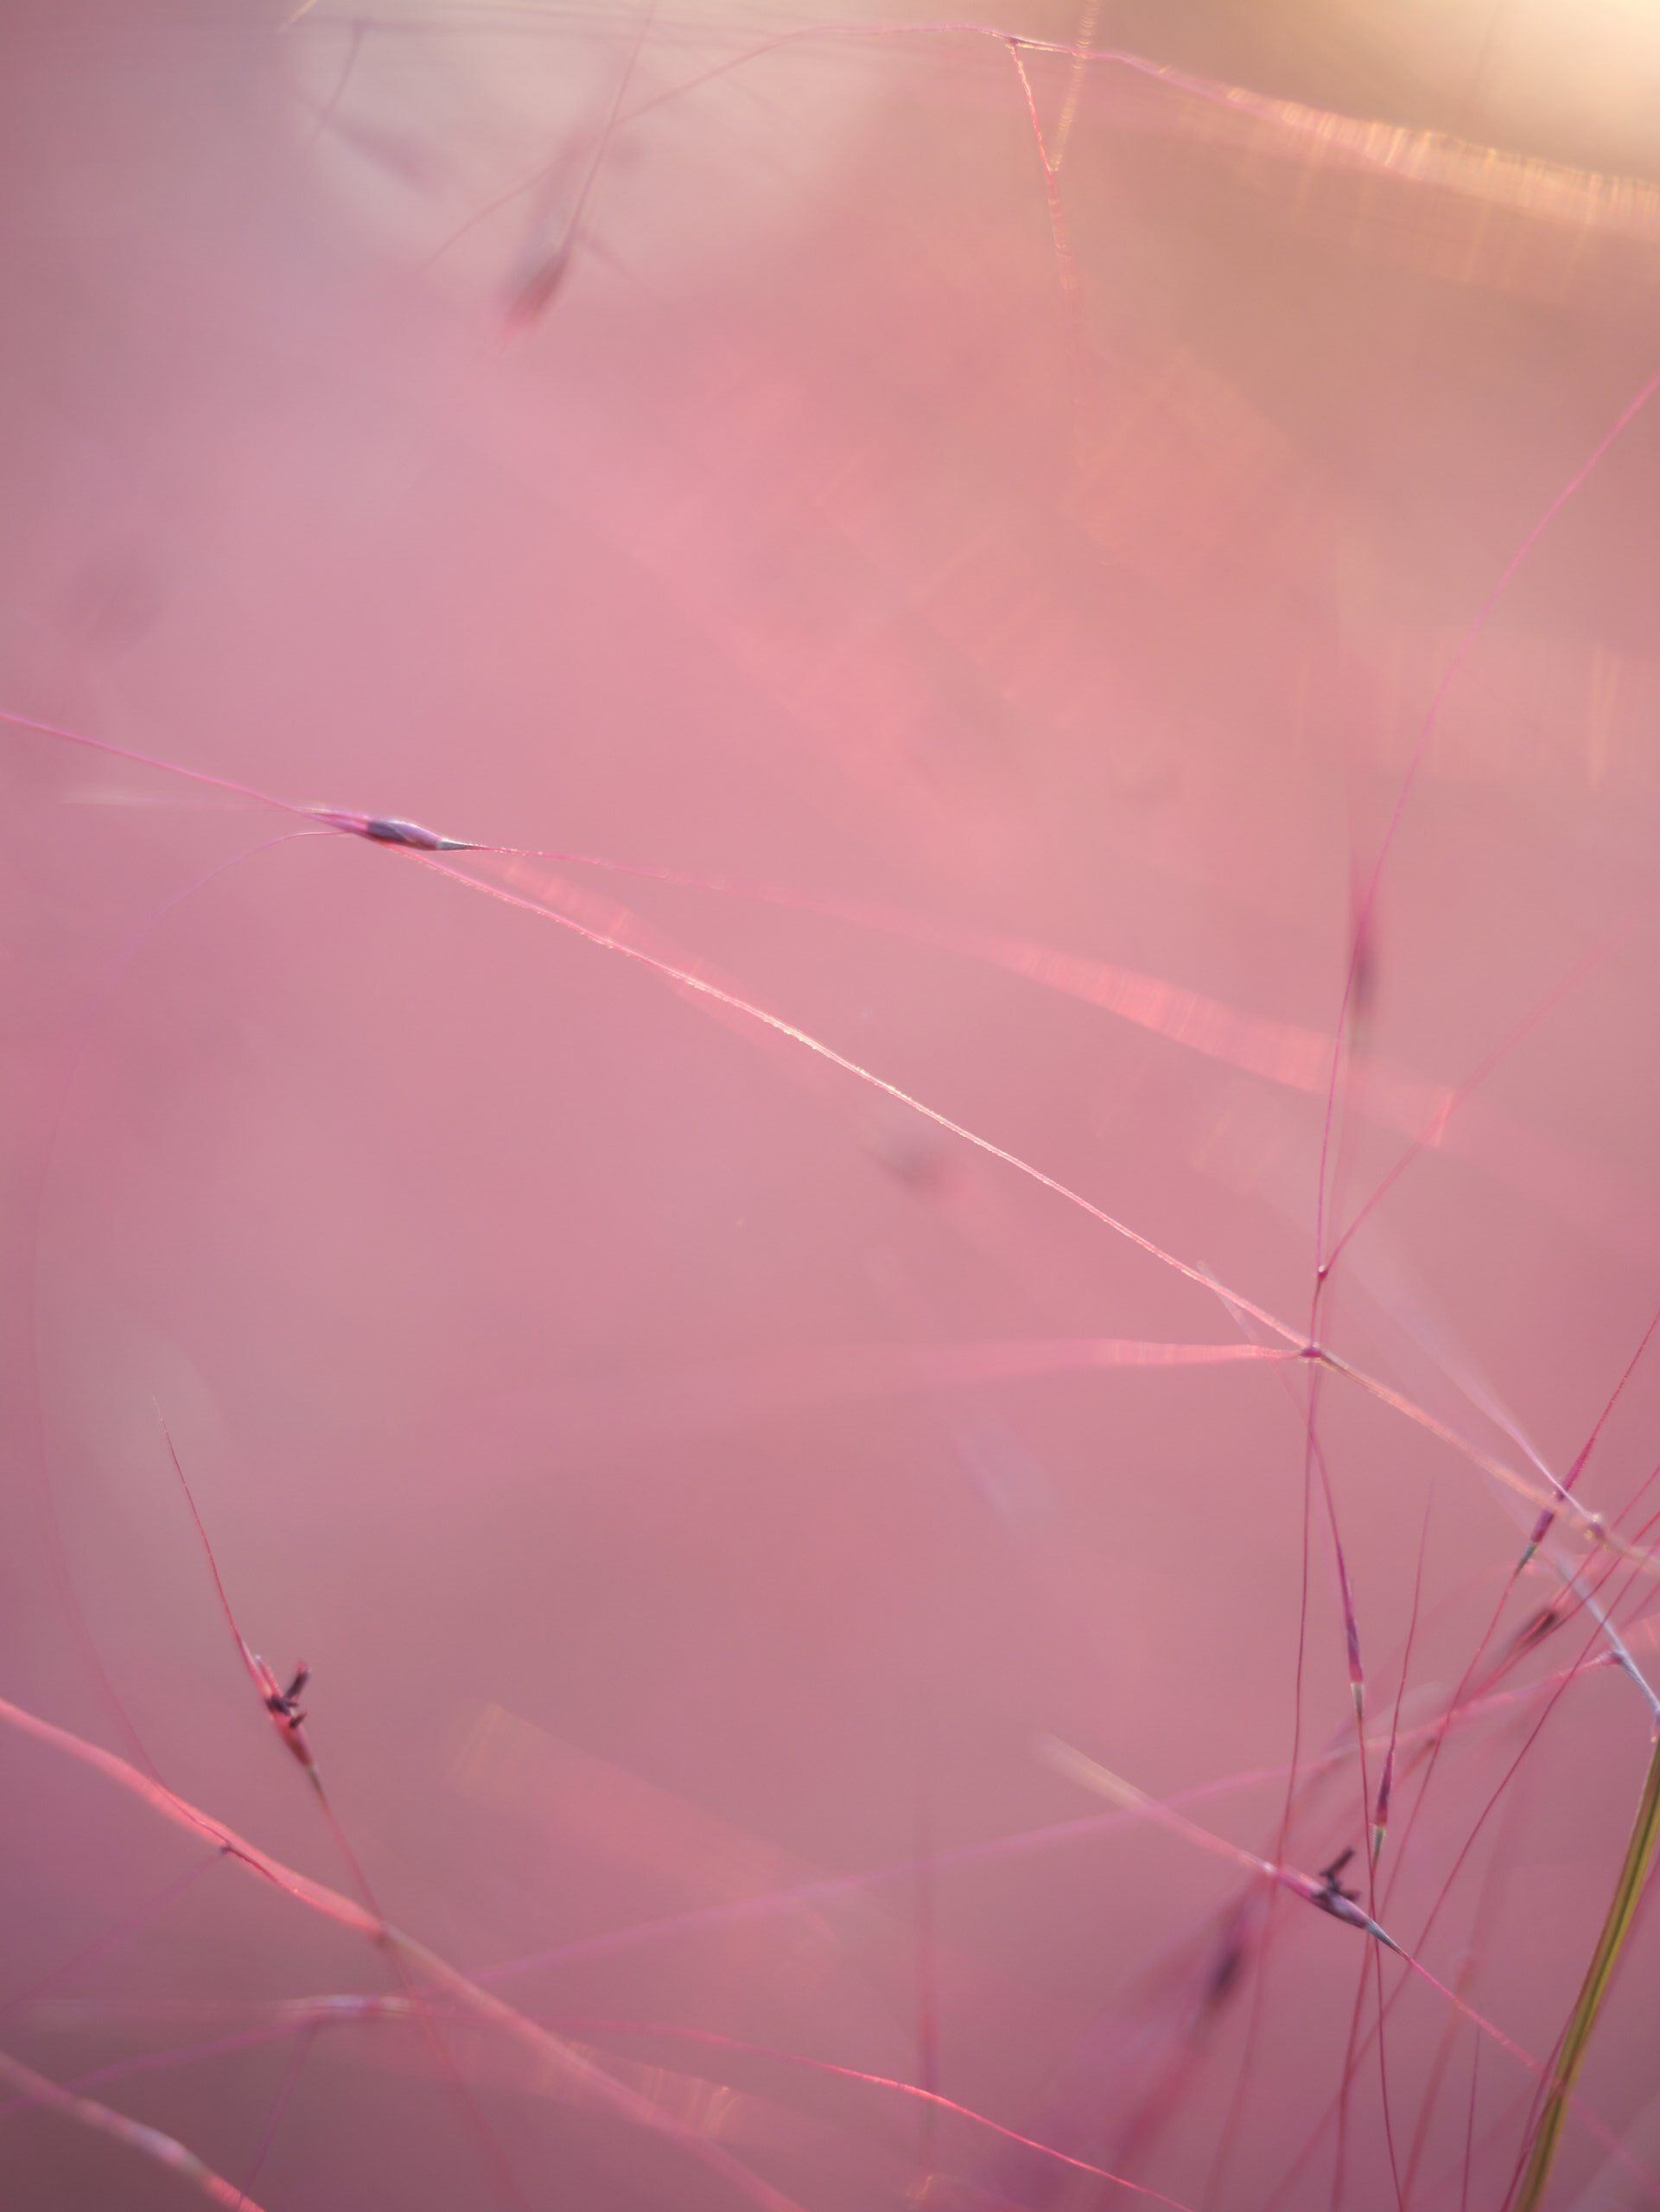
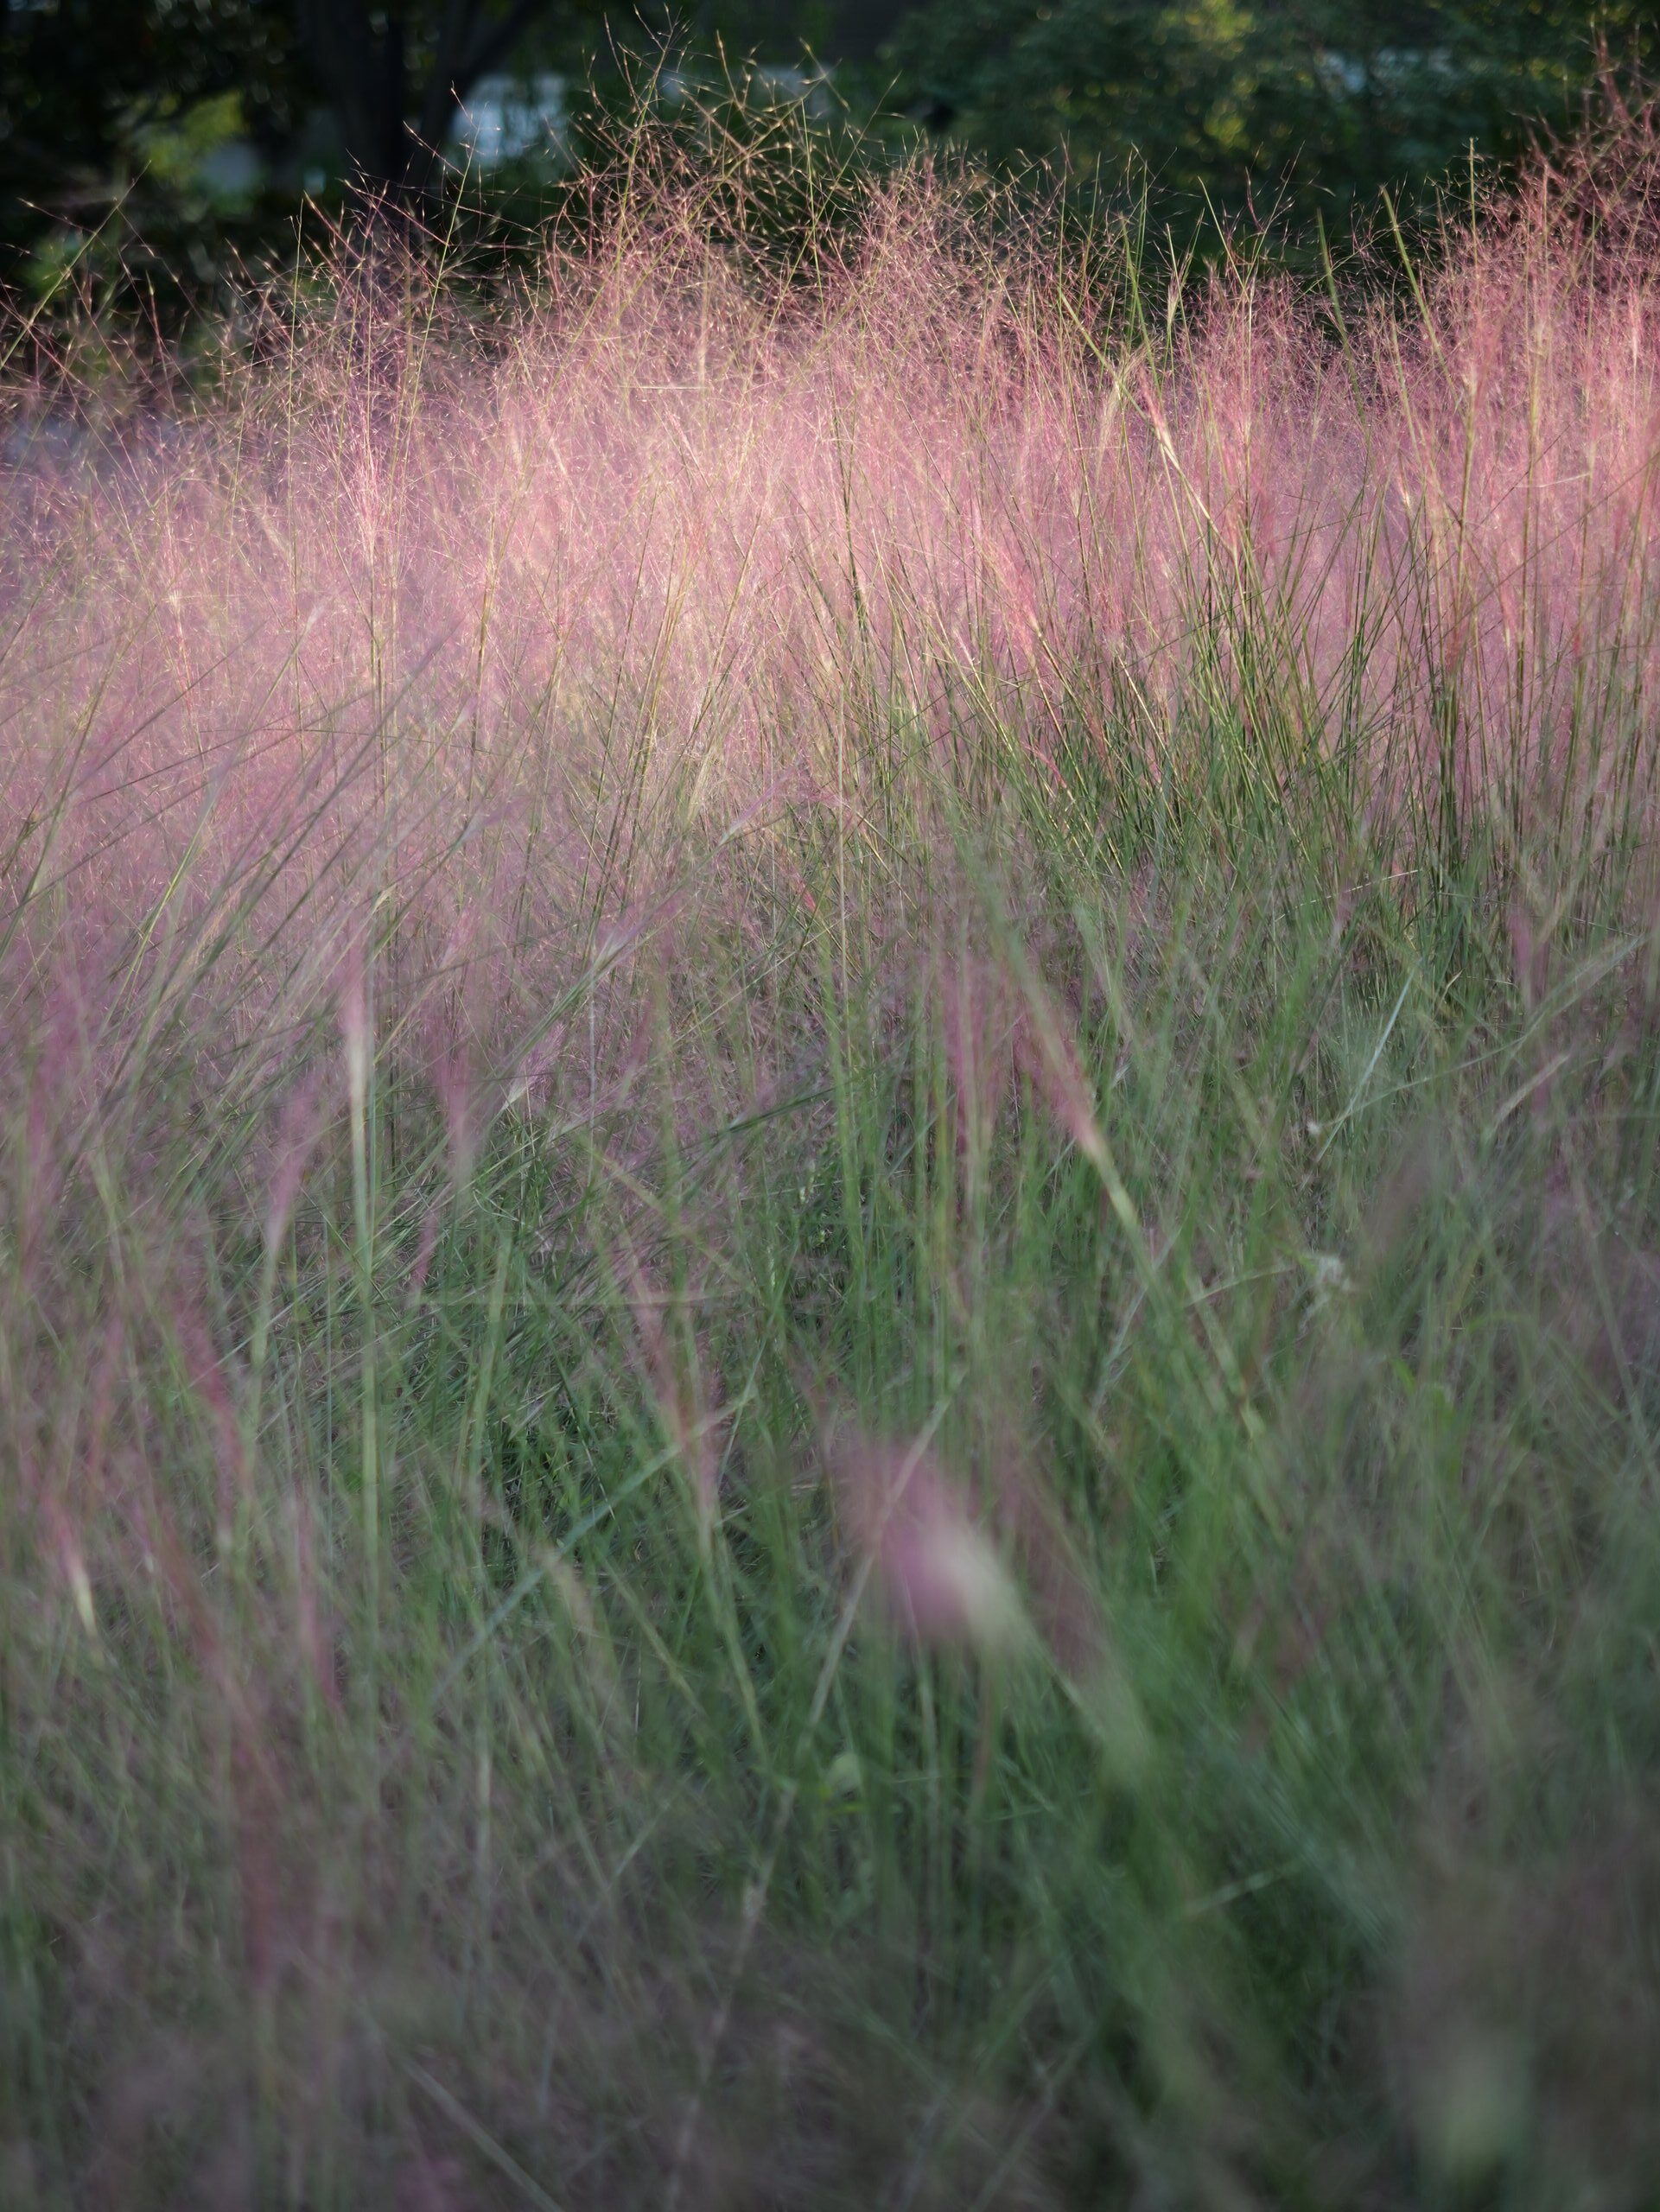
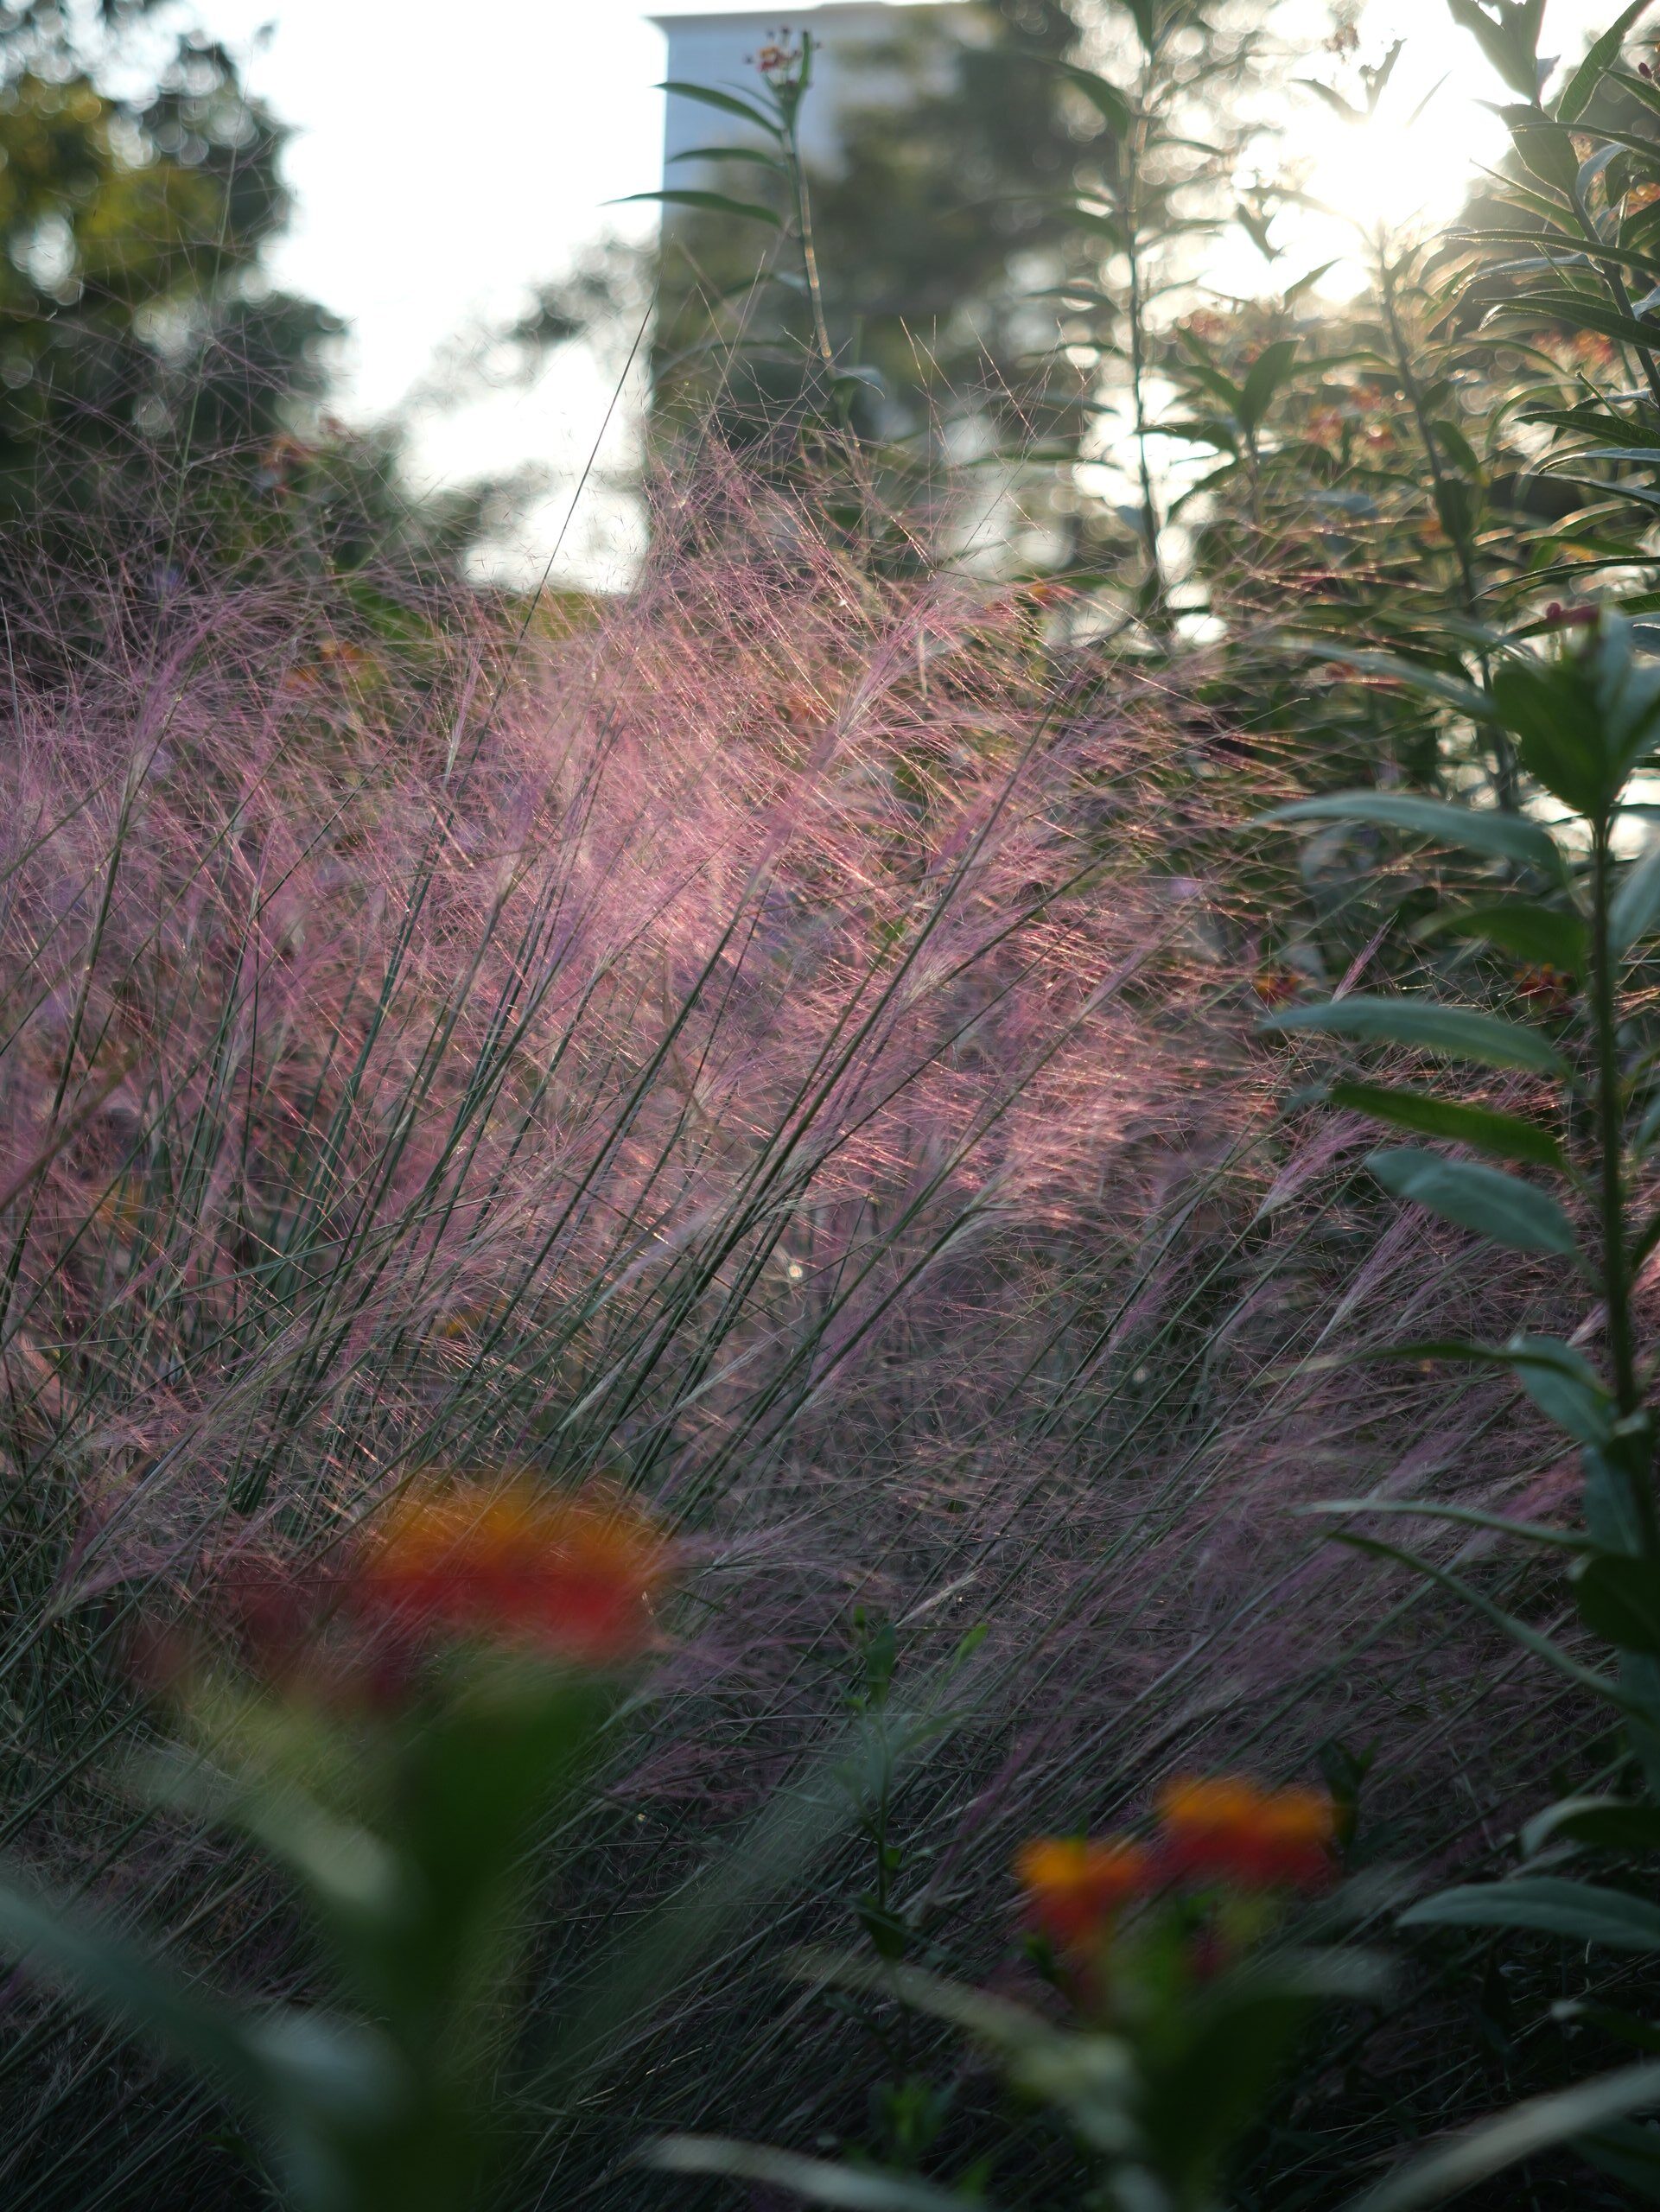
粉黛乱子草(Muhlenbergia capillaris)是禾本目、禾本科、乱子草属植物。多年生暖季型草本,株高可达30-90厘米,宽可达60-90厘米。顶端呈拱形,绿色叶片纤细。顶生云雾状粉色花絮,花期9-11月,成片种植可呈现出粉色云雾海洋的壮观景色,景观可由9月份一直持续至11月中旬,观赏效果极佳。


粉黛乱子草(Muhlenbergia capillaris)是禾本目、禾本科、乱子草属植物。多年生暖季型草本,株高可达30-90厘米,宽可达60-90厘米。顶端呈拱形,绿色叶片纤细。顶生云雾状粉色花絮,花期9-11月,成片种植可呈现出粉色云雾海洋的壮观景色,景观可由9月份一直持续至11月中旬,观赏效果极佳。