What is Muhlenbergia capillaris?
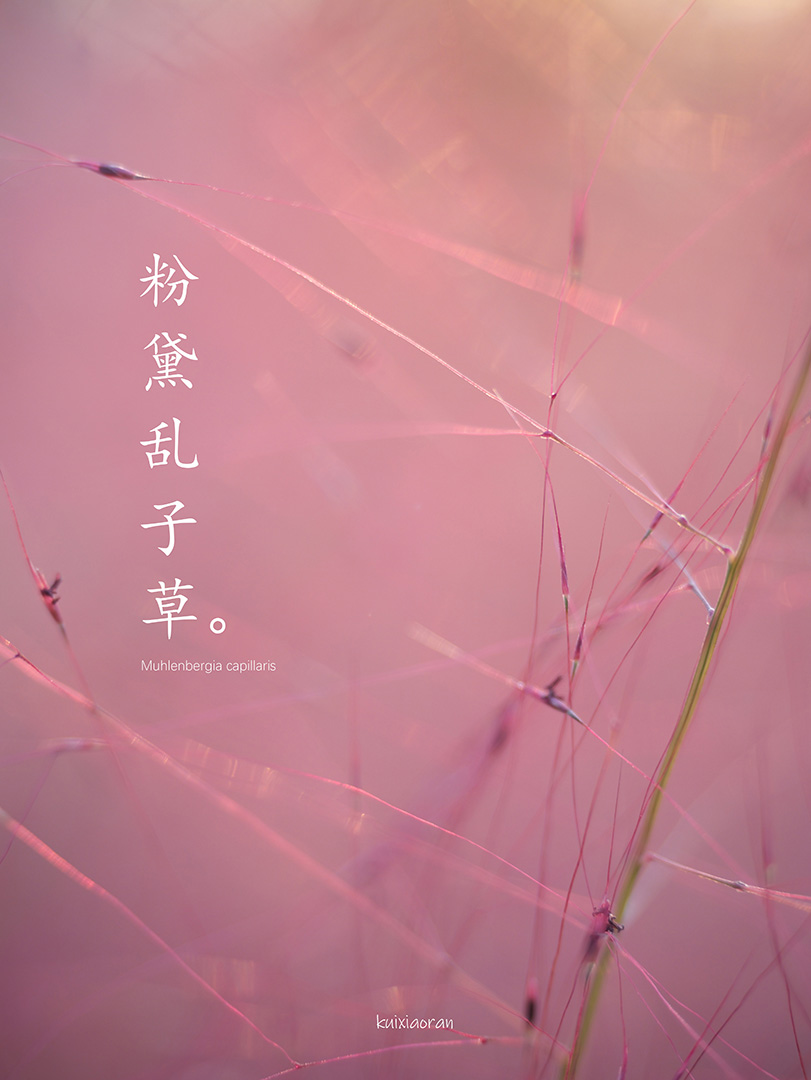
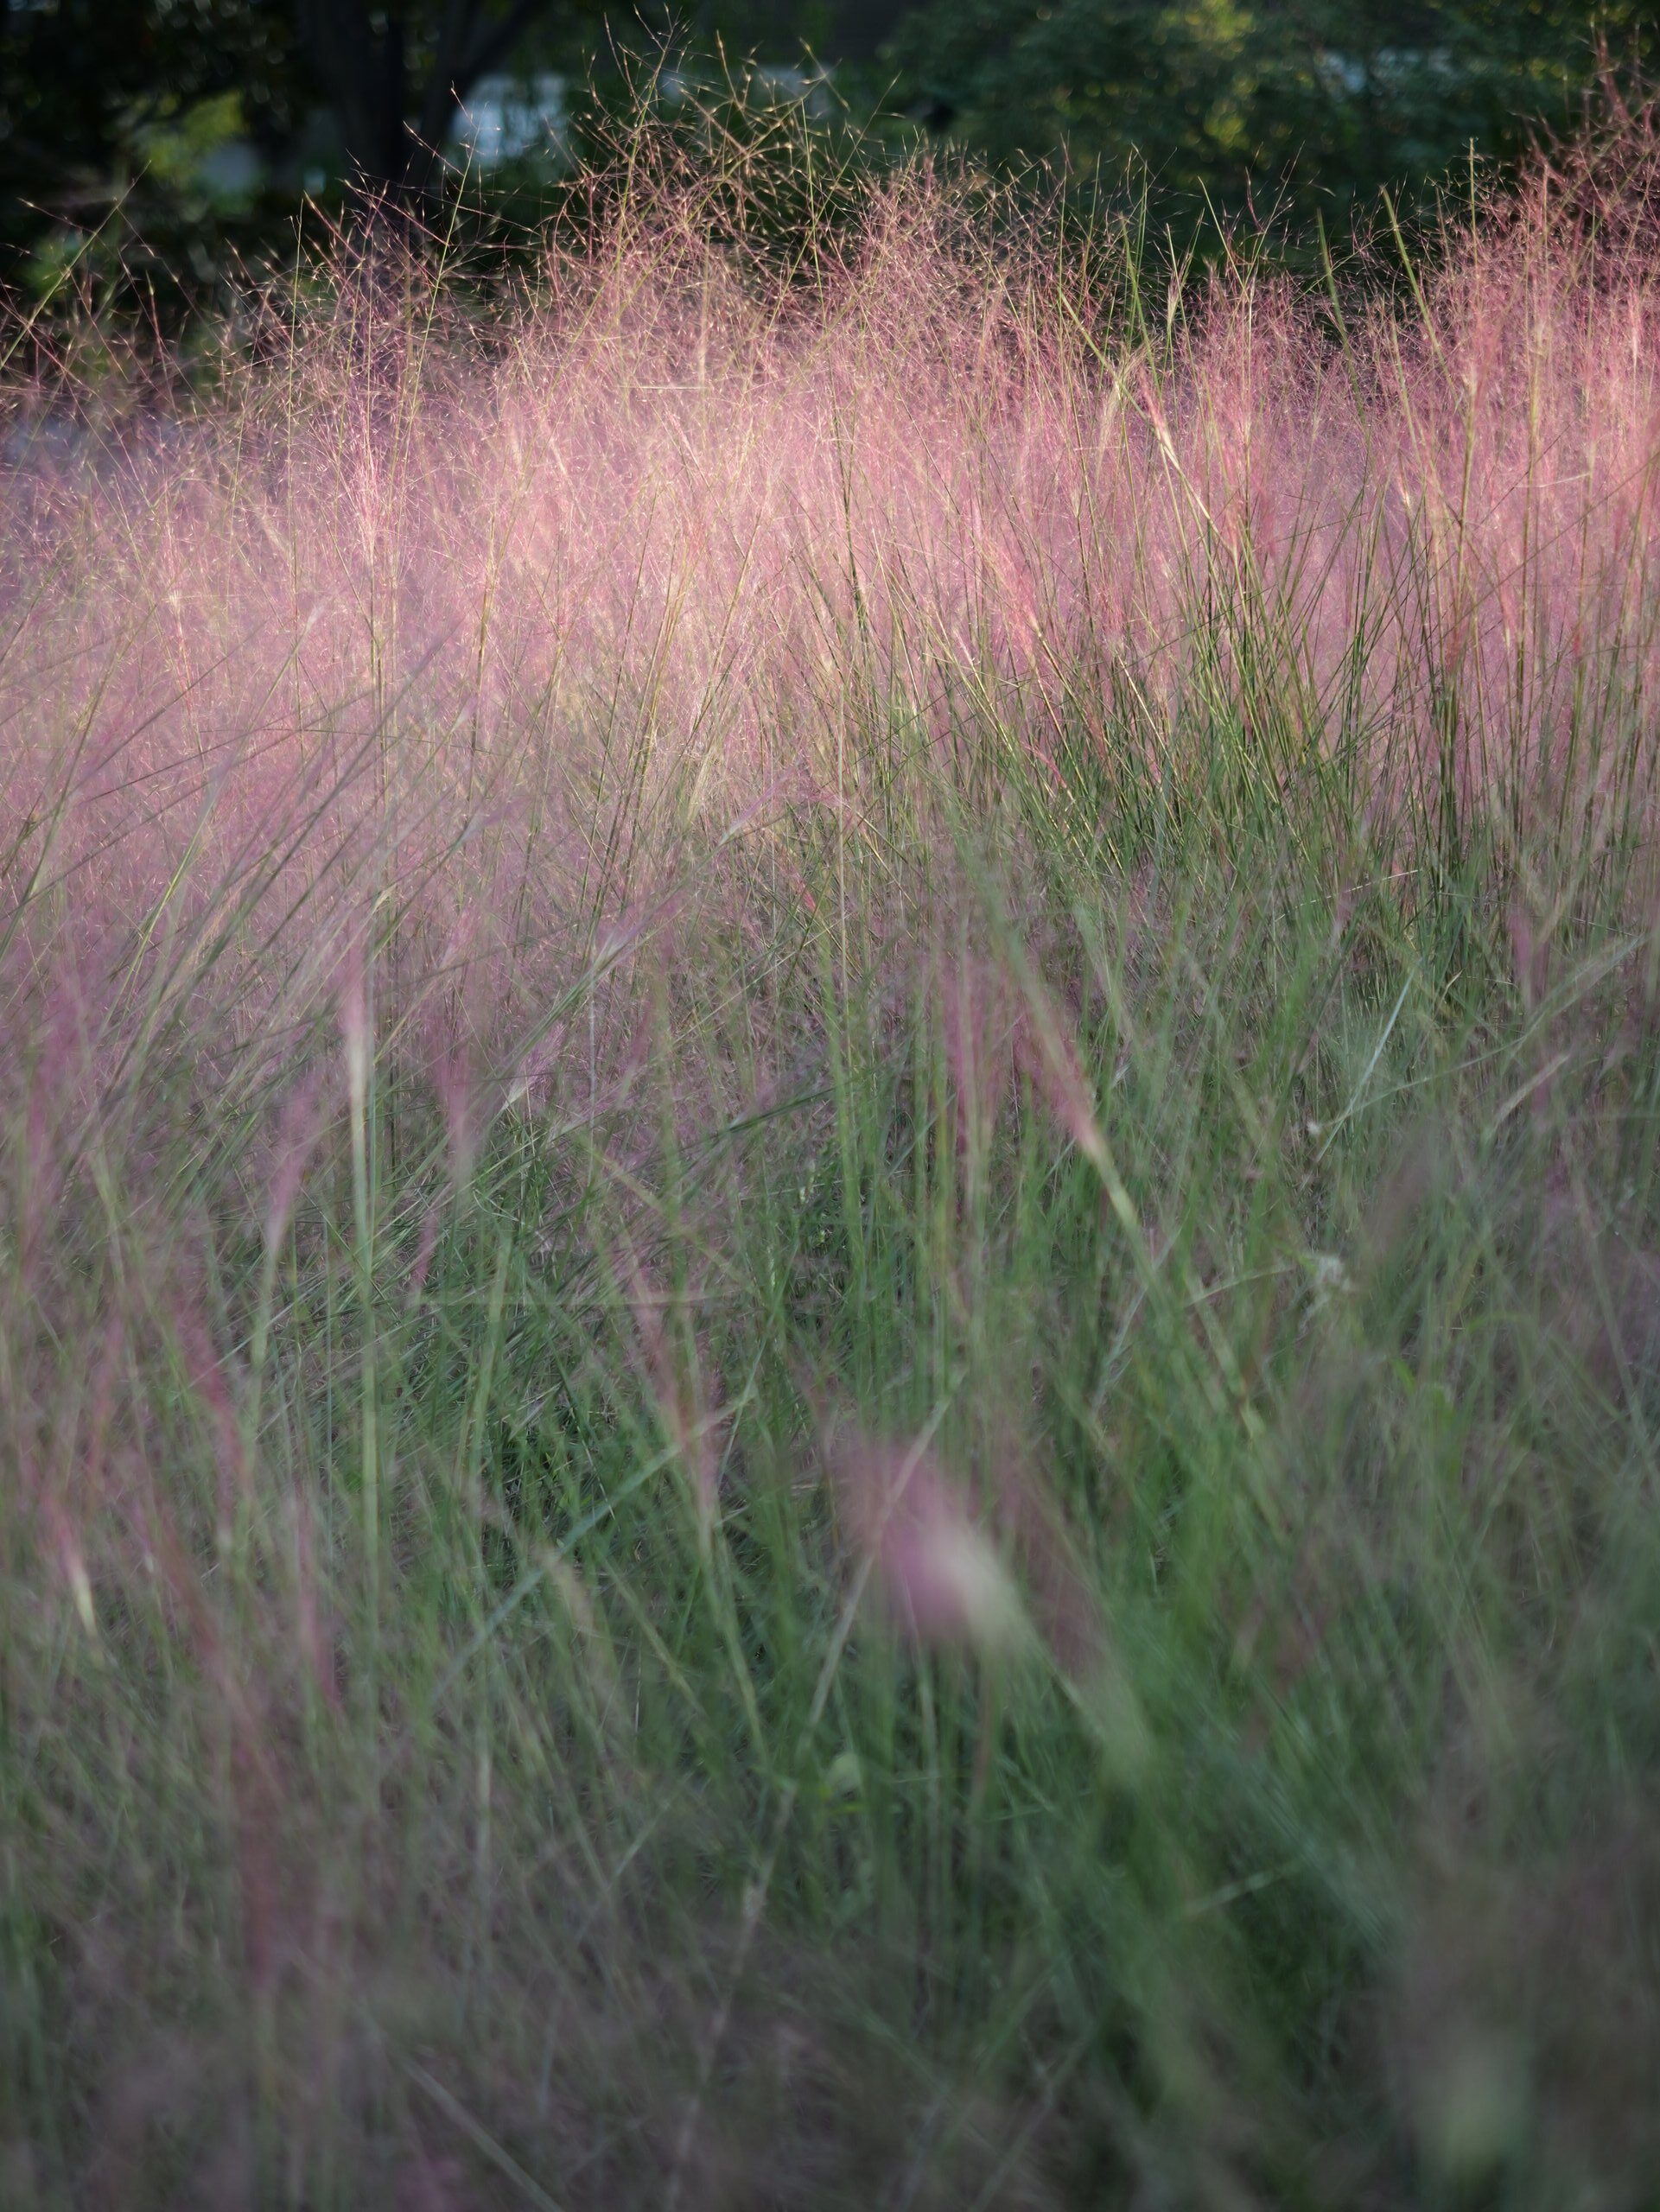
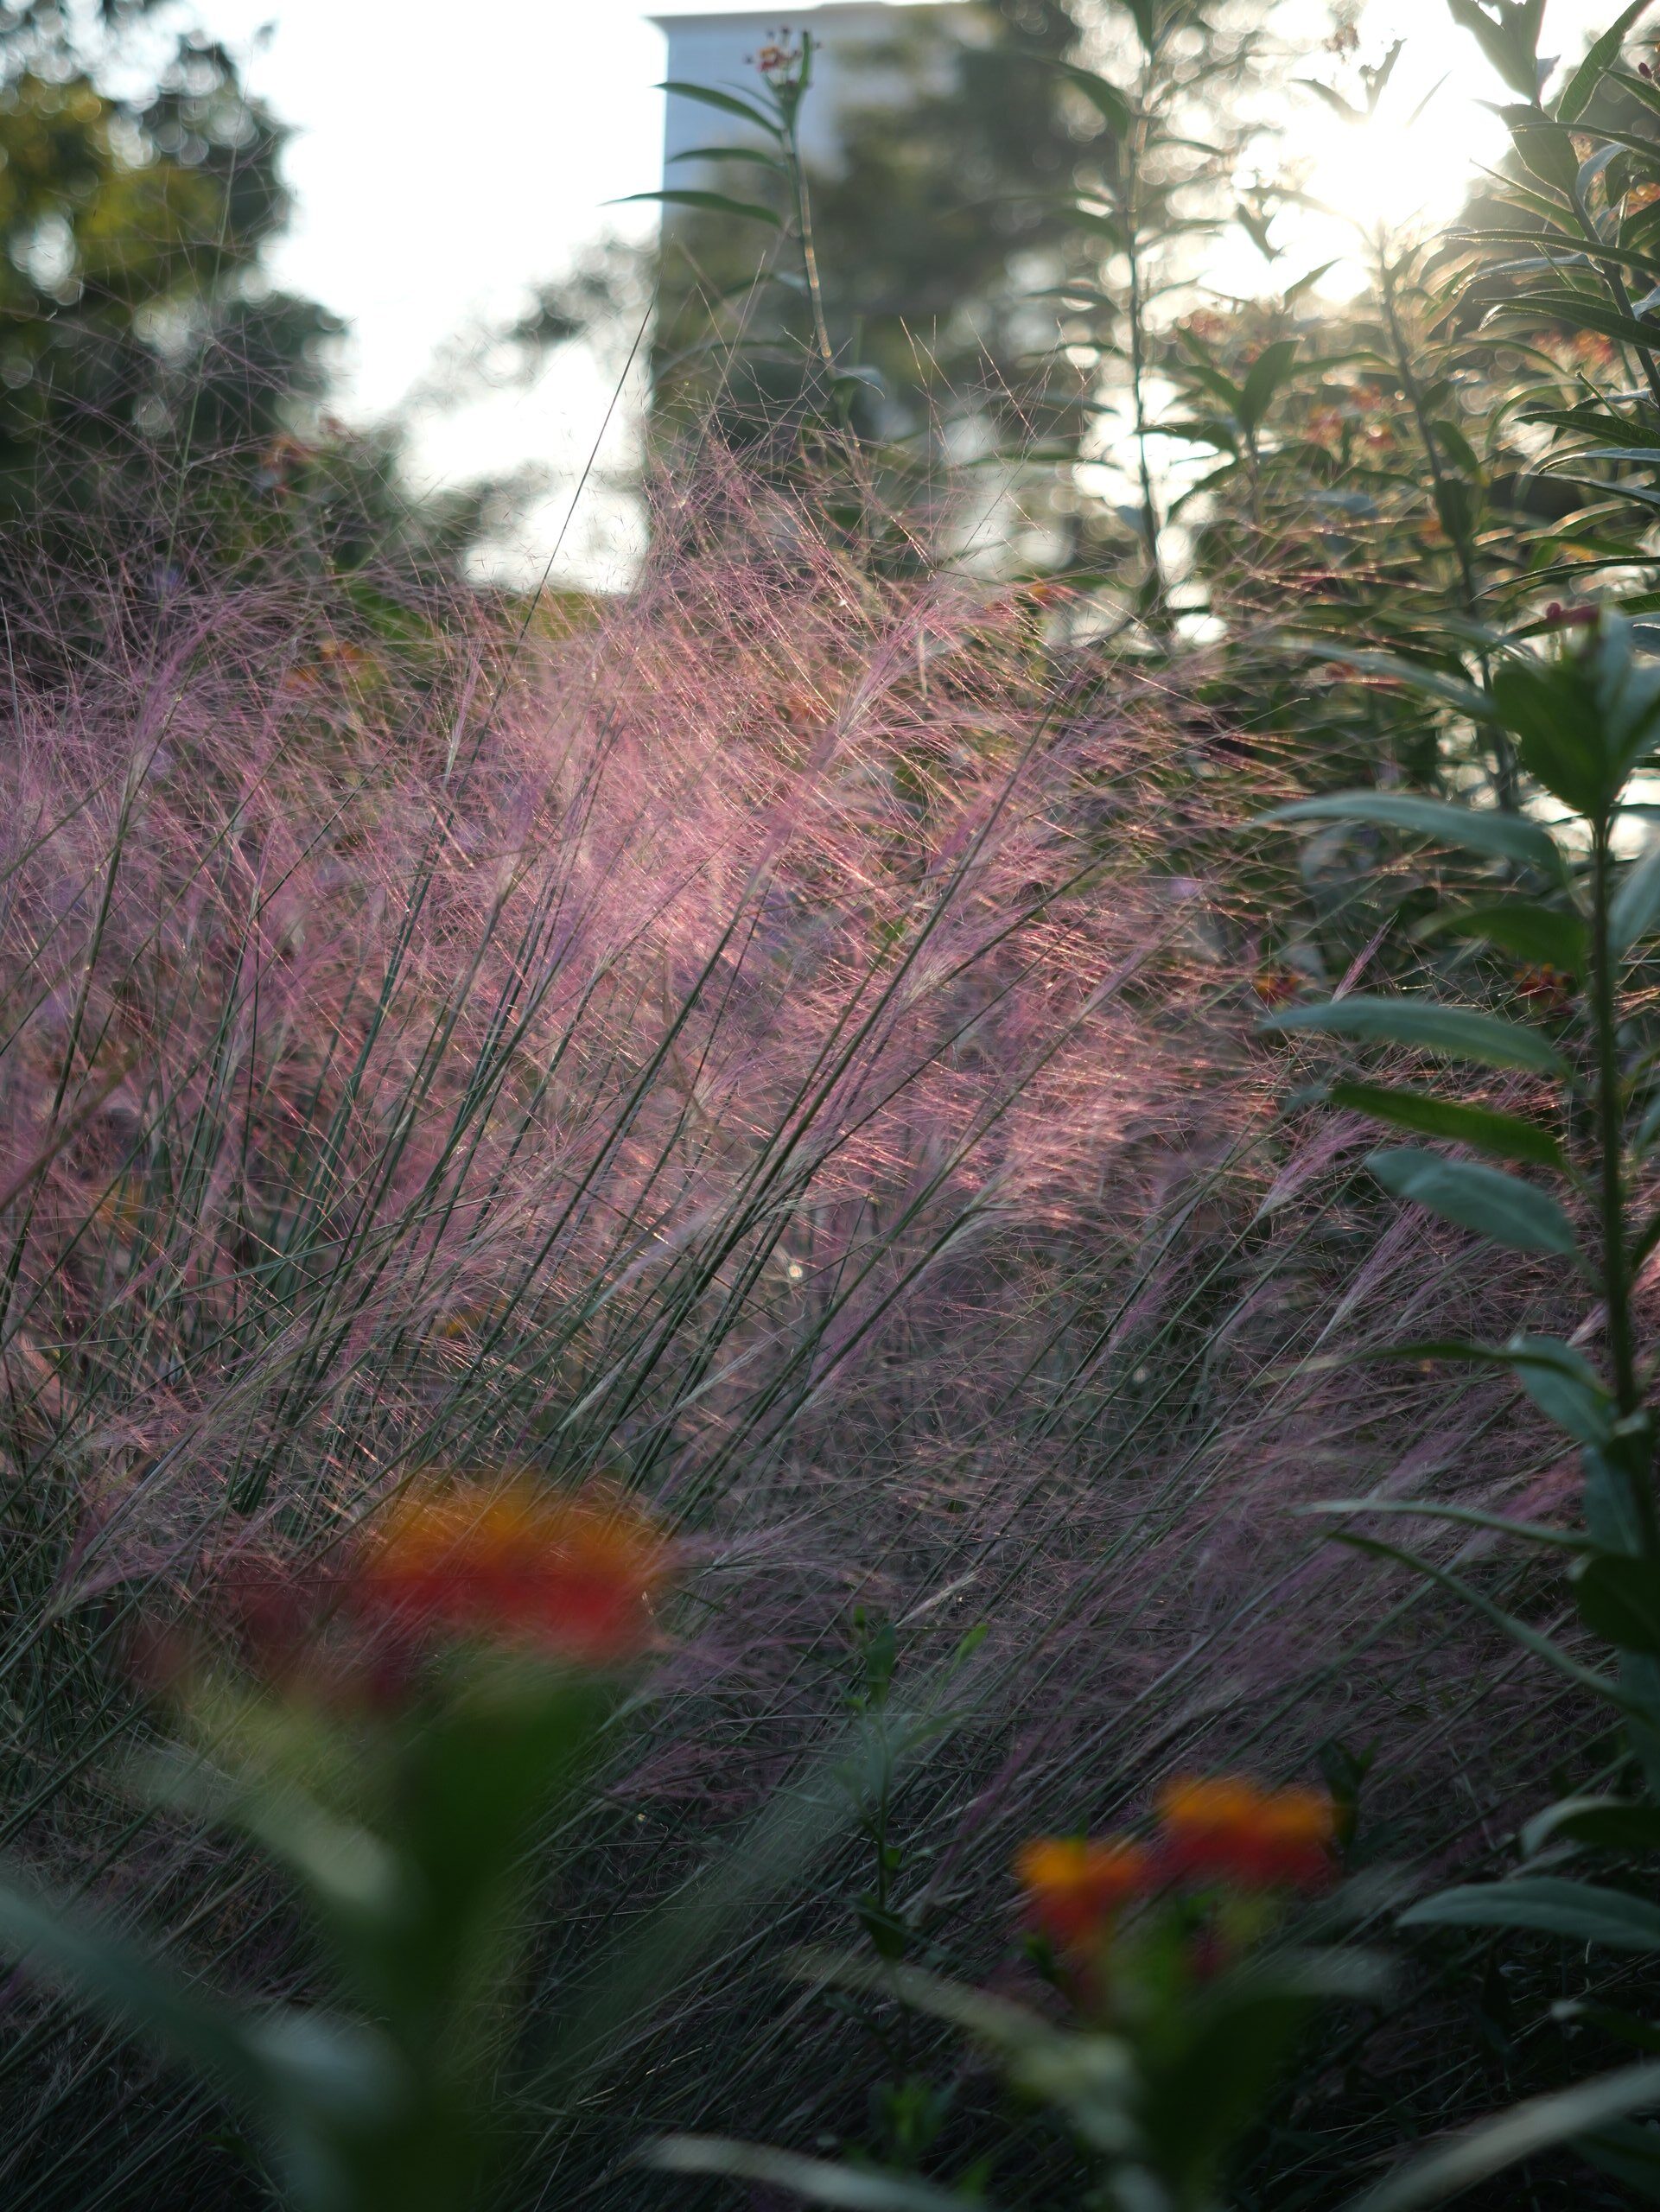
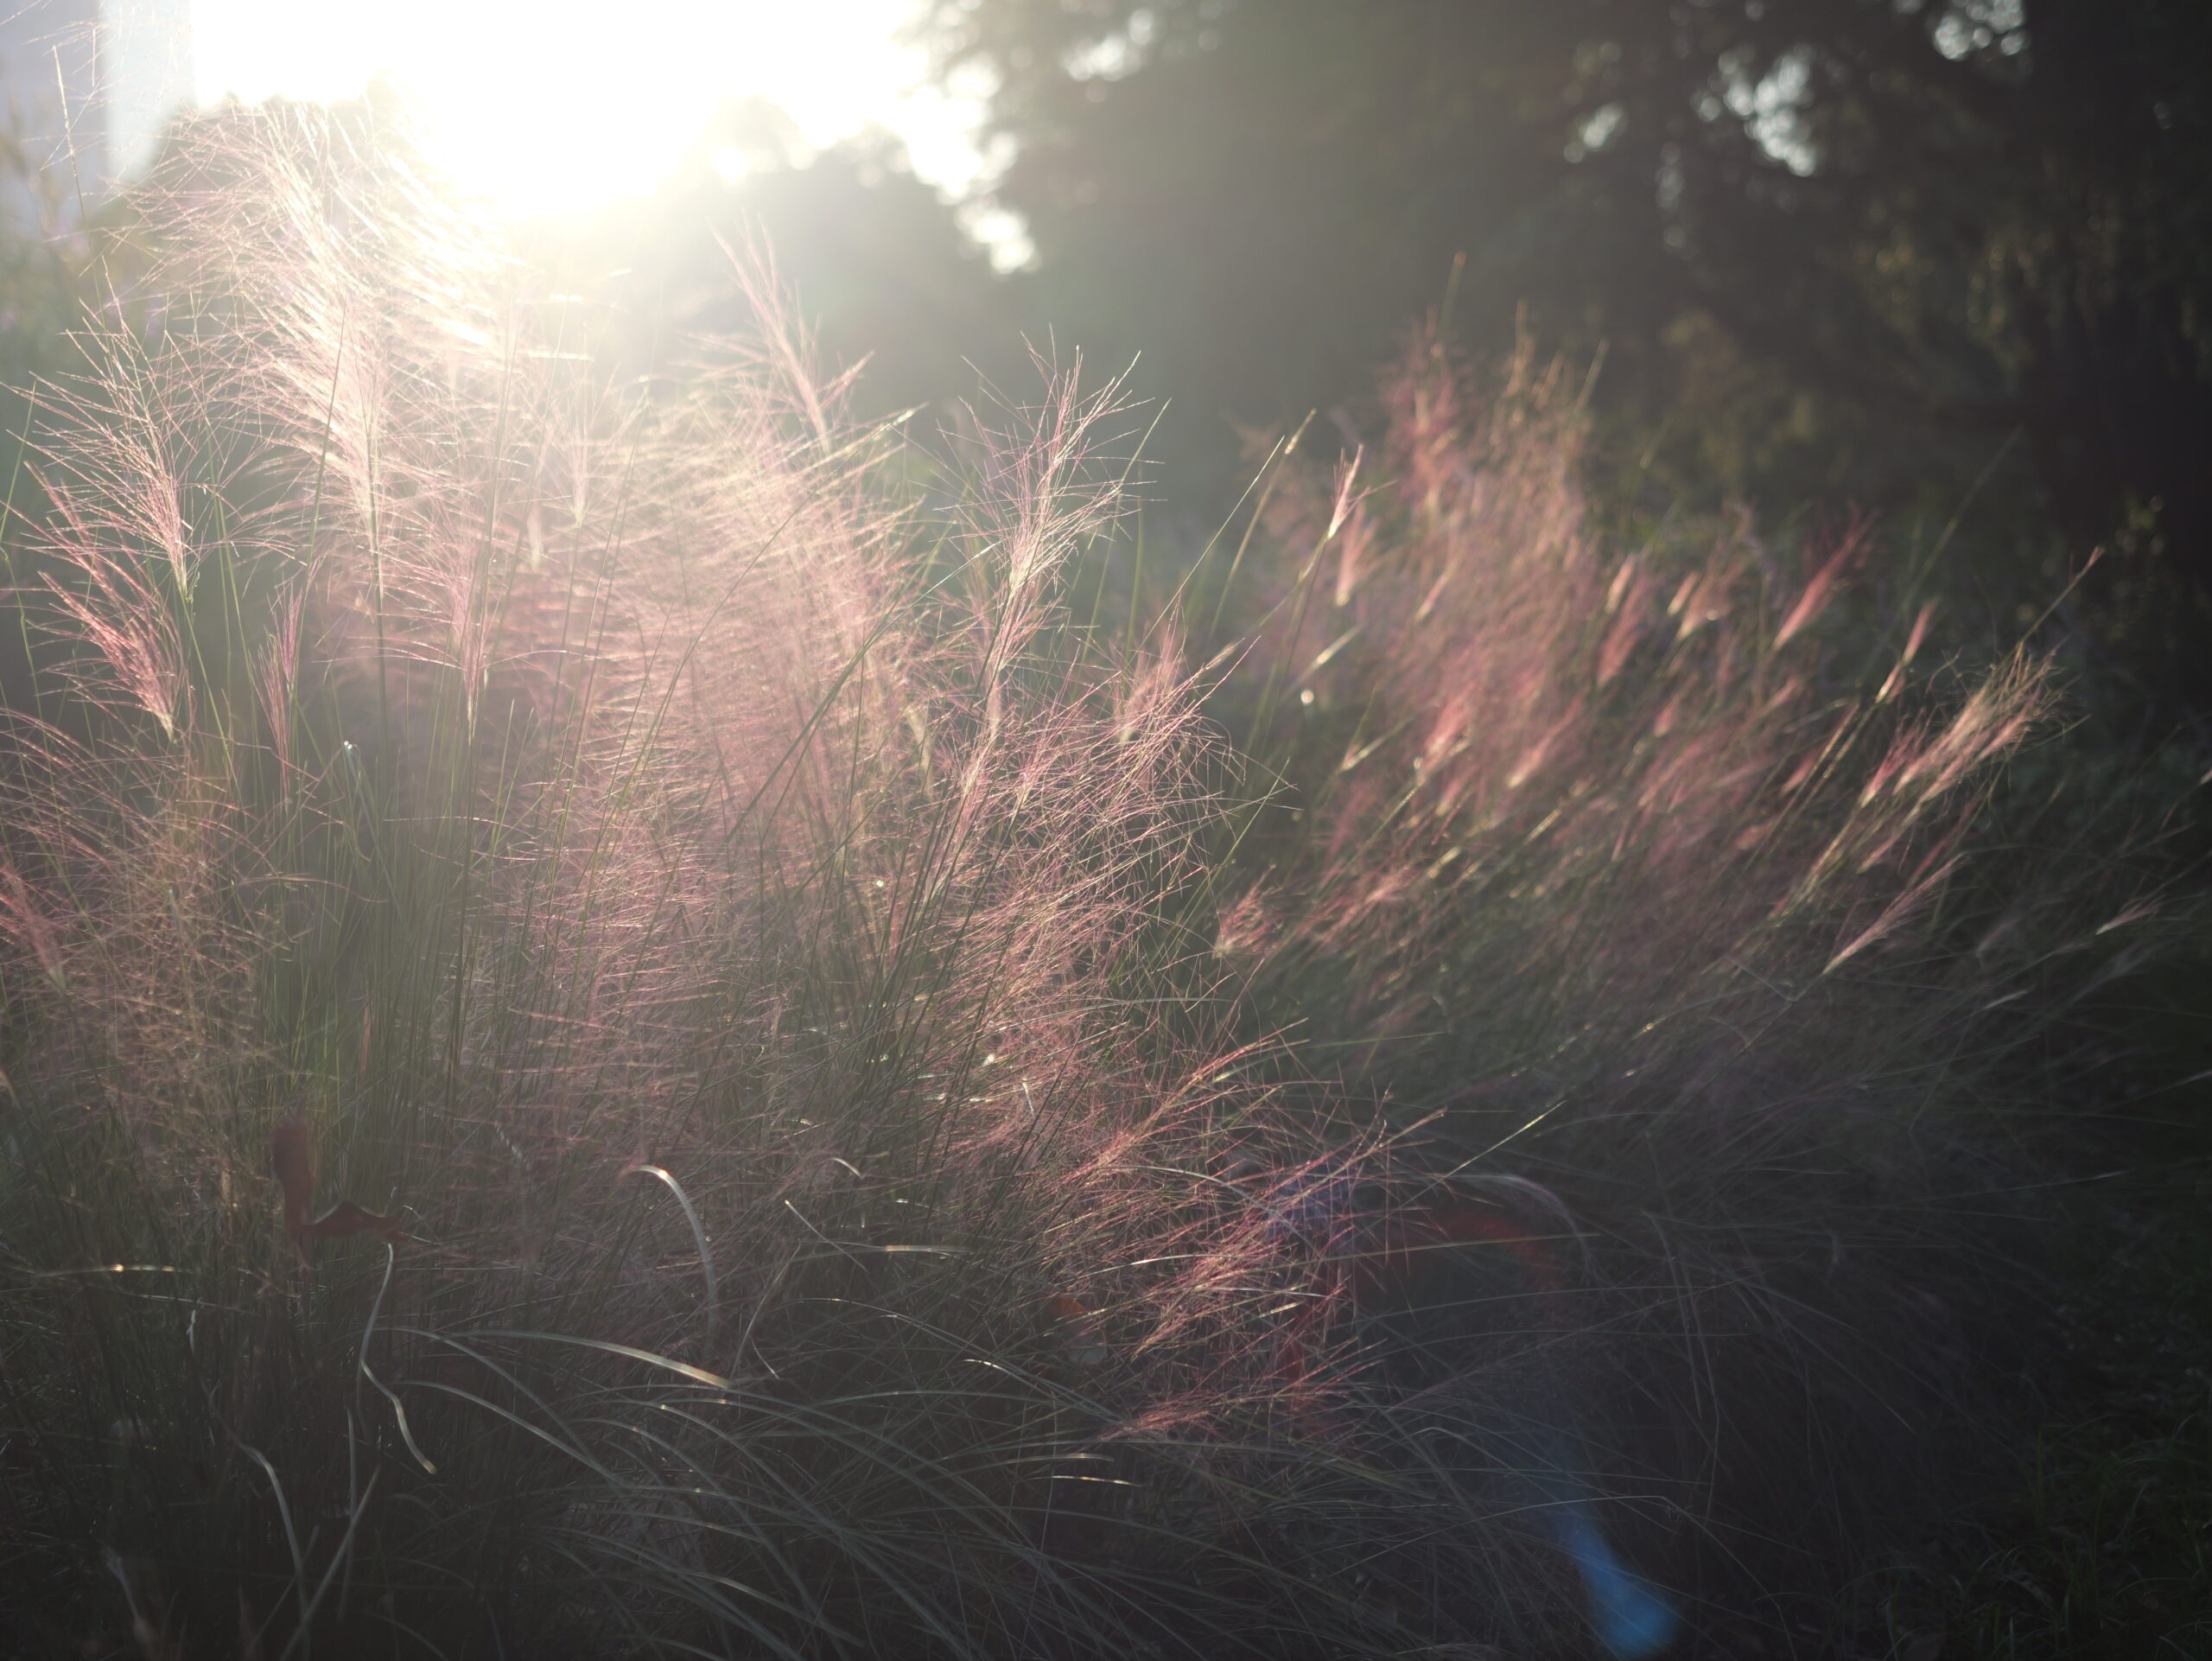
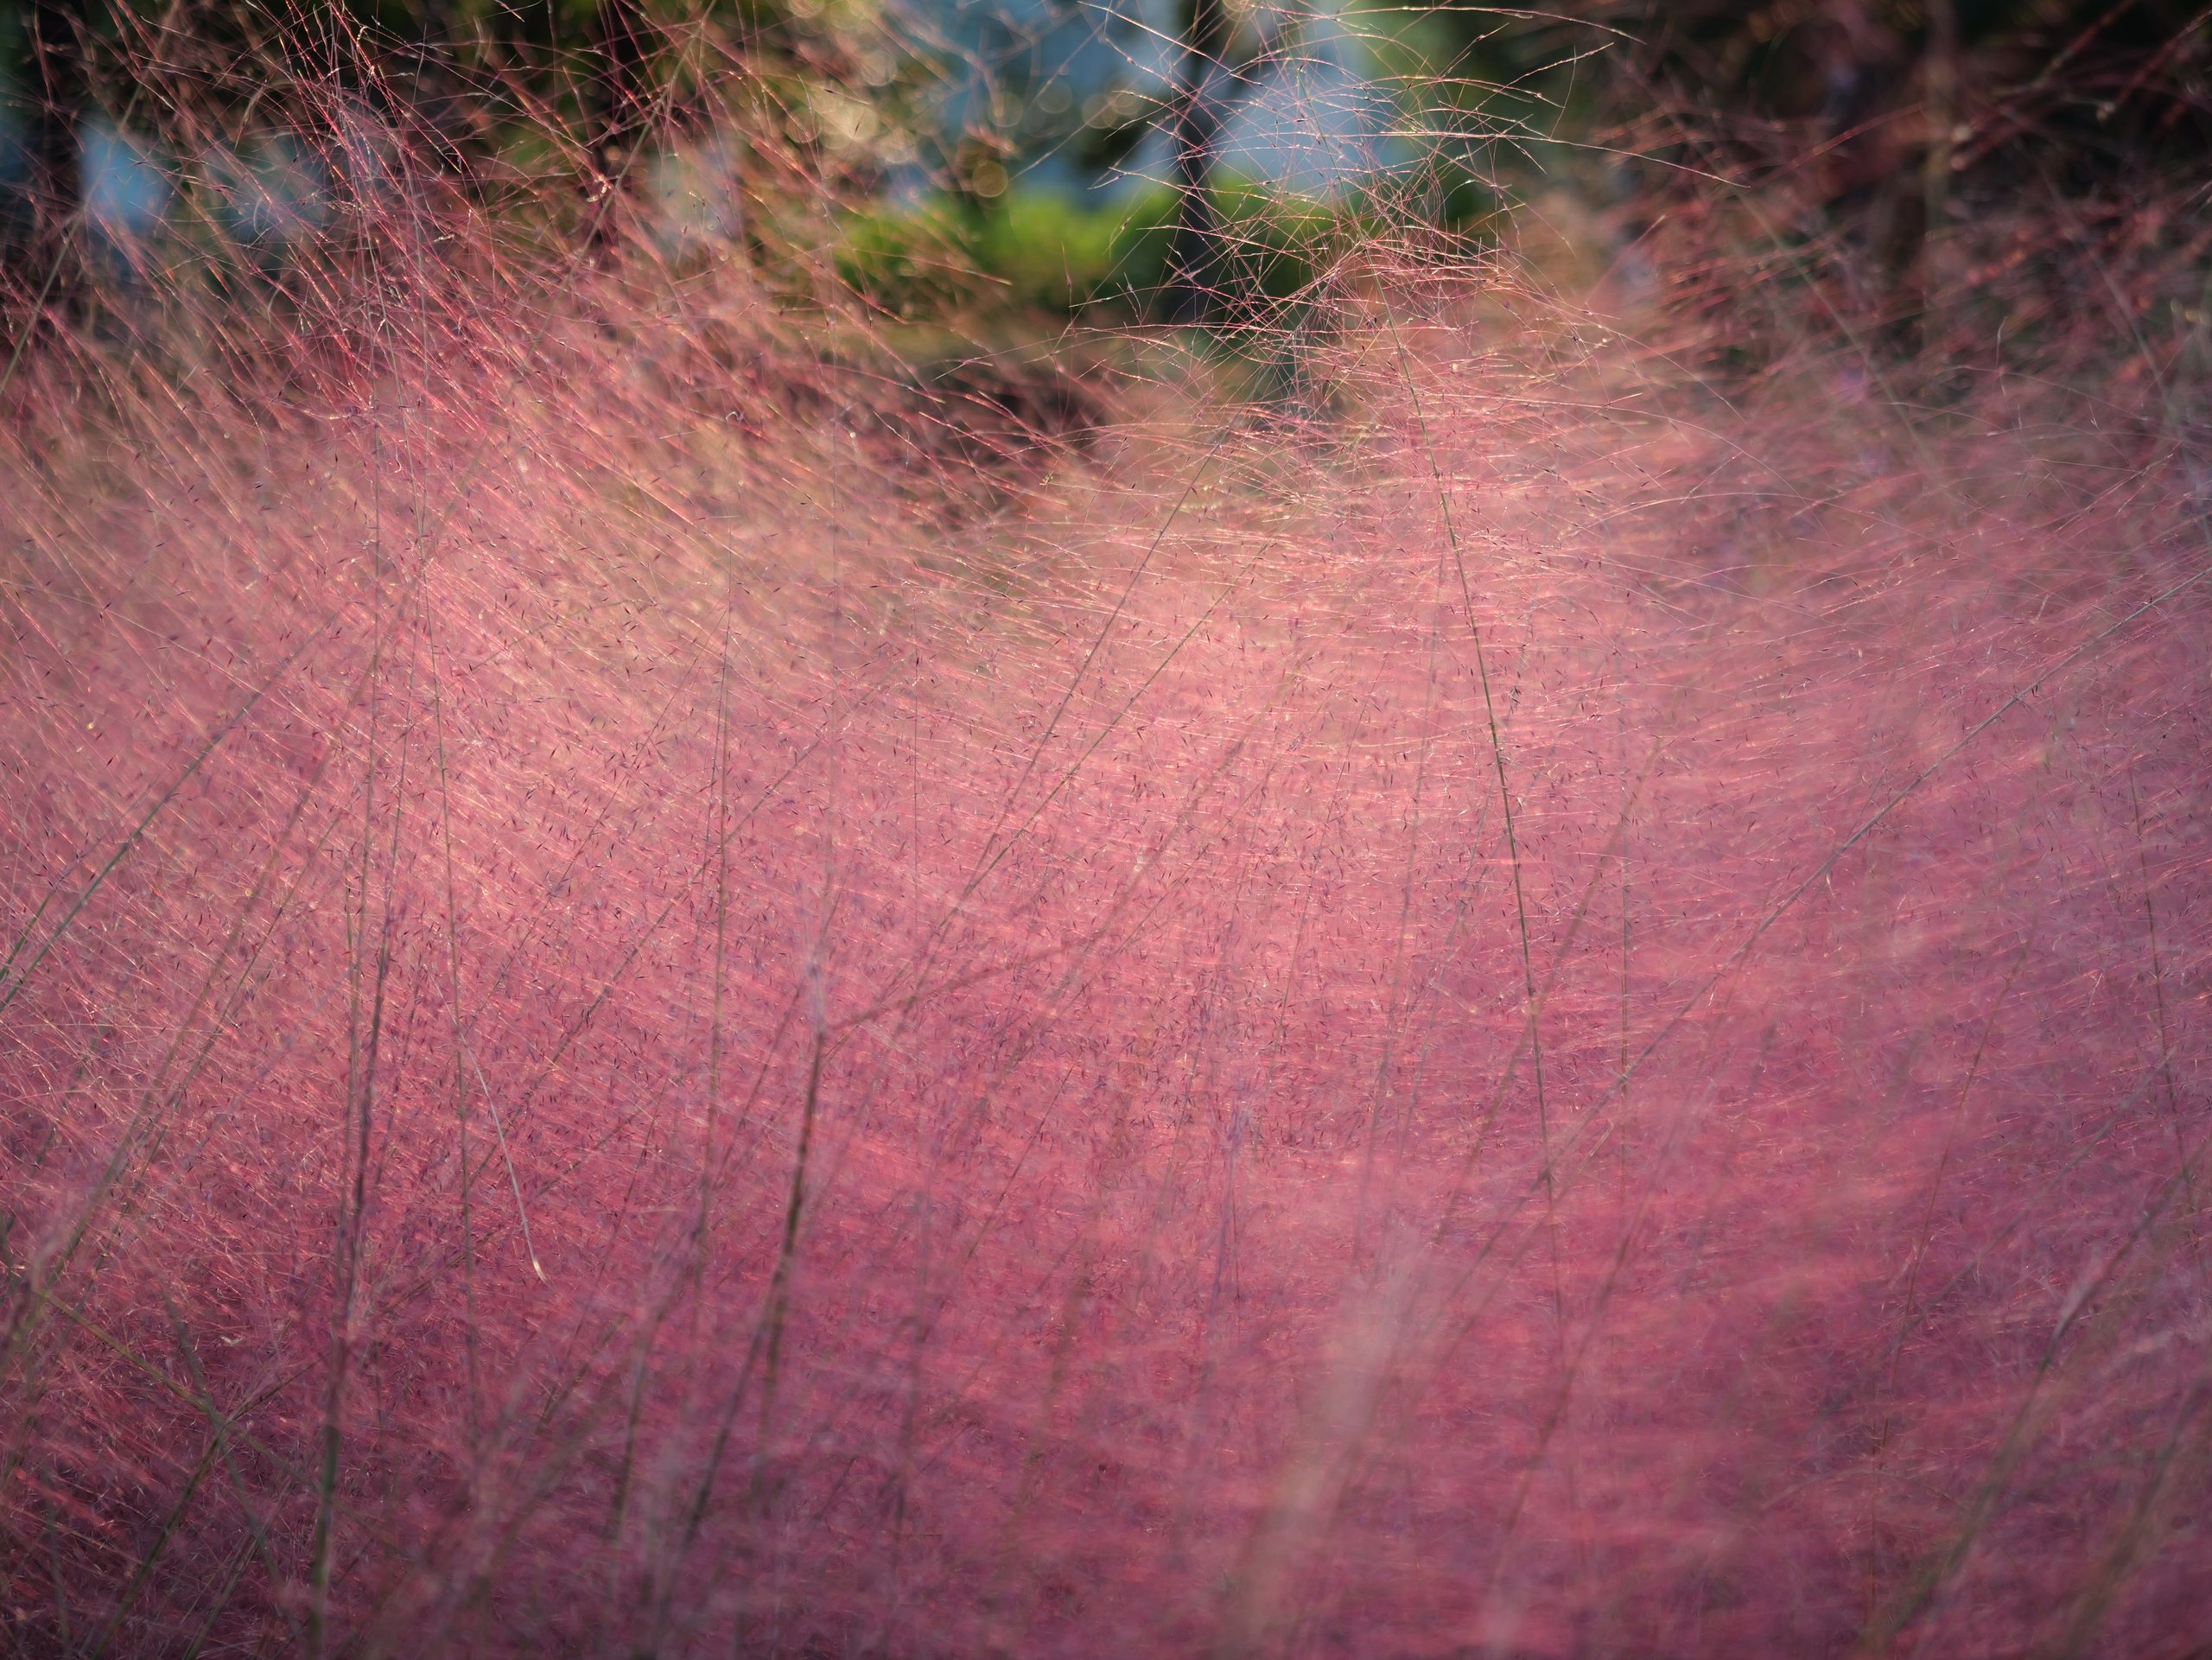
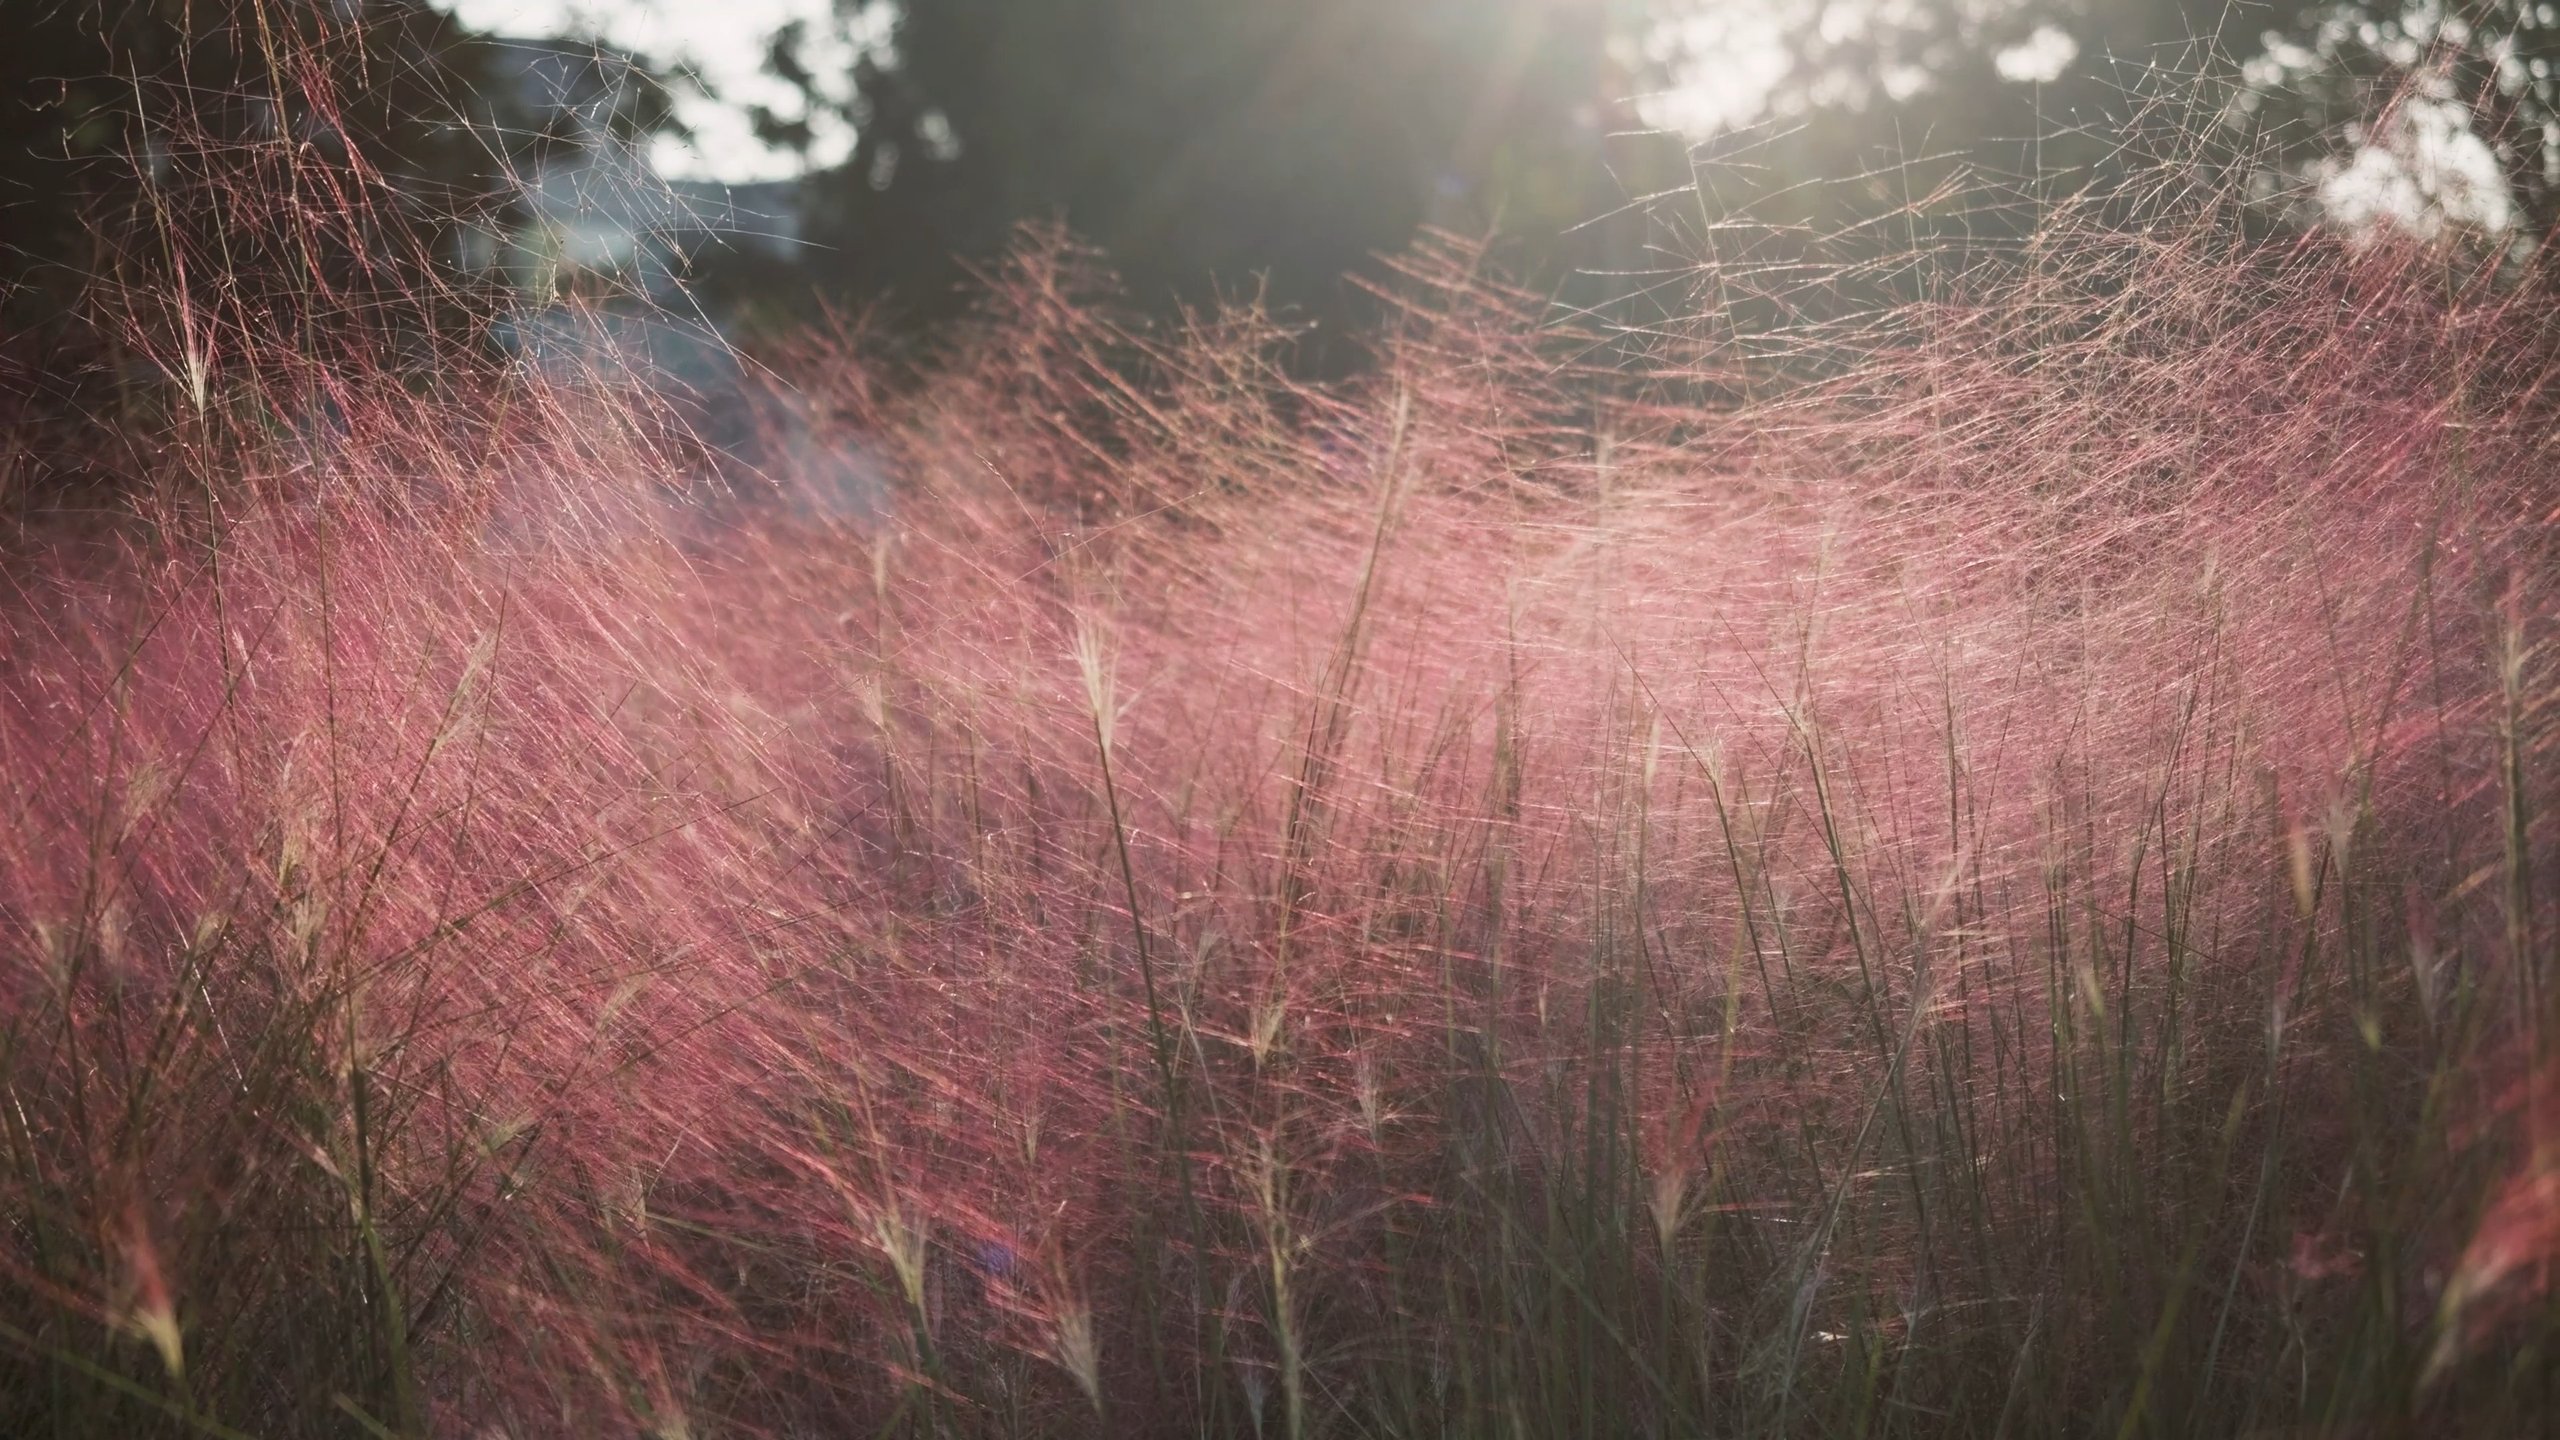
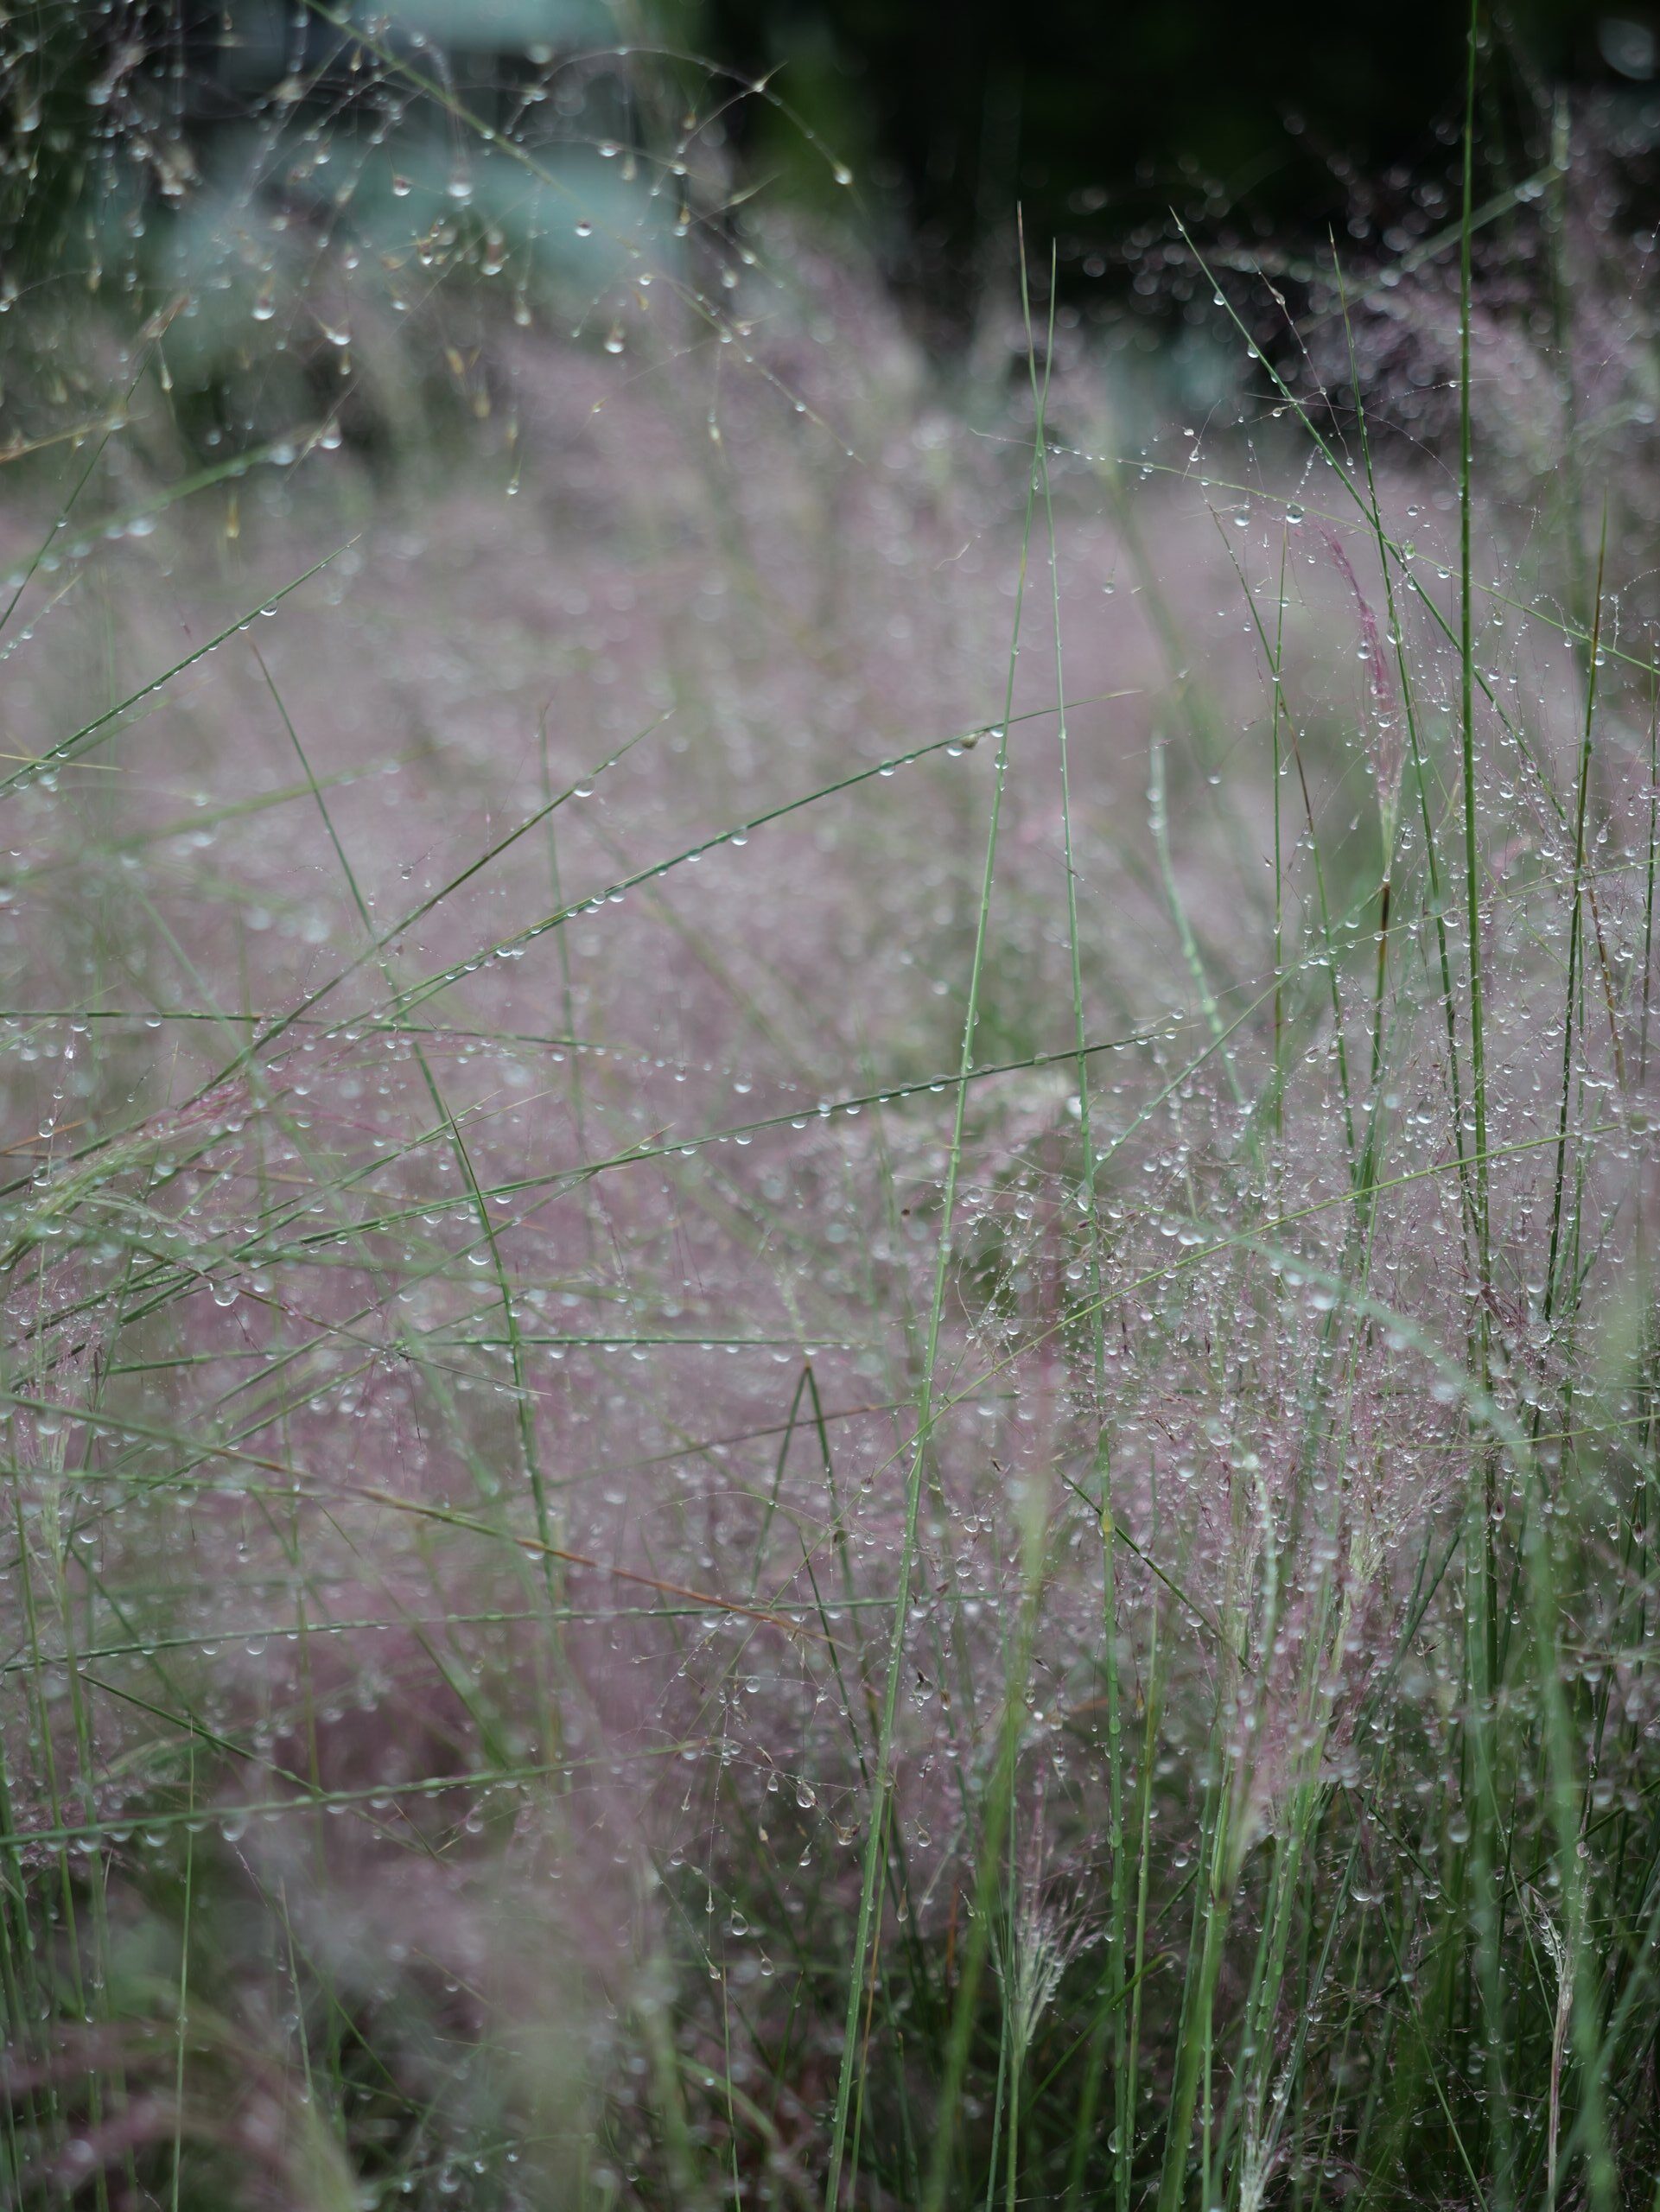
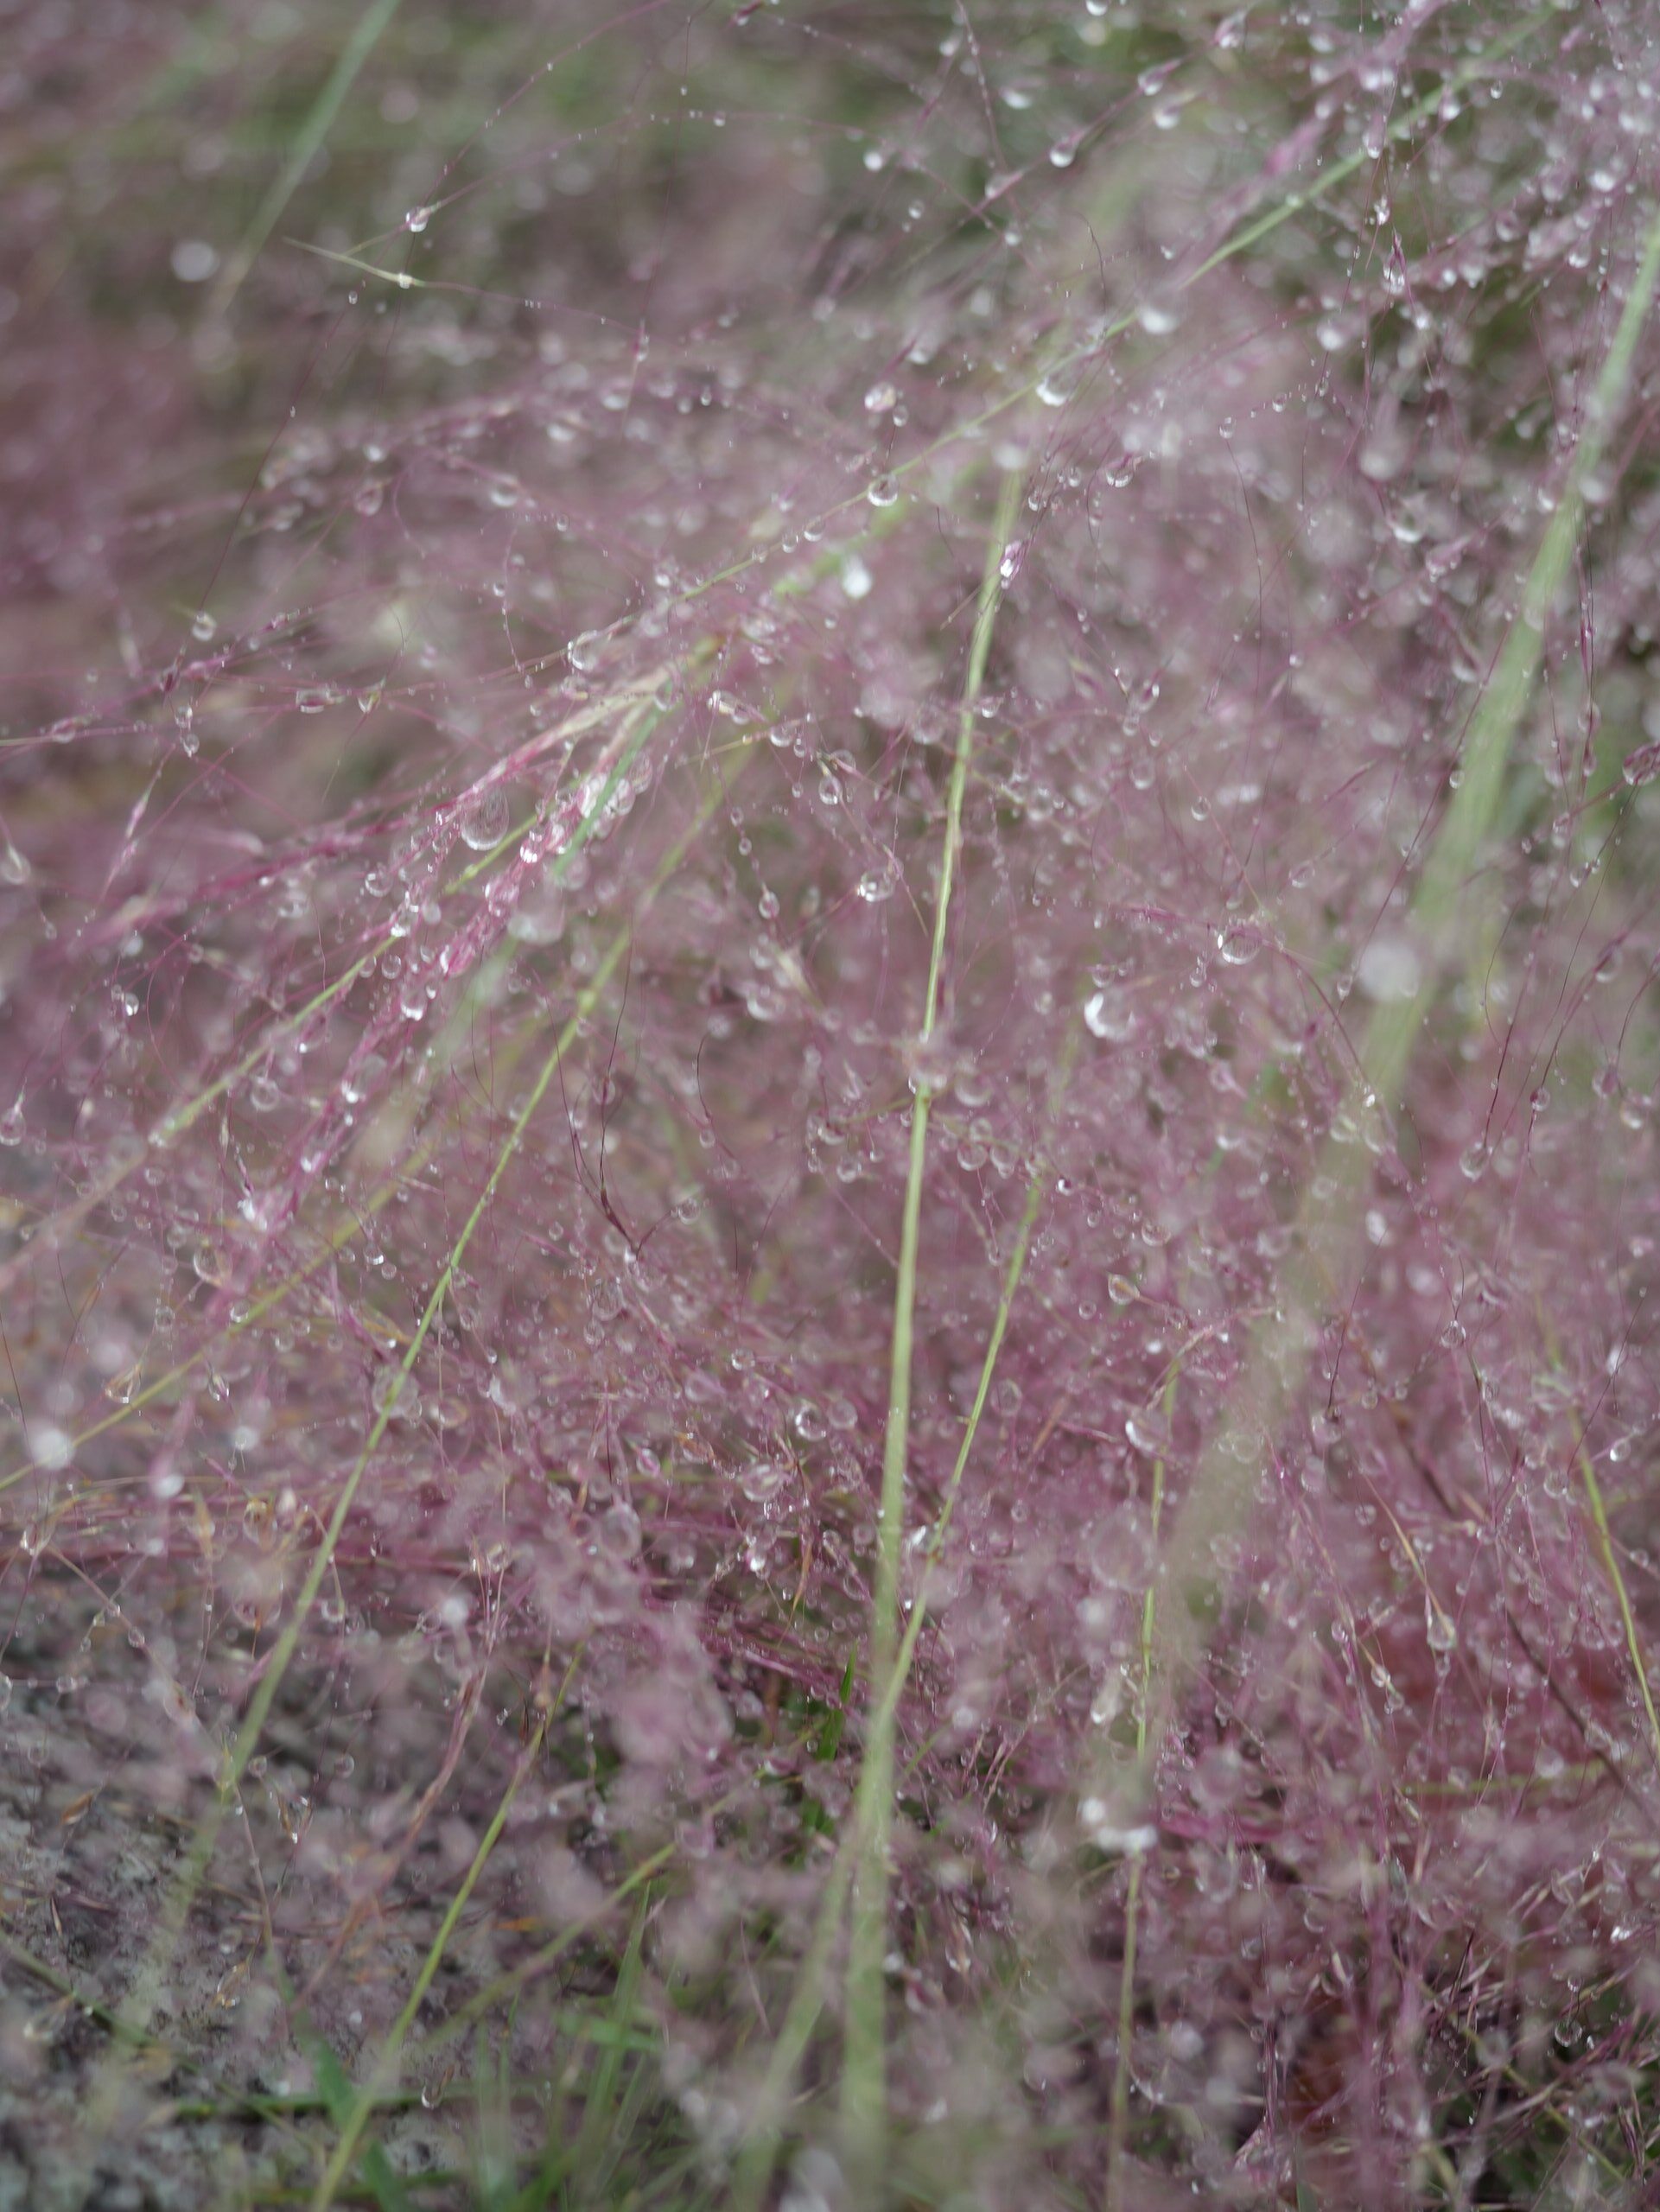
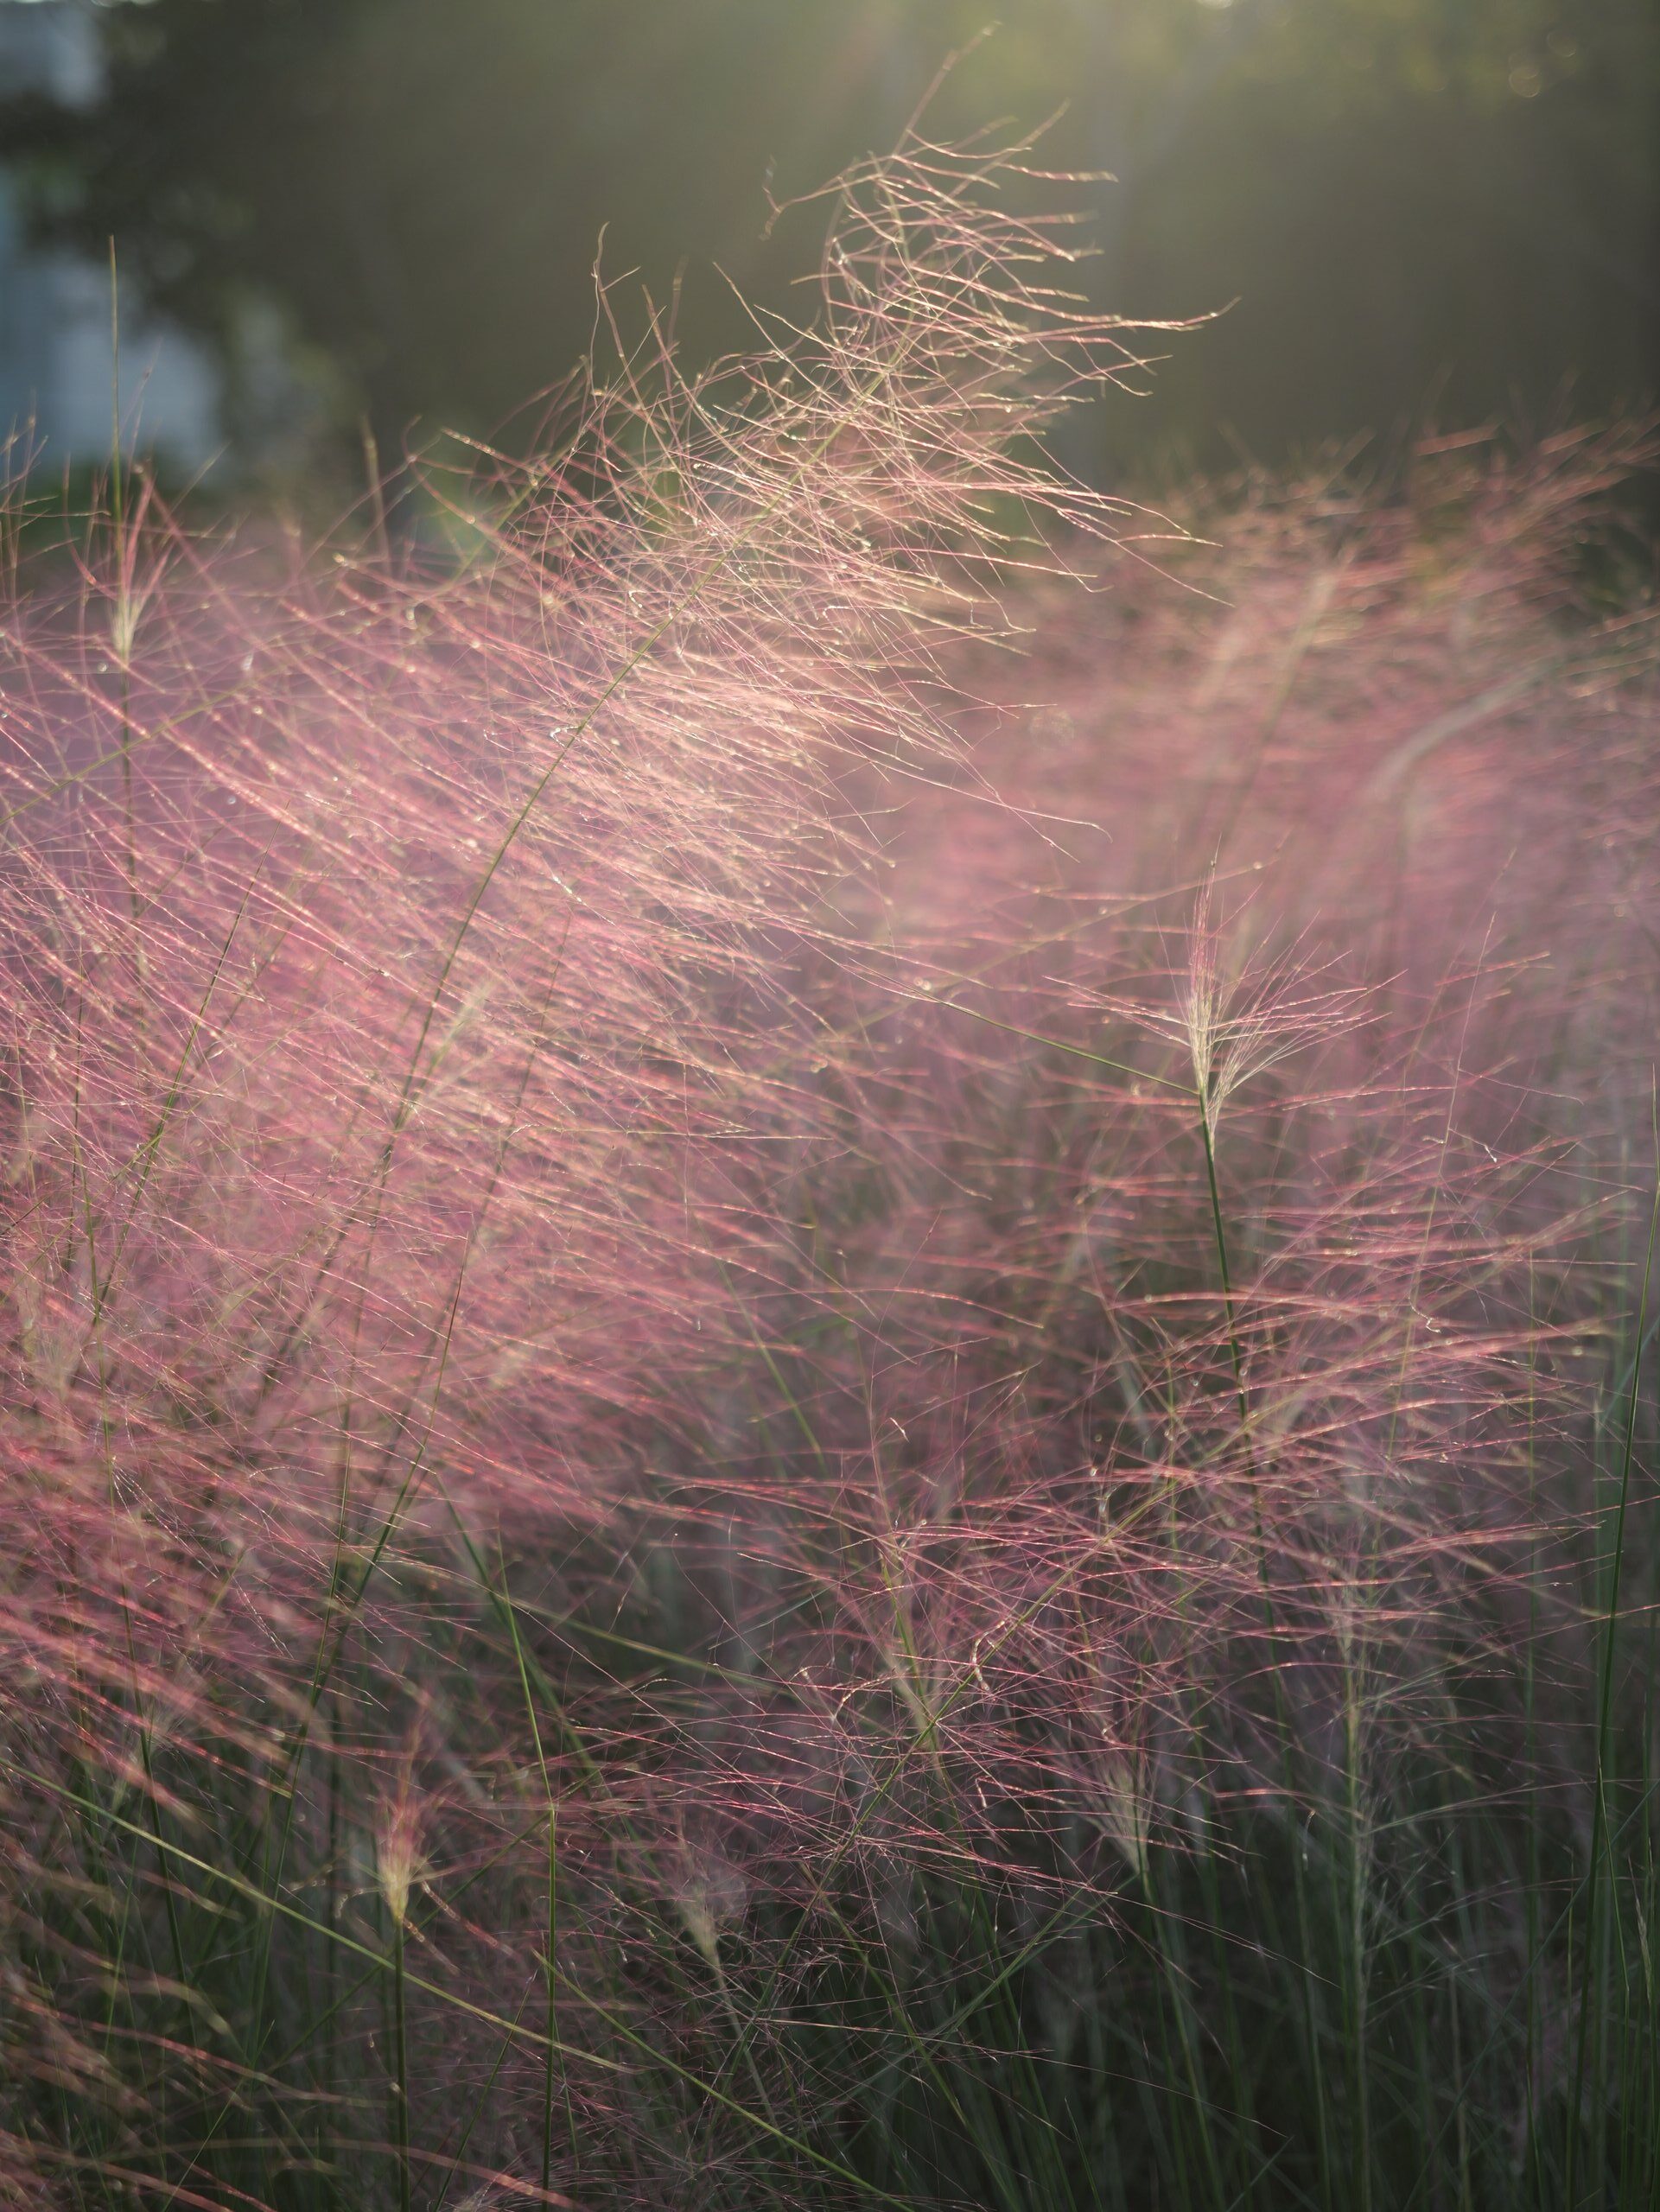
粉黛乱子草(Muhlenbergia capillaris)是禾本目、禾本科、乱子草属植物。多年生暖季型草本,株高可达30-90厘米,宽可达60-90厘米。顶端呈拱形,绿色叶片纤细。顶生云雾状粉色花絮,花期9-11月,成片种植可呈现出粉色云雾海洋的壮观景色,景观可由9月份一直持续至11月中旬,观赏效果极佳。


粉黛乱子草(Muhlenbergia capillaris)是禾本目、禾本科、乱子草属植物。多年生暖季型草本,株高可达30-90厘米,宽可达60-90厘米。顶端呈拱形,绿色叶片纤细。顶生云雾状粉色花絮,花期9-11月,成片种植可呈现出粉色云雾海洋的壮观景色,景观可由9月份一直持续至11月中旬,观赏效果极佳。
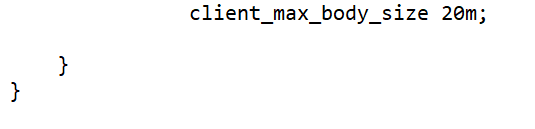
WordPress预设一般为2M大小,非常不利于高清图片及音视频的上传,虽然对带宽有一定压力,但还是建议对上传大小进行修改。
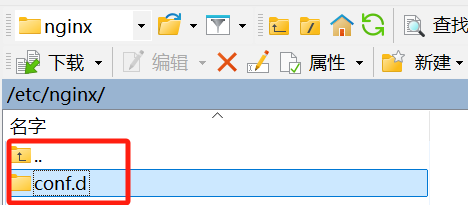
网上一般都提到是对PHP与Nginx的ini文件进行调整,不过需要注意的是,在配置了SSL的网站中,Nginx只对根目录的ini文件进行调整无法起到效果,需要调整conf.d文件夹下的网站对应配置文件,才能起到效果。
输入两个图片,进行合成,自动在1图标记1986,2图标记2024,图片对齐,保持没有空白,程序自动复位。
import tkinter as tk
from tkinter import filedialog, messagebox
from PIL import Image, ImageTk, ImageDraw, ImageFont

class ImageCombinerApp:
    def __init__(self, root):
        self.root = root
        self.root.title("图片合成器")

        # 初始化存储的图片路径
        self.first_image_path = None
        self.second_image_path = None

        # 创建界面组件
        self.create_widgets()

    def create_widgets(self):
        # 第一张图片上传按钮
        self.btn_upload_first = tk.Button(self.root, text="上传第一张图片", command=self.upload_first_image)
        self.btn_upload_first.grid(row=0, column=0, padx=10, pady=10)

        # 第二张图片上传按钮
        self.btn_upload_second = tk.Button(self.root, text="上传第二张图片", command=self.upload_second_image)
        self.btn_upload_second.grid(row=0, column=1, padx=10, pady=10)

        # 合成按钮
        self.btn_combine = tk.Button(self.root, text="合成图片", command=self.combine_images)
        self.btn_combine.grid(row=1, column=0, columnspan=2, padx=10, pady=10)

        # 显示图片区域
        self.image_panel = tk.Label(self.root)
        self.image_panel.grid(row=2, column=0, columnspan=2, padx=10, pady=10)

    def upload_first_image(self):
        file_path = filedialog.askopenfilename(title="选择第一张图片", filetypes=[("Image files", "*.jpg;*.jpeg;*.png")])
        if file_path:
            self.first_image_path = file_path
            messagebox.showinfo("图片上传", "第一张图片已成功上传。")

    def upload_second_image(self):
        file_path = filedialog.askopenfilename(title="选择第二张图片", filetypes=[("Image files", "*.jpg;*.jpeg;*.png")])
        if file_path:
            self.second_image_path = file_path
            messagebox.showinfo("图片上传", "第二张图片已成功上传。")

    def combine_images(self):
        if not self.first_image_path or not self.second_image_path:
            messagebox.showerror("错误", "请先上传两张图片。")
            return

        img1 = Image.open(self.first_image_path)
        img2 = Image.open(self.second_image_path)

        # 检查并缩放图像,如果图像的尺寸超过指定最大尺寸
        img1 = self.resize_image(img1)
        img2 = self.resize_image(img2)

        # 统一宽度,按比例调整高度
        img1, img2 = self.resize_images_to_same_width(img1, img2)

        # 添加年份文字到图片
        self.add_text_to_image(img1, "1986")
        self.add_text_to_image(img2, "2024")

        width1, height1 = img1.size
        width2, height2 = img2.size

        new_image = Image.new('RGB', (width1, height1 + height2), (255, 255, 255))
        new_image.paste(img1, (0, 0))
        new_image.paste(img2, (0, height1))

        output_path = filedialog.asksaveasfilename(defaultextension=".jpg", filetypes=[("JPEG files", "*.jpg"), ("PNG files", "*.png")])
        if output_path:
            new_image.save(output_path)
            messagebox.showinfo("图片合成", f"图片已成功合并并保存到 {output_path}")

            new_image.thumbnail((300, 300))
            tk_image = ImageTk.PhotoImage(new_image)
            self.image_panel.config(image=tk_image)
            self.image_panel.image = tk_image

        self.first_image_path = None
        self.second_image_path = None
        self.image_panel.config(image='')
        messagebox.showinfo("复位", "程序已复位,可重新上传图片。")

    def resize_image(self, img, max_size=(2000, 2000), max_ratio=0.8):
        # 检查图像大小是否超过最大尺寸
        width, height = img.size
        max_width, max_height = max_size
        # 缩放比例,确保图像不超出最大宽度和高度
        ratio = min(max_width / width, max_height / height, max_ratio)

        if ratio < 1:
            new_width = int(width * ratio)
            new_height = int(height * ratio)
            img = img.resize((new_width, new_height), Image.LANCZOS)
        return img

    def resize_images_to_same_width(self, img1, img2):
        # 获取两张图的宽度
        width1, height1 = img1.size
        width2, height2 = img2.size

        # 选择较小的宽度
        new_width = min(width1, width2)

        # 计算按比例缩放后的高度
        new_height1 = int(height1 * (new_width / width1))
        new_height2 = int(height2 * (new_width / width2))

        # 调整大小
        img1 = img1.resize((new_width, new_height1), Image.LANCZOS)
        img2 = img2.resize((new_width, new_height2), Image.LANCZOS)

        return img1, img2

    def add_text_to_image(self, image, text):
        draw = ImageDraw.Draw(image)

        # 获取图片宽度并计算字体大小
        image_width = image.size[0]
        font_size = int(image_width * 0.10)  # 字体大小为图片宽度的 10%

        # 设置自定义字体路径
        font_path = r"C:\Users\Lumix\AppData\Local\Microsoft\Windows\Fonts\LCD-BOLD-5.ttf"

        try:
            font = ImageFont.truetype(font_path, font_size)
        except IOError:
            font = ImageFont.load_default()

        # 设置文字位置、颜色等
        text_position = (10, 10)
        text_color = (255, 165, 0)  # 橙黄色
        stroke_color = (139, 0, 0)  # 深红色描边

        # 绘制描边(文字偏移)
        for offset in [-2, 0, 2]:
            draw.text((text_position[0] + offset, text_position[1] + offset), text, fill=stroke_color, font=font)

        # 绘制橙黄色文字
        draw.text(text_position, text, fill=text_color, font=font)

# 创建并运行应用
root = tk.Tk()
app = ImageCombinerApp(root)
root.mainloop()
获取西游记的对应图片,可以对小红书已经合成的图片进行裁切,由于我这边看到的很多图都是一比一组合的,因此可以很方便将图片分开:
import sys
import random
import string
from PIL import Image

def generate_random_filename():
    return ''.join(random.choices(string.digits, k=8)) + '.jpg'

def split_image(image_path):
    # 打开图像
    image = Image.open(image_path)
    width, height = image.size
    half_height = height // 2

    # 分割图像
    upper_half = image.crop((0, 0, width, half_height))
    lower_half = image.crop((0, half_height, width, height))

    # 生成随机文件名
    upper_filename = generate_random_filename()
    lower_filename = generate_random_filename()

    # 保存分割后的图像
    upper_half.save(upper_filename)
    lower_half.save(lower_filename)

    print(f"图像已成功分割并保存为 {upper_filename} 和 {lower_filename}")

if __name__ == "__main__":
    # 检查是否提供了图像路径
    if len(sys.argv) < 2:
        print("请将图像文件拖动到此脚本上运行。")
    else:
        # 获取图像路径
        image_path = sys.argv[1]
        split_image(image_path)
快速分拣你乱乱的桌面
import os
import shutil

# 定义文件类型和对应的文件夹
file_types = {
    'Images': ['.jpg', '.jpeg', '.png', '.gif', '.bmp', '.tiff', '.webp'],  # 添加了 .webp 格式
    'Documents': ['.pdf', '.docx', '.xlsx', '.pptx', '.txt', '.doc', '.xls', '.ppt'],  # 添加了 .doc, .xls, .ppt 格式
    'Videos': ['.mp4', '.avi', '.mkv', '.mov'],
    'Audio': ['.mp3', '.wav', '.flac'],
    'Archives': ['.zip', '.rar', '.7z'],
    'Blender': ['.blend', '.blend1'],  # Blender 文件
    'AI源文件': ['.ai']  # AI 文件
}

# 指定文件夹路径
folder_path = r"D:\2024-9-new"  # 修改为你的文件夹路径

# 创建目标文件夹(如果不存在)
for folder_name in file_types.keys():
    file_type_folder = os.path.join(folder_path, folder_name)
    os.makedirs(file_type_folder, exist_ok=True)  # 使用 exist_ok=True 避免重复检查

# 遍历指定文件夹中的文件,按类型分类
for filename in os.listdir(folder_path):
    file_path = os.path.join(folder_path, filename)

    if os.path.isfile(file_path):
        file_extension = os.path.splitext(filename)[1].lower()

        for category, extensions in file_types.items():
            if file_extension in extensions:
                destination = os.path.join(folder_path, category, filename)

                # 检查是否已经存在文件
                if not os.path.exists(destination):
                    shutil.move(file_path, destination)
                    print(f"文件 {filename} 已移动到 {category} 文件夹。")
                else:
                    print(f"文件 {filename} 已存在于 {category} 文件夹,跳过移动。")
break由于网站的服务器与带宽性能有限,因此上传的图片被严格限制了边长和大小,使用脚本可以有效对想要上传的文件进行批处理,节省时间。
参考代码:
实现对jpg、png、webp等文件的压缩,限制最长边2560,大小2m以下,随机文件名且保留可能含有的EXIF信息。
暂不支持中文路径文件夹。
import os
import random
import string
from PIL import Image
import tkinter as tk
from tkinterdnd2 import TkinterDnD, DND_FILES

# 生成随机文件名
def generate_random_filename(length=10):
    """生成指定长度的随机文件名(字母和数字)"""
    return ''.join(random.choices(string.ascii_letters + string.digits, k=length))

def compress_image(input_path, max_size=2560, max_file_size=2 * 1024 * 1024, quality=85):
    """对图片进行压缩和尺寸调整,保留EXIF信息"""
    img = Image.open(input_path)
    exif_data = img.info.get("exif")  # 获取EXIF数据
    width, height = img.size
    file_size = os.path.getsize(input_path)

    # 生成随机文件名前缀
    random_prefix = generate_random_filename(10)  # 10 位随机字符前缀

    # 获取文件扩展名
    file_extension = os.path.splitext(input_path)[1].lower()

    # 如果图片是RGBA格式,将其转换为RGB格式,只对JPEG格式需要转换
    if img.mode == 'RGBA' and file_extension not in ['.jpeg', '.jpg']:
        output_path = os.path.join(os.path.dirname(input_path), f"{random_prefix}_已压缩{file_extension}")
        if exif_data:
            img.save(output_path, quality=quality, optimize=True, exif=exif_data)
        else:
            img.save(output_path, quality=quality, optimize=True)
    else:
        # 如果图片不需要压缩,直接保存为“无需压缩”版本
        if max(width, height) <= max_size and file_size <= max_file_size:
            output_path = os.path.join(os.path.dirname(input_path), f"{random_prefix}_无需压缩{file_extension}")
            if exif_data:
                img.save(output_path, exif=exif_data)
            else:
                img.save(output_path)
        else:
            # 如果需要调整大小
            if max(width, height) > max_size:
                scaling_factor = max_size / float(max(width, height))
                new_size = (int(width * scaling_factor), int(height * scaling_factor))
                img = img.resize(new_size, Image.LANCZOS)

            # 保存为JPEG格式,质量为85
            output_path = os.path.join(os.path.dirname(input_path), f"{random_prefix}_已压缩.jpg")
            if exif_data:
                img.save(output_path, quality=quality, optimize=True, exif=exif_data)
            else:
                img.save(output_path, quality=quality, optimize=True)

            # 如果文件过大,继续降低质量,直到符合要求
            while os.path.getsize(output_path) > max_file_size and quality > 10:
                quality -= 10
                if exif_data:
                    img.save(output_path, quality=quality, optimize=True, exif=exif_data)
                else:
                    img.save(output_path, quality=quality, optimize=True)

    return output_path

# 处理拖动的文件
def on_drop(event):
    file_paths = event.data.split()
    process_images(file_paths)

# 批量处理图片
def process_images(file_paths):
    processed_files = []
    for file_path in file_paths:
        if is_image_file(file_path):
            processed_file = compress_image(file_path)
            processed_files.append(processed_file)
    print(f"处理完成的文件: {processed_files}")

# 判断文件是否为图片
def is_image_file(file_path):
    try:
        img = Image.open(file_path)
        return True
    except IOError:
        return False

# 创建GUI界面
root = TkinterDnD.Tk()
root.title("图片压缩工具")
root.geometry("600x400")

label = tk.Label(root, text="将图片拖到这里", padx=20, pady=20)
label.pack(padx=20, pady=20)

# 绑定拖拽事件
root.drop_target_register(DND_FILES)
root.dnd_bind('<<Drop>>', on_drop)

# 运行主循环
root.mainloop()
1、三年磨一剑——微信OCR图片文字提取-腾讯云开发者社区-腾讯云
2、可供独立使用且最小依赖的微信 OCR 功能包 – 吾爱破解 – 52pojie.cn
3、GitHub – kanadeblisst00/wechat_ocr: 使用Python调用微信本地ocr服务
4、[原创]Python调用微信OCR识别文字和坐标-编程技术-看雪-安全社区|安全招聘|kanxue.com
这段简易代码实现创建一个GUI,输入一个图片,将图片中的文字进行OCR,按段落生成到一个TXT中。
import os
import json
import time
import tkinter as tk
from tkinter import filedialog, messagebox
from wechat_ocr.ocr_manager import OcrManager, OCR_MAX_TASK_ID


def ocr_result_callback(img_path: str, results: dict):
    save_text_to_txt(results, img_path)


def save_text_to_txt(ocr_results, original_image_path):
    if 'ocrResult' in ocr_results and isinstance(ocr_results['ocrResult'], list):
        all_text = ""
        for result in ocr_results['ocrResult']:
            text = result.get('text', '')
            if text:
                all_text += text + "\n"

        base_name, ext = os.path.splitext(original_image_path)
        txt_path = f"{base_name}_ocr_result.txt"
        with open(txt_path, 'w', encoding='utf-8') as f:
            f.write(all_text)
        print(f"已保存OCR结果到: {txt_path}")
    else:
        print("OCR结果不符合预期格式。")


def select_image():
    file_path = filedialog.askopenfilename(
        title="选择图片",
        filetypes=(("Image files", "*.png;*.jpg;*.jpeg;*.bmp;*.tiff"), ("All files", "*.*"))
    )
    if not file_path:
        return

    wechat_ocr_dir = r"C:\Users\YourID\AppData\Roaming\Tencent\WeChat\XPlugin\Plugins\WeChatOCR\7079\extracted\WeChatOCR.exe"
    wechat_dir = r"C:\Program Files\Tencent\WeChat\[3.9.12.17]"
    ocr_manager = OcrManager(wechat_dir)
    ocr_manager.SetExePath(wechat_ocr_dir)
    ocr_manager.SetUsrLibDir(wechat_dir)
    ocr_manager.SetOcrResultCallback(ocr_result_callback)
    ocr_manager.StartWeChatOCR()

    ocr_manager.DoOCRTask(file_path)

    while ocr_manager.m_task_id.qsize() > 0 or ocr_manager.IsOcrRunning():
        time.sleep(0.5)

    ocr_manager.KillWeChatOCR()
    messagebox.showinfo("完成", "文字提取并保存完成!")


def main():
    root = tk.Tk()
    root.title("OCR文字提取到txt工具")
    root.geometry("300x100")

    btn_select = tk.Button(root, text="选择图片", command=select_image)
    btn_select.pack(pady=20)

    root.mainloop()


if __name__ == "__main__":
    main()
奥林巴斯9mm F8鱼眼镜头是一个很有趣的玩具镜头,其小巧的体积,搭配不错的中心画质,成为M43相机中的最强镜头盖。
鱼眼效果虽然有趣,在一些情况下我们还是想要一个标准的广角画面,因此对画面进行矫正就成为“一鱼两吃”的好选择。
但是由于这枚镜头没有触点,因此我们在松下机身拍摄之后,只能通过电脑对照片进行后处理。问题来了,LR中没有该镜头的对应配置文件,该如何矫正图片?
这里结合互联网信息,提供三种解决方式:
1、LR中采用适马镜头配置文件。
2、使用开源软件——Hugin。
3、采用一个日本摄影师提供的Python脚本。
以上方案都可以高效解决矫正问题,得到不错的成片。
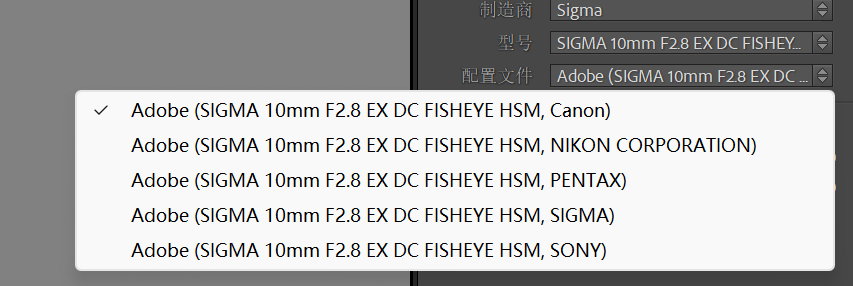
采用适马10mm F2.8 EX DC FISHEYE的矫正文件,可以取得不错的矫正效果。
要注意此操作需要在LR中进行,Ps的Camera Raw插件里的镜头矫正文件不全,效果会有问题。
步骤:
(1)安装Hugin,打开需要矫正的图片。
(2)选择全帧鱼眼,9mm,2x倍率。
(3)在全景缝合中使用直线预测,先进界面下对输出内容进行优化,导出即可。
该方法来自一个日本摄影师,我在python3.13下进行了一些调整,目前该代码创建一个GUI,可以实现拖动图片到GUI自动运行。
存在的问题:边角畸变矫正还是存在一些问题,可以对一些数值进行调整,实现更好的畸变矫正结果。
import numpy as np
import cv2
from PIL import Image
import piexif
import tkinter as tk
from tkinterdnd2 import DND_FILES, TkinterDnD

def process_image(file_path):
    # 定数
    scale = 0.95
    fsave = file_path.replace(".JPG", "_1.JPG").replace(".jpg", "_1.jpg")

    # 画像を開く
    image = Image.open(file_path)
    img = np.array(image, dtype=np.uint8)
    h, w = img.shape[:2]

    # 収差補正(Greenを拡大)
    green = cv2.resize(img[:,:,1], None, fx=1.0005, fy=1.0005, interpolation=cv2.INTER_CUBIC)
    difx = (green.shape[1] - w) // 2
    dify = (green.shape[0] - h) // 2
    img[:,:,1] = green[dify:dify+h, difx:difx+w]

    # 周辺減光補正
    size = max([h, w])  # 幅、高の大きい方を確保
    x = np.linspace(-w/size, w/size, w)
    y = np.linspace(-h/size, h/size, h)  # 長い方の辺が1になるように正規化
    xx, yy = np.meshgrid(x, y)
    r = np.sqrt(xx**2 + yy**2)
    gain = 0.4 * r + 1   # 減光補正パラメータ(固定値)
    gainmap = np.dstack([gain, gain, gain])    # RGB同じゲイン
    img = np.clip(img * gainmap, 0., 255).astype(np.uint8)

    # 歪み補正
    f = max([h, w])
    mtx = np.array([[f,    0.,  w / 2],
                    [0.,   f,   h / 2],
                    [0.,   0.,  1    ]])

    # 歪み補正パラメータ(固定値)
    dist = np.array([-0.63, -0.2, 0, 0, 0.8])

    n_mtx = cv2.getOptimalNewCameraMatrix(mtx, dist, (img.shape[1], img.shape[0]), 1)[0]
    map = cv2.initUndistortRectifyMap(mtx, dist, np.eye(3), n_mtx, (img.shape[1], img.shape[0]), cv2.CV_32FC1)

    # 拡大+shift
    mapx = map[0] * scale + (1 - scale) * w / 2
    mapy = map[1] * scale + (1 - scale) * h / 2
    img = cv2.remap(img, mapx, mapy, cv2.INTER_CUBIC)

    # 4:3 -> 3:2比率への変換 (高さを 8/9する)
    strt_y = h * 1 // 18
    end_y = h * 17 // 18
    img = img[strt_y:end_y, :, :]

    # Exif付与
    exif_dict = piexif.load(file_path)
    exif_dict["0th"][piexif.ImageIFD.ImageWidth]  = img.shape[1]
    exif_dict["0th"][piexif.ImageIFD.ImageLength] = img.shape[0]

    exif_dict["Exif"][piexif.ExifIFD.FocalLength] = (90, 10)
    exif_dict["Exif"][piexif.ExifIFD.FNumber] = (80, 10)
    exif_dict["Exif"][piexif.ExifIFD.FocalLengthIn35mmFilm] = 18
    exif_dict["Exif"][piexif.ExifIFD.PixelXDimension] = img.shape[1]
    exif_dict["Exif"][piexif.ExifIFD.PixelYDimension] = img.shape[0]

    exif_bytes = piexif.dump(exif_dict)

    # 保存
    im = Image.fromarray(img)
    im.save(fsave, "JPEG", exif=exif_bytes)

    # 显示保存路径和 EXIF 信息
    print(f"图像处理完成,文件已保存到: {fsave}")

    # 提取并显示特定 EXIF 信息
    exif_info = exif_dict["Exif"]
    aperture = exif_info.get(piexif.ExifIFD.FNumber, "未知")
    shutter_speed = exif_info.get(piexif.ExifIFD.ExposureTime, "未知")
    iso = exif_info.get(piexif.ExifIFD.ISOSpeedRatings, "未知")

    print("\n照片的主要 EXIF 信息:")
    print(f"光圈 (Aperture): {aperture}")
    print(f"快门速度 (Shutter Speed): {shutter_speed}")
    print(f"感光度 (ISO): {iso}")

def drop(event):
    file_paths = event.data.strip('{}').split()  # 处理多个文件
    for file_path in file_paths:
        process_image(file_path)

# 创建主窗口
root = TkinterDnD.Tk()
root.title("图片处理")
root.geometry("400x200")

# 提示信息
label = tk.Label(root, text="将图片拖放到这里进行处理", padx=10, pady=10)
label.pack(expand=True, fill=tk.BOTH)

# 注册拖放事件
root.drop_target_register(DND_FILES)
root.dnd_bind('<<Drop>>', drop)

# 启动 Tkinter 主循环
root.mainloop()
【施工中、、、】
像我这种不太注重整理的人,在想找一张原图时候往往很抓狂,因为文件夹太多了!
因此今天问ChatGPT“协调”了一段Python代码,可以有效的在本地用jpg缩略图来搜索原jpg图。
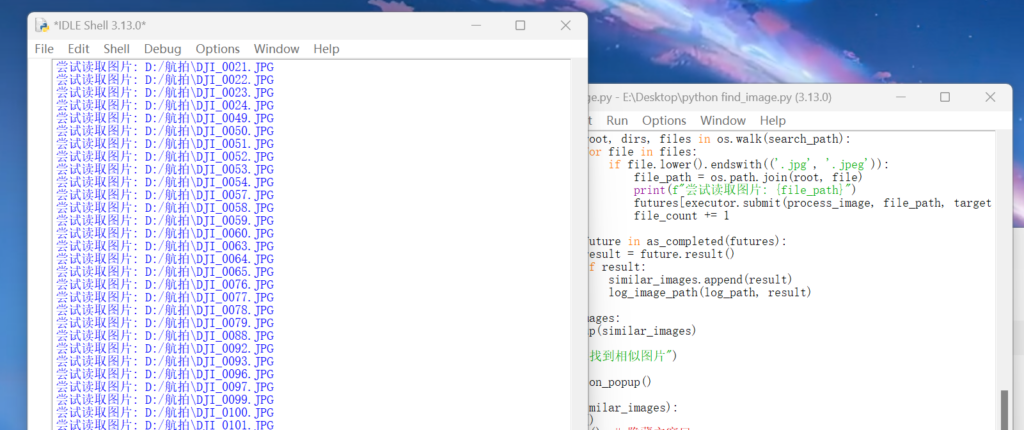
代码主要用到PIL库,本来想用OpenCV但是实在是搞不定中文路径问题,本着能用就行的原则,因此只能使用PIL,代码如下👇。
from PIL import Image
import os
import numpy as np
import tkinter as tk
from tkinter import messagebox
from concurrent.futures import ThreadPoolExecutor, as_completed
import time

def image_similarity(img1, img2):
    img1 = img1.resize((100, 100))
    img2 = img2.resize((100, 100))

    arr1 = np.array(img1)
    arr2 = np.array(img2)

    mse = np.mean((arr1 - arr2) ** 2)
    return 1 / (1 + mse)

def log_image_path(log_path, image_path):
    with open(log_path, 'a', encoding='utf-8') as log_file:
        log_file.write(f"{image_path}\n")

def process_image(file_path, target_image, threshold, retries=3):
    for attempt in range(retries):
        try:
            with Image.open(file_path) as current_image:
                similarity = image_similarity(target_image, current_image)
                return file_path if similarity >= threshold else None
        except Exception as e:
            print(f"无法读取图片: {file_path}, 错误: {e}")
            time.sleep(1)  # 等待1秒后重试
    return None

def search_similar_images(target_image_path, search_path, log_path, threshold=0.8):
    if not os.path.exists(target_image_path):
        print("目标图片路径不存在")
        return []

    with Image.open(target_image_path) as target_image:
        similar_images = []
        with ThreadPoolExecutor(max_workers=16) as executor:  # 适当选择线程数
            futures = {}
            file_count = 0

            for root, dirs, files in os.walk(search_path):
                for file in files:
                    if file.lower().endswith(('.jpg', '.jpeg')):
                        file_path = os.path.join(root, file)
                        print(f"尝试读取图片: {file_path}")
                        futures[executor.submit(process_image, file_path, target_image, threshold)] = file_path
                        file_count += 1

            for future in as_completed(futures):
                result = future.result()
                if result:
                    similar_images.append(result)
                    log_image_path(log_path, result)

    if similar_images:
        show_popup(similar_images)
    else:
        print("未找到相似图片")

    show_completion_popup()

def show_popup(similar_images):
    root = tk.Tk()
    root.withdraw()  # 隐藏主窗口
    messagebox.showinfo("找到相似图片", f"相似图片: {', '.join(similar_images)}")
    root.destroy()

def show_completion_popup():
    root = tk.Tk()
    root.withdraw()  # 隐藏主窗口
    messagebox.showinfo("搜索完毕", "所有图片搜索已完成。")
    root.destroy()

# 使用示例
if __name__ == "__main__":
    target_image_path = r'D:/xxx.jpg'  # 定义你需要查找的图片
    search_path = r'F:/'  # 需要搜索的路径
    log_path = r'D:/similar_images_log.txt'  # 日志文件路径
    search_similar_images(target_image_path, search_path, log_path)