WordPress官网最近加上了一个飘雪效果,感觉效果相当不错,经过研究后发现他们页面中使用了两个js,而前端只需要用html进行简单调整就可以自定义,可玩性很强。
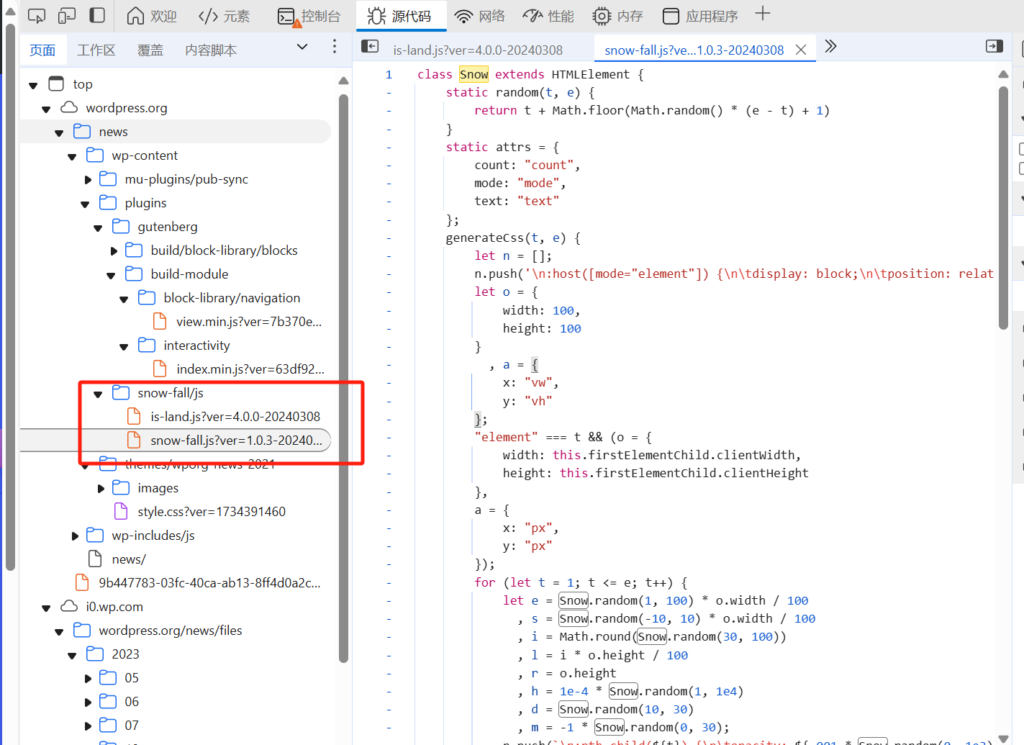
我们也可以在自己的网站中使用这个效果,首先在Wordpress官网下载到is-land及snow-fall这俩js。
通过模板函数对is-land与snow-fall先后加载:
// js来源自Wordpress官网
function enqueue_island_assets() {
    wp_enqueue_script(
        'island-js',
        get_template_directory_uri() . '/island.js',
        true
    );
}
add_action('wp_enqueue_scripts', 'enqueue_island_assets');
wp_enqueue_script(
    'snow-fall-js',
    get_template_directory_uri() . '/snow-fall.js',
    array('island-js'), // 设置依赖
    true
);
前端通过html进行调用,我们通过后面的分析可以发现其为前端预留了多个参数调节,比如我想在页面呈现❄飘落,而不是原版的圆点,只需要调整text的值,写成如下即可:
<is-land on:media="(prefers-reduced-motion: no-preference)" on:idle="">
    <snow-fall mode="page" text="❄"></snow-fall>
</is-land>
2025-1-6更新:如果不需要island里面的一些参数,那么直接引入snow-fall也是可以的:
// island及snowfall的Js文件来自Wordpress官网
function enqueue_snowfall() {
    wp_enqueue_script(
        'snow-fall-js',
        get_template_directory_uri() . '/snow-fall.js',
        true
    );
}
add_action('wp_enqueue_scripts', 'enqueue_snowfall');
<snow-fall mode="page" text="❄"></snow-fall>目前网站采用直接引入Snow-fall的方式展示。
后续是源码及一些可以调用的参数信息:
其中is-land的源码如下:
class Island extends HTMLElement {
    static tagName = "is-land";
    static prefix = "is-land--";
    static attr = {
        template: "data-island",
        ready: "ready",
        defer: "defer-hydration"
    };
    static onceCache = new Map;
    static onReady = new Map;
    static fallback = {
        ":not(is-land,:defined,[defer-hydration])": (e, t, a) => {
            let n = document.createElement(a + t.localName);
            for (let e of t.getAttributeNames())
                n.setAttribute(e, t.getAttribute(e));
            let i = t.shadowRoot;
            if (!i) {
                let e = t.querySelector(":scope > template:is([shadowrootmode], [shadowroot])");
                if (e) {
                    let a = e.getAttribute("shadowrootmode") || e.getAttribute("shadowroot") || "closed";
                    i = t.attachShadow({
                        mode: a
                    }),
                    i.appendChild(e.content.cloneNode(!0))
                }
            }
            return i && n.attachShadow({
                mode: i.mode
            }).append(...i.childNodes),
            n.append(...t.childNodes),
            t.replaceWith(n),
            e.then(( () => {
                n.shadowRoot && t.shadowRoot.append(...n.shadowRoot.childNodes),
                t.append(...n.childNodes),
                n.replaceWith(t)
            }
            ))
        }
    };
    constructor() {
        super(),
        this.ready = new Promise((e => {
            this.readyResolve = e
        }
        ))
    }
    static getParents(e, t=!1) {
        let a = [];
        for (; e; ) {
            if (e.matches && e.matches(Island.tagName)) {
                if (t && e === t)
                    break;
                Conditions.hasConditions(e) && a.push(e)
            }
            e = e.parentNode
        }
        return a
    }
    static async ready(e, t) {
        if (t || (t = Island.getParents(e)),
        0 === t.length)
            return;
        let a = await Promise.all(t.map((e => e.wait())));
        return a.length ? a[0] : void 0
    }
    forceFallback() {
        window.Island && Object.assign(Island.fallback, window.Island.fallback);
        for (let e in Island.fallback) {
            let t = Array.from(this.querySelectorAll(e)).reverse();
            for (let a of t) {
                if (!a.isConnected)
                    continue;
                let t = Island.getParents(a);
                if (1 === t.length) {
                    let n = Island.ready(a, t);
                    Island.fallback[e](n, a, Island.prefix)
                }
            }
        }
    }
    wait() {
        return this.ready
    }
    async connectedCallback() {
        Conditions.hasConditions(this) && this.forceFallback(),
        await this.hydrate()
    }
    getTemplates() {
        return this.querySelectorAll(`template[${Island.attr.template}]`)
    }
    replaceTemplates(e) {
        for (let t of e) {
            if (Island.getParents(t, this).length > 0)
                continue;
            let e = t.getAttribute(Island.attr.template);
            if ("replace" === e) {
                let e = Array.from(this.childNodes);
                for (let t of e)
                    this.removeChild(t);
                this.appendChild(t.content);
                break
            }
            {
                let a = t.innerHTML;
                if ("once" === e && a) {
                    if (Island.onceCache.has(a))
                        return void t.remove();
                    Island.onceCache.set(a, !0)
                }
                t.replaceWith(t.content)
            }
        }
    }
    async hydrate() {
        let e = [];
        this.parentNode && e.push(Island.ready(this.parentNode));
        let t = Conditions.getConditions(this);
        for (let a in t)
            Conditions.map[a] && e.push(Conditions.map[a](t[a], this));
        await Promise.all(e),
        this.replaceTemplates(this.getTemplates());
        for (let e of Island.onReady.values())
            await e.call(this, Island);
        this.readyResolve(),
        this.setAttribute(Island.attr.ready, ""),
        this.querySelectorAll(`[${Island.attr.defer}]`).forEach((e => e.removeAttribute(Island.attr.defer)))
    }
}
class Conditions {
    static map = {
        visible: Conditions.visible,
        idle: Conditions.idle,
        interaction: Conditions.interaction,
        media: Conditions.media,
        "save-data": Conditions.saveData
    };
    static hasConditions(e) {
        return Object.keys(Conditions.getConditions(e)).length > 0
    }
    static getConditions(e) {
        let t = {};
        for (let a of Object.keys(Conditions.map))
            e.hasAttribute(`on:${a}`) && (t[a] = e.getAttribute(`on:${a}`));
        return t
    }
    static visible(e, t) {
        if ("IntersectionObserver"in window)
            return new Promise((e => {
                let a = new IntersectionObserver((t => {
                    let[n] = t;
                    n.isIntersecting && (a.unobserve(n.target),
                    e())
                }
                ));
                a.observe(t)
            }
            ))
    }
    static idle() {
        let e = new Promise((e => {
            "complete" !== document.readyState ? window.addEventListener("load", ( () => e()), {
                once: !0
            }) : e()
        }
        ));
        return "requestIdleCallback"in window ? Promise.all([new Promise((e => {
            requestIdleCallback(( () => {
                e()
            }
            ))
        }
        )), e]) : e
    }
    static interaction(e, t) {
        let a = ["click", "touchstart"];
        return e && (a = (e || "").split(",").map((e => e.trim()))),
        new Promise((e => {
            function n(i) {
                e();
                for (let e of a)
                    t.removeEventListener(e, n)
            }
            for (let e of a)
                t.addEventListener(e, n, {
                    once: !0
                })
        }
        ))
    }
    static media(e) {
        let t = {
            matches: !0
        };
        if (e && "matchMedia"in window && (t = window.matchMedia(e)),
        !t.matches)
            return new Promise((e => {
                t.addListener((t => {
                    t.matches && e()
                }
                ))
            }
            ))
    }
    static saveData(e) {
        if ("connection"in navigator && navigator.connection.saveData !== ("false" !== e))
            return new Promise(( () => {}
            ))
    }
}
"customElements"in window && (window.customElements.define(Island.tagName, Island),
window.Island = Island);
export {Island, Island as component};
export const ready = Island.ready;
通过前端代码调用:
<is-land on:media="(prefers-reduced-motion: no-preference)" on:idle="" ready="">
<snow-fall mode="page"></snow-fall>
</is-land>
其中可以定义:
on:media:当满足媒体查询条件时加载内容。
on:idle:在浏览器空闲时间或页面完全加载后执行。
on:visible:当标签内容滚动到视口中时加载。
on:interaction:在用户交互(如点击、触摸)后加载。
on:save-data:根据设备的省流量模式决定是否加载内容。
对于snow-fall.js,源码如下:
class Snow extends HTMLElement {
    static random(t, e) {
        return t + Math.floor(Math.random() * (e - t) + 1)
    }
    static attrs = {
        count: "count",
        mode: "mode",
        text: "text"
    };
    generateCss(t, e) {
        let n = [];
        n.push('\n:host([mode="element"]) {\n\tdisplay: block;\n\tposition: relative;\n\toverflow: hidden;\n}\n:host([mode="page"]) {\n\tposition: fixed;\n\ttop: 0;\n\tleft: 0;\n\tright: 0;\n}\n:host([mode="page"]),\n:host([mode="element"]) > * {\n\tpointer-events: none;\n}\n:host([mode="element"]) ::slotted(*) {\n\tpointer-events: all;\n}\n* {\n\tposition: absolute;\n}\n:host([text]) * {\n\tfont-size: var(--snow-fall-size, 1em);\n}\n:host(:not([text])) * {\n\twidth: var(--snow-fall-size, 10px);\n\theight: var(--snow-fall-size, 10px);\n\tbackground: var(--snow-fall-color, rgba(255,255,255,.5));\n\tborder-radius: 50%;\n}\n');
        let o = {
            width: 100,
            height: 100
        }
          , a = {
            x: "vw",
            y: "vh"
        };
        "element" === t && (o = {
            width: this.firstElementChild.clientWidth,
            height: this.firstElementChild.clientHeight
        },
        a = {
            x: "px",
            y: "px"
        });
        for (let t = 1; t <= e; t++) {
            let e = Snow.random(1, 100) * o.width / 100
              , s = Snow.random(-10, 10) * o.width / 100
              , i = Math.round(Snow.random(30, 100))
              , l = i * o.height / 100
              , r = o.height
              , h = 1e-4 * Snow.random(1, 1e4)
              , d = Snow.random(10, 30)
              , m = -1 * Snow.random(0, 30);
            n.push(`\n:nth-child(${t}) {\n\topacity: ${.001 * Snow.random(0, 1e3)};\n\ttransform: translate(${e}${a.x}, -10px) scale(${h});\n\tanimation: fall-${t} ${d}s ${m}s linear infinite;\n}\n\n@keyframes fall-${t} {\n\t${i}% {\n\t\ttransform: translate(${e + s}${a.x}, ${l}${a.y}) scale(${h});\n\t}\n\n\tto {\n\t\ttransform: translate(${e + s / 2}${a.x}, ${r}${a.y}) scale(${h});\n\t}\n}`)
        }
        return n.join("\n")
    }
    connectedCallback() {
        if (this.shadowRoot || !("replaceSync"in CSSStyleSheet.prototype))
            return;
        let t, e = parseInt(this.getAttribute(Snow.attrs.count)) || 100;
        this.hasAttribute(Snow.attrs.mode) ? t = this.getAttribute(Snow.attrs.mode) : (t = this.firstElementChild ? "element" : "page",
        this.setAttribute(Snow.attrs.mode, t));
        let n = new CSSStyleSheet;
        n.replaceSync(this.generateCss(t, e));
        let o = this.attachShadow({
            mode: "open"
        });
        o.adoptedStyleSheets = [n];
        let a = document.createElement("div")
          , s = this.getAttribute(Snow.attrs.text);
        a.innerText = s || "";
        for (let t = 0, n = e; t < n; t++)
            o.appendChild(a.cloneNode(!0));
        o.appendChild(document.createElement("slot"))
    }
}
customElements.define("snow-fall", Snow);
其定义了一个自定义 HTML 元素 <snow-fall>,用于实现落雪效果。
我们可以通过改变js中的一些数值来变更效果,例如
static attrs = { count: “count”, mode: “mode”, text: “text” };
count:雪花的数量,默认值是 100。
mode:两种模式:
1、element:作用于某个特定元素。
2、page:覆盖整个页面。
text:雪花的文本内容(默认为空,显示为圆形点)。
page模式目前已经满足使用,如果想使用element模式目前似乎会出现firstElementChild 为空或未能正确获取其 clientWidth,导致 generateCss 方法出错。如何正确使用element模式还需要探究。
通过 generateCss(t, e) { 动态生成CSS,可以定义:
1、:host([mode=”element”]) 和 :host([mode=”page”]) 用于适配不同模式。
2、雪花的大小由 –snow-fall-size 决定,颜色由 –snow-fall-color 决定。
动态生成每个雪花的动画样式:
1、起始位置:translate(${e}${a.x}, -10px)
2、随机透明度:opacity
3、动画时长:animation: fall-${t} ${d}s ${m}s linear infinite;
4、动画帧 @keyframes: 中间位置:随机 x 偏移,随机 y 偏移。最终位置:完全落到底部。