
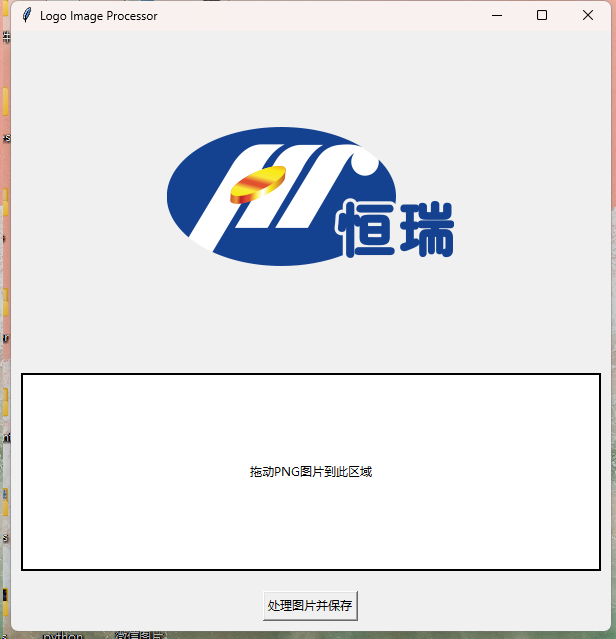
为了制作一些高大上的风格化 PPT,有时我们需要很多客户的反白色LOGO,以符合当下的一些设计潮流。
目前常用的做法是在 PPT中对图片本身进行亮度调整,可以理解为一键过曝,但是这对于一些本身就含有白色的图片不适用,也无法处理JPG的图片,更没法快速将反白的图片进行批量保存,以便存储成库,在其他场景继续使用。
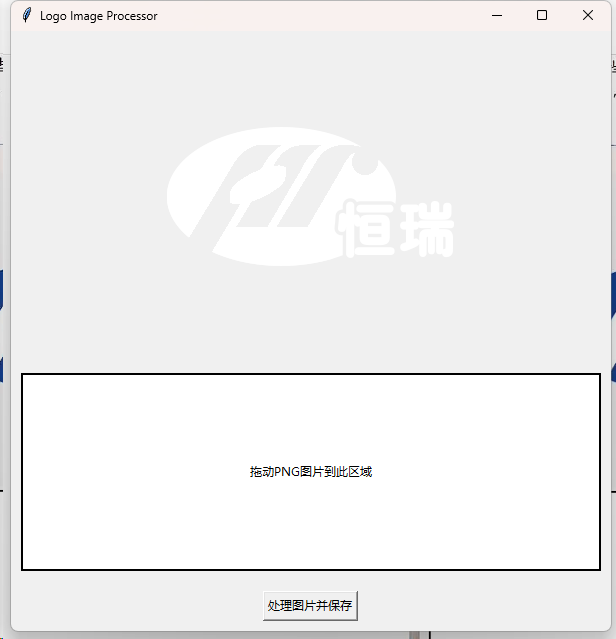
因此使用脚本可以防止原来的白色部分混成一团,预先对原LOGO白色区域进行透明化,然后对其他颜色区域反白。
这个脚本目前适用于我的工作环境,包含一些问题,例如如果原来的图标包含白色文字,这样会将其透明化,因此还需按照使用情况进行调整。
后续考虑加入对JPG进行处理的过程,原理上是对白色部分预先透明度处理,然后后续步骤基本一致,不过使用JPG作为LOGO的客户较少,该功能并不急迫。若要实现该功能,可能需要使用OCR对文字部分预先识别处理,流程上麻烦不少,不过由于wechat-ocr的强大功能,应该也可以稳定呈现,wechat-ocr此前有过一些实践,效果出众,推荐大家使用。
此外脚本尚未测试灰色部分是否会有问题,目前感觉应该会有问题,若使用中有其他问题会随时更新。
import tkinter as tk
from tkinter import filedialog
from PIL import Image, ImageTk
import random
import string
class ImageProcessor(tk.Tk):
    def __init__(self):
        super().__init__()
        self.title("Logo Image Processor")
        self.geometry("600x600")
        self.image_path = None
        self.images = []  # 用于存储多个图像
        self.image_label = tk.Label(self)
        self.image_label.pack(padx=10, pady=10, fill=tk.BOTH, expand=True)

        # 设置拖放区域
        self.drop_area = tk.Label(self, text="拖动PNG图片到此区域", relief="solid", width=30, height=4)
        self.drop_area.pack(padx=10, pady=10, fill=tk.BOTH, expand=True)
        self.drop_area.bind("<Enter>", self.on_drag_enter)
        self.drop_area.bind("<Leave>", self.on_drag_leave)
        self.drop_area.bind("<ButtonRelease-1>", self.on_drop)
        # 添加处理按钮
        self.process_button = tk.Button(self, text="处理图片并保存", command=self.process_images)
        self.process_button.pack(pady=10)
    def on_drag_enter(self, event):
        self.drop_area.config(bg="lightblue")
    def on_drag_leave(self, event):
        self.drop_area.config(bg="white")
    def on_drop(self, event):
        file_paths = filedialog.askopenfilenames(filetypes=[("PNG files", "*.png")])
        if file_paths:
            self.load_images(file_paths)
    def load_images(self, paths):
        self.images = []  # 清空当前图像列表
        for path in paths:
            image = Image.open(path).convert("RGBA")  # 确保加载为RGBA格式以处理透明度
            self.images.append((path, image))  # 存储图像及其路径
        if self.images:
            self.display_image(self.images[0][1])  # 显示第一张图片
    def display_image(self, image):
        image_tk = ImageTk.PhotoImage(image)
        self.image_label.config(image=image_tk)
        self.image_label.image = image_tk
    def process_images(self):
        if self.images:
            for original_path, image in self.images:
                # 获取图像的每个像素
                pixels = image.load()
                width, height = image.size

                for x in range(width):
                    for y in range(height):
                        r, g, b, a = pixels[x, y]

                        # 将白色部分透明化
                        if r == 255 and g == 255 and b == 255:
                            pixels[x, y] = (255, 255, 255, 0)  # 将白色变为透明
                        elif a != 0:  # 如果是非透明区域
                            # 将所有非透明区域变为纯白色
                            pixels[x, y] = (255, 255, 255, a)  # 变为白色,保持原透明度

                # 生成随机字符并保存处理后的图像
                random_suffix = ''.join(random.choices(string.ascii_letters + string.digits, k=6))
                output_path = f"processed_logo_{random_suffix}.png"
                image.save(output_path)
                print(f"处理后的LOGO图片已保存为 {output_path}")

            # 更新显示处理后的图片(显示第一张图像)
            self.display_image(self.images[0][1])
if __name__ == "__main__":
    app = ImageProcessor()
    app.mainloop()
此外,还可以对JPG进行处理:
注意保证输入图片的分辨率,其平滑操作对分辨率会有一定的损失。
import tkinter as tk
from tkinter import filedialog, messagebox
from PIL import Image, ImageFilter
import random
import string
import os
class ImageProcessor(tk.Tk):
    def __init__(self):
        super().__init__()
        self.title("Logo Image Processor")
        self.geometry("400x200")  # 设置主窗口大小
        self.image_path = None
        self.images = []  # 用于存储多个图像
        self.processed_images = []  # 用于存储处理后图像路径
        # 设置拖放区域
        self.drop_area = tk.Label(self, text="拖动PNG或JPG图片到此区域", relief="solid", width=30, height=4)
        self.drop_area.pack(padx=10, pady=10, fill=tk.BOTH, expand=True)
        self.drop_area.bind("<Enter>", self.on_drag_enter)
        self.drop_area.bind("<Leave>", self.on_drag_leave)
        self.drop_area.bind("<ButtonRelease-1>", self.on_drop)
        # 添加处理按钮
        self.process_button = tk.Button(self, text="处理图片并保存", command=self.process_images)
        self.process_button.pack(pady=10)
        # 添加选择输出路径按钮
        self.output_dir = None
        self.select_output_button = tk.Button(self, text="选择保存路径", command=self.select_output_dir)
        self.select_output_button.pack(pady=5)
    def on_drag_enter(self, event):
        self.drop_area.config(bg="lightblue")
    def on_drag_leave(self, event):
        self.drop_area.config(bg="white")
    def on_drop(self, event):
        file_paths = filedialog.askopenfilenames(filetypes=[("Image files", "*.png *.jpg *.jpeg")])
        if file_paths:
            self.load_images(file_paths)
    def load_images(self, paths):
        self.images = []  # 清空当前图像列表
        for path in paths:
            try:
                image = Image.open(path)
                # 将JPG图像转换为支持透明度的RGBA格式
                if image.mode != "RGBA":
                    image = image.convert("RGBA")
                self.images.append((path, image))  # 存储图像及其路径
            except Exception as e:
                print(f"无法加载图像 {path}: {e}")
                messagebox.showerror("错误", f"无法加载图像 {path}")

    def select_output_dir(self):
        self.output_dir = filedialog.askdirectory()
        if self.output_dir:
            print(f"选择的输出目录是: {self.output_dir}")

    def process_images(self):
        if not self.images:
            messagebox.showwarning("警告", "请先加载图片")
            return

        if not self.output_dir:
            messagebox.showwarning("警告", "请先选择保存路径")
            return
        for original_path, image in self.images:
            pixels = image.load()
            width, height = image.size

            for x in range(width):
                for y in range(height):
                    r, g, b, a = pixels[x, y]

                    # 将接近白色的区域透明化,设置阈值范围 (240, 240, 240) 到 (255, 255, 255)
                    if r >= 240 and g >= 240 and b >= 240:
                        pixels[x, y] = (255, 255, 255, 0)  # 将接近白色的部分变为透明
                    elif a != 0:  # 如果是非透明区域
                        # 将所有非透明区域变为纯白色
                        pixels[x, y] = (255, 255, 255, a)  # 变为白色,保持原透明度
            # 对图像进行边缘平滑处理,减少杂色
            image = image.filter(ImageFilter.GaussianBlur(radius=2))

            # 生成随机字符并保存处理后的图像
            random_suffix = ''.join(random.choices(string.ascii_letters + string.digits, k=6))
            output_path = os.path.join(self.output_dir, f"processed_logo_{random_suffix}.png")
            image.save(output_path)
            print(f"处理后的LOGO图片已保存为 {output_path}")
            self.processed_images.append(output_path)
if __name__ == "__main__":
    app = ImageProcessor()
    app.mainloop()
发表回复