
像我这种不太注重整理的人,在想找一张原图时候往往很抓狂,因为文件夹太多了!
因此今天问ChatGPT“协调”了一段Python代码,可以有效的在本地用jpg缩略图来搜索原jpg图。
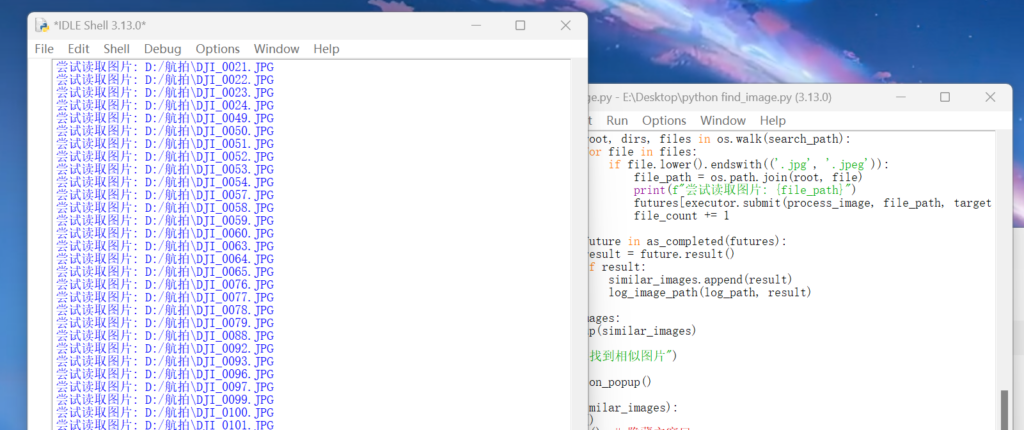
代码主要用到PIL库,本来想用OpenCV但是实在是搞不定中文路径问题,本着能用就行的原则,因此只能使用PIL,代码如下👇。
from PIL import Image
import os
import numpy as np
import tkinter as tk
from tkinter import messagebox
from concurrent.futures import ThreadPoolExecutor, as_completed
import time

def image_similarity(img1, img2):
    img1 = img1.resize((100, 100))
    img2 = img2.resize((100, 100))

    arr1 = np.array(img1)
    arr2 = np.array(img2)

    mse = np.mean((arr1 - arr2) ** 2)
    return 1 / (1 + mse)

def log_image_path(log_path, image_path):
    with open(log_path, 'a', encoding='utf-8') as log_file:
        log_file.write(f"{image_path}\n")

def process_image(file_path, target_image, threshold, retries=3):
    for attempt in range(retries):
        try:
            with Image.open(file_path) as current_image:
                similarity = image_similarity(target_image, current_image)
                return file_path if similarity >= threshold else None
        except Exception as e:
            print(f"无法读取图片: {file_path}, 错误: {e}")
            time.sleep(1)  # 等待1秒后重试
    return None

def search_similar_images(target_image_path, search_path, log_path, threshold=0.8):
    if not os.path.exists(target_image_path):
        print("目标图片路径不存在")
        return []

    with Image.open(target_image_path) as target_image:
        similar_images = []
        with ThreadPoolExecutor(max_workers=16) as executor:  # 适当选择线程数
            futures = {}
            file_count = 0

            for root, dirs, files in os.walk(search_path):
                for file in files:
                    if file.lower().endswith(('.jpg', '.jpeg')):
                        file_path = os.path.join(root, file)
                        print(f"尝试读取图片: {file_path}")
                        futures[executor.submit(process_image, file_path, target_image, threshold)] = file_path
                        file_count += 1

            for future in as_completed(futures):
                result = future.result()
                if result:
                    similar_images.append(result)
                    log_image_path(log_path, result)

    if similar_images:
        show_popup(similar_images)
    else:
        print("未找到相似图片")

    show_completion_popup()

def show_popup(similar_images):
    root = tk.Tk()
    root.withdraw()  # 隐藏主窗口
    messagebox.showinfo("找到相似图片", f"相似图片: {', '.join(similar_images)}")
    root.destroy()

def show_completion_popup():
    root = tk.Tk()
    root.withdraw()  # 隐藏主窗口
    messagebox.showinfo("搜索完毕", "所有图片搜索已完成。")
    root.destroy()

# 使用示例
if __name__ == "__main__":
    target_image_path = r'D:/xxx.jpg'  # 定义你需要查找的图片
    search_path = r'F:/'  # 需要搜索的路径
    log_path = r'D:/similar_images_log.txt'  # 日志文件路径
    search_similar_images(target_image_path, search_path, log_path)